|
|
 Author Author |
 Project Pocket Rocket (currently 2712 views) Project Pocket Rocket (currently 2712 views) |
| fuzz573 |
| Posted on: Wednesday, March 4th, 2015, 12:28:33am |
  |
|
|
| Looking forward to seeing how you get on with the bushes for fitment etc, ive still not got round to mine. Can you take pics of each bush fittted for future reference as I think a few people are considering them. Thanks |
|
 Logged Logged |
|
|
 |
Reply: 80 - 114 |
|
|
| Crazyed |
| Posted on: Wednesday, March 4th, 2015, 8:30:46am |
|
|
|
I shall see how I get on I need to figure out which ones go wear!
But I shall take lots of photos for people! |
|
| Logged |
|
|
|
Reply: 81 - 114 |
|
|
| Crazyed |
| Posted on: Wednesday, March 4th, 2015, 10:50:55pm |
|
|
|
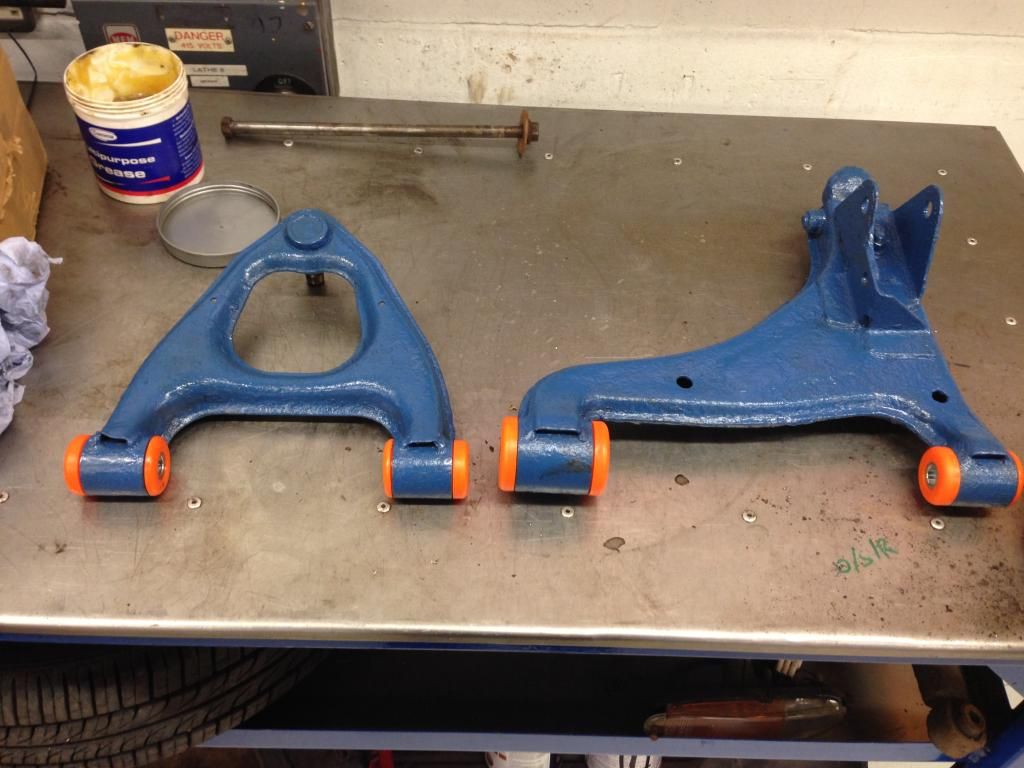
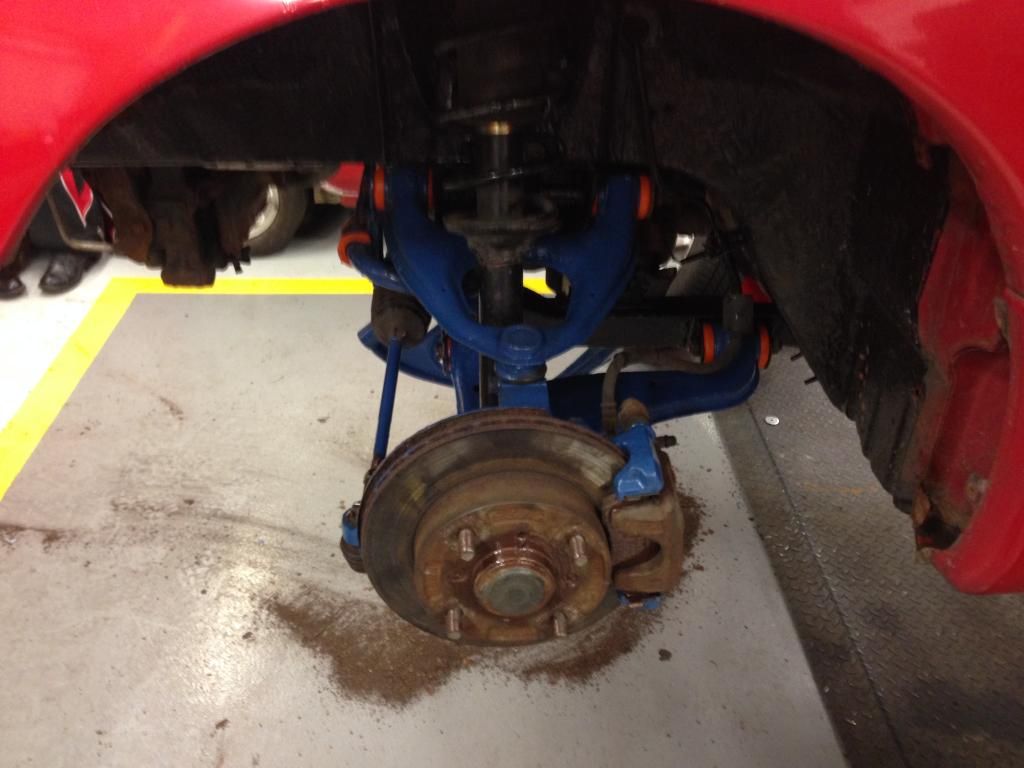
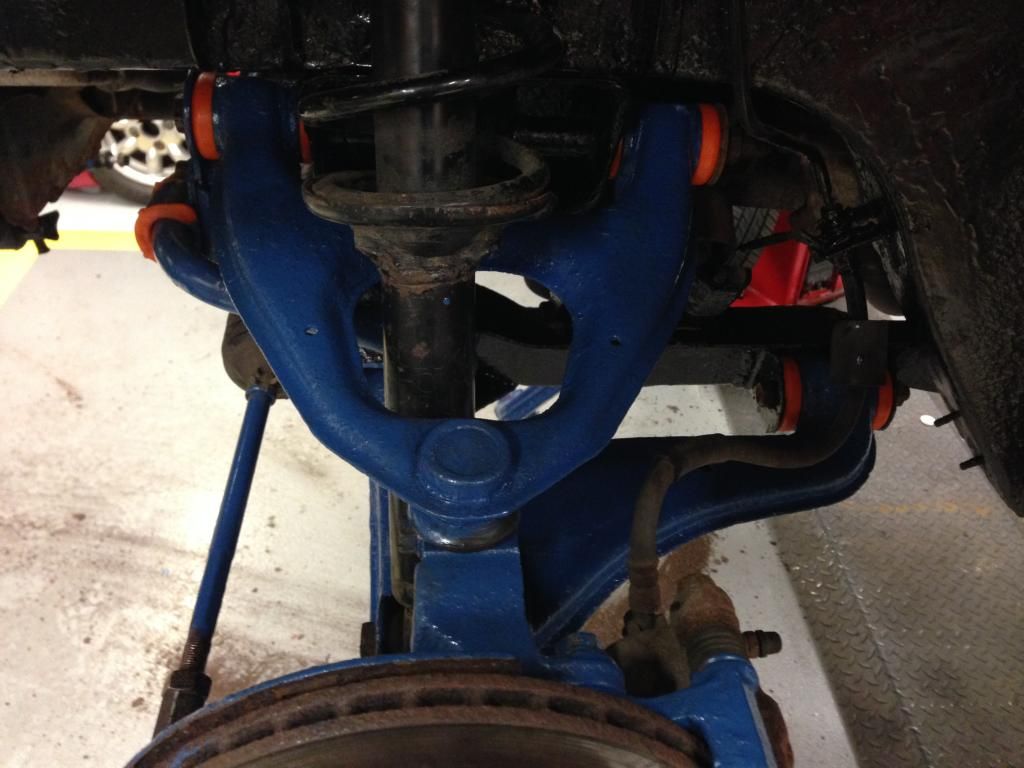
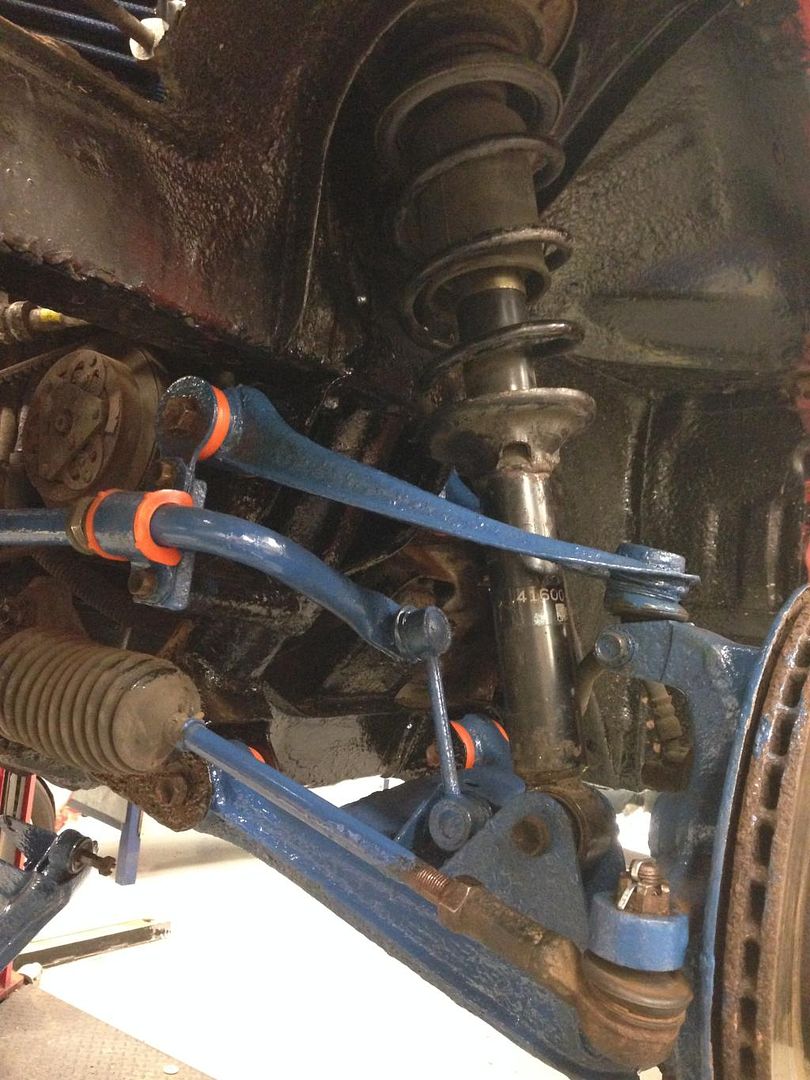
Rebuilt one side and removed the other and painted all the parts up!


 |
|
| Logged |
|
|
|
Reply: 82 - 114 |
|
|
| Crazyed |
| Posted on: Tuesday, April 7th, 2015, 8:34:12pm |
|
|
|
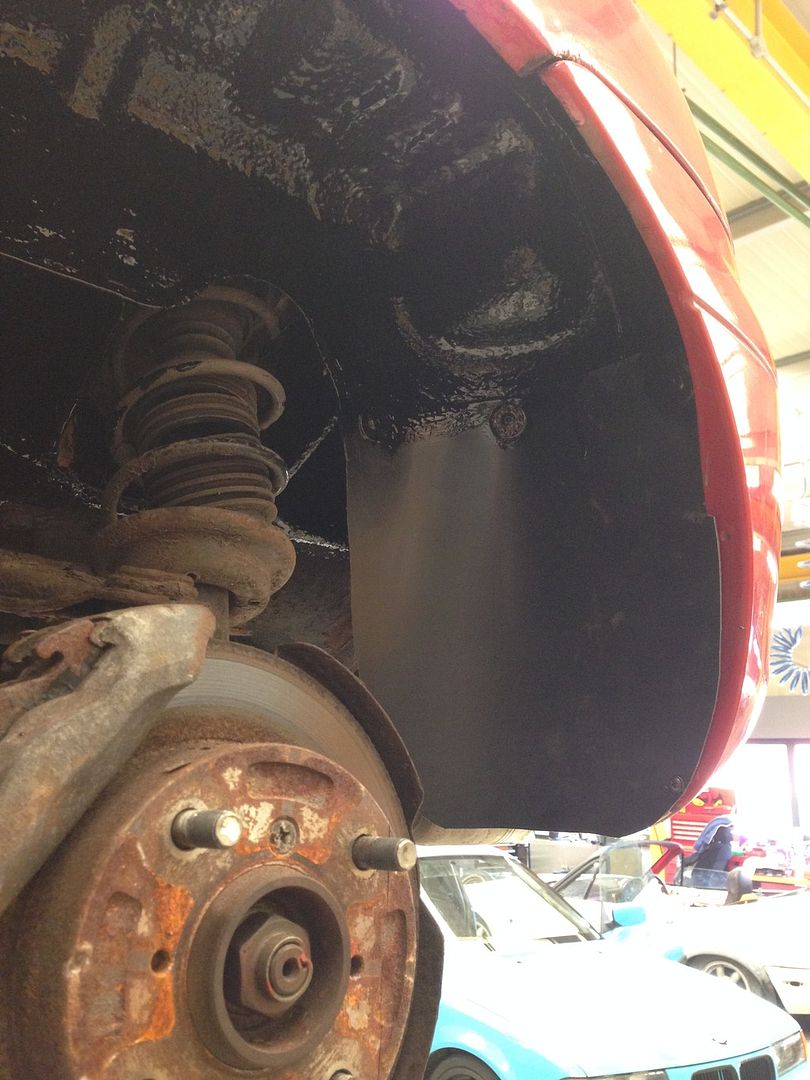
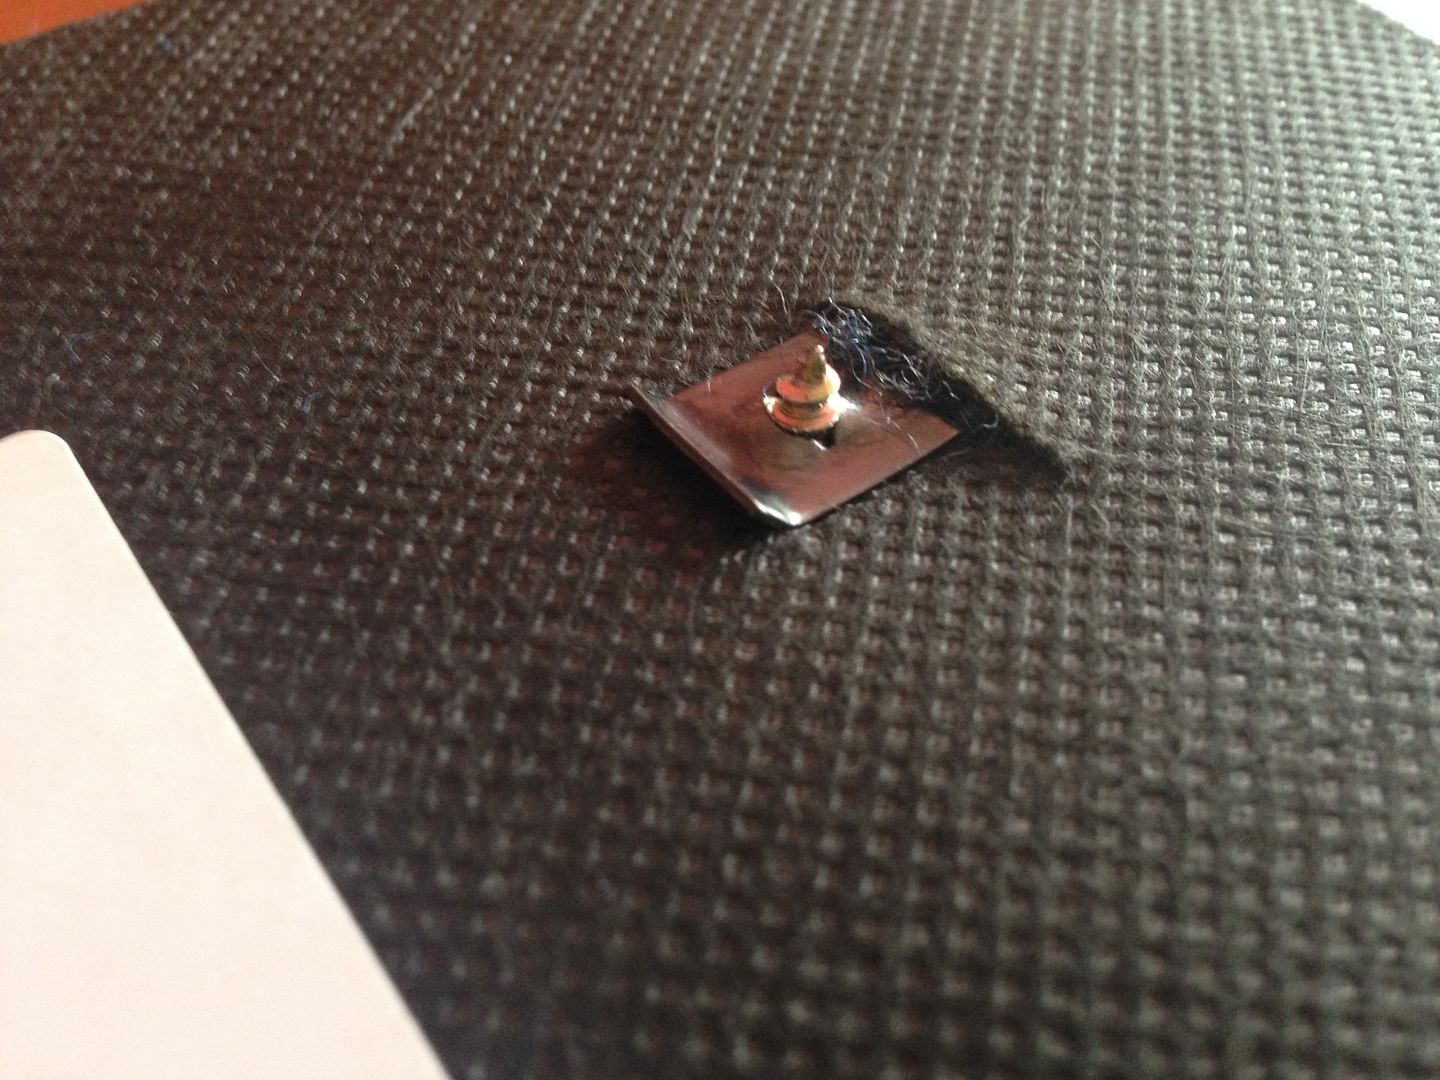
Been doing some final touches!
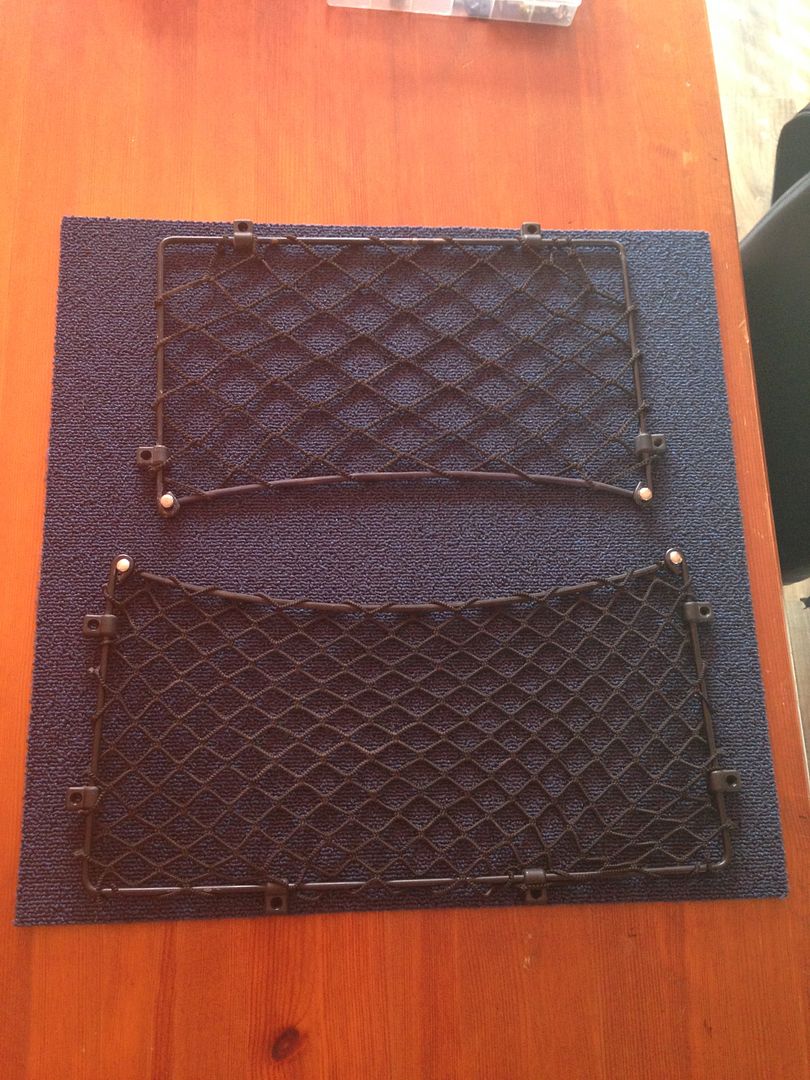
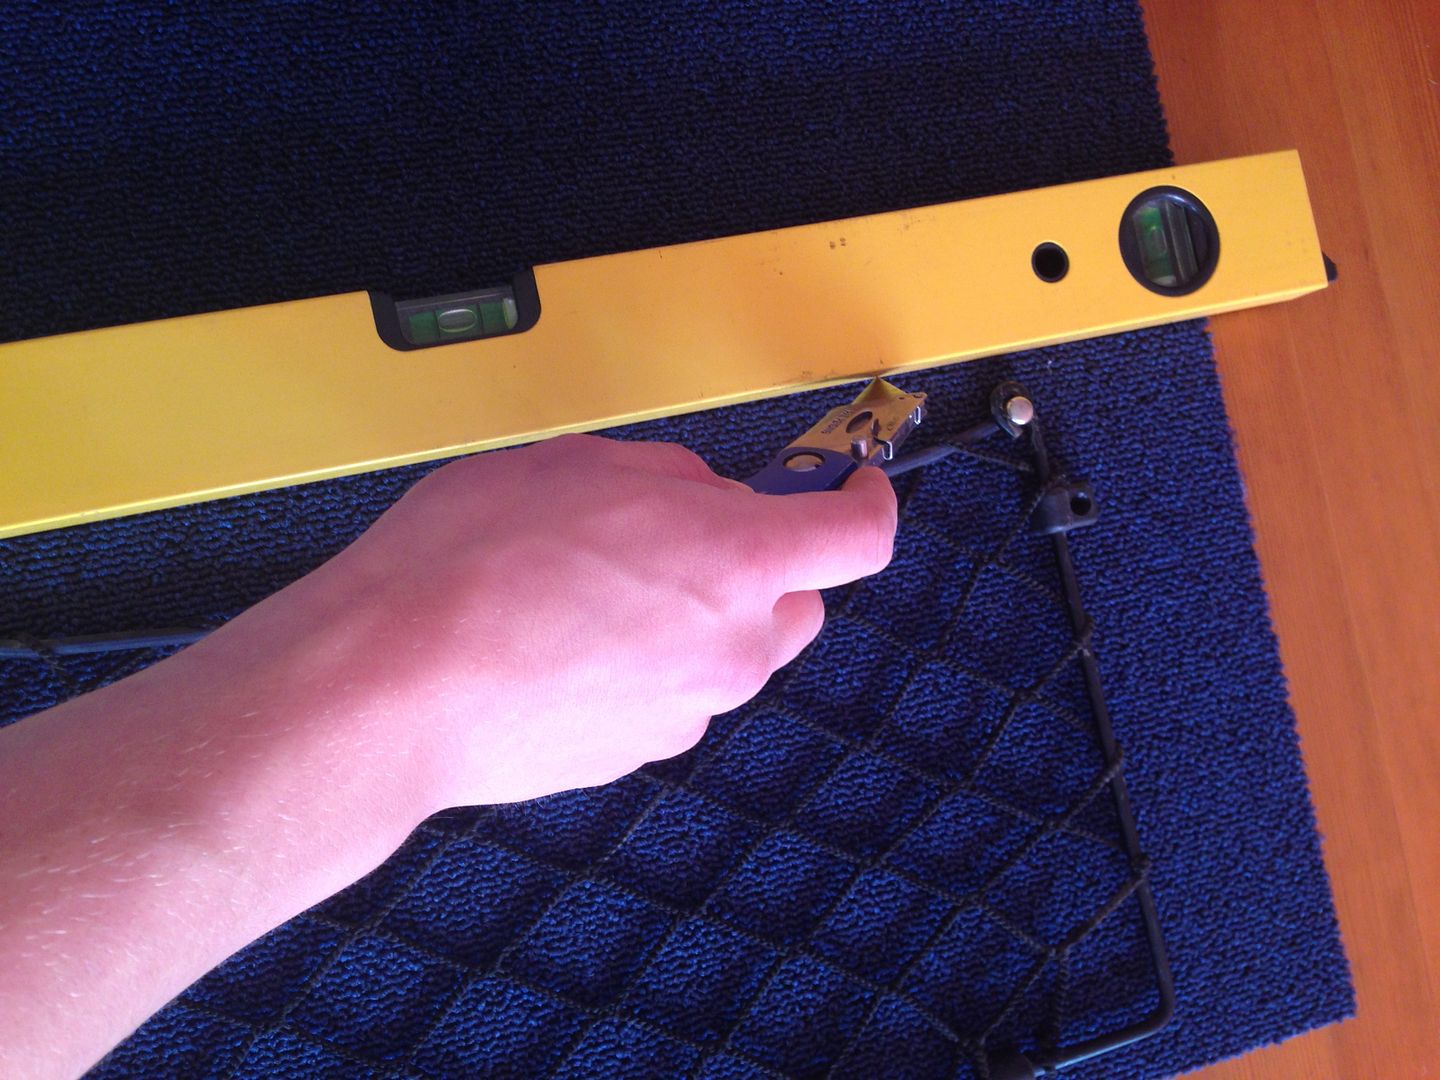
Making this modification for the rear wheel arches!

Needs some finishing but atleast the plastic won't rot! |
|
| Logged |
|
|
|
Reply: 83 - 114 |
|
|
| lord |
| Posted on: Tuesday, April 7th, 2015, 10:01:13pm |
|
|
|
thats a great idea.....
you know what would be great if someone can do the plastic undertray like you get on modern cars etc... under the front and the floor etc....
|
|
| Logged |
|
|
|
Reply: 84 - 114 |
|
|
| Crazyed |
| Posted on: Wednesday, April 8th, 2015, 6:32:37am |
|
|
|
Or just plastic form the whole underside of the car!
And if someone else could stop wet weather and find a cure for corrosion? ( maybe I'm asking to much?)
The plastic there in the picture is that of plastic forming it's tough but still flexible!
|
|
| Logged |
|
|
|
Reply: 85 - 114 |
|
|
| Bulletproof kimono |
| Posted on: Wednesday, April 8th, 2015, 11:53:16am |
|
|
Big Member

Posts: 142
Posts Per Day: 0.11 |
|
|
| Logged |
|
|
 |
Reply: 86 - 114 |
|
|
| Crazyed |
| Posted on: Thursday, April 9th, 2015, 2:12:54pm |
|
|
|
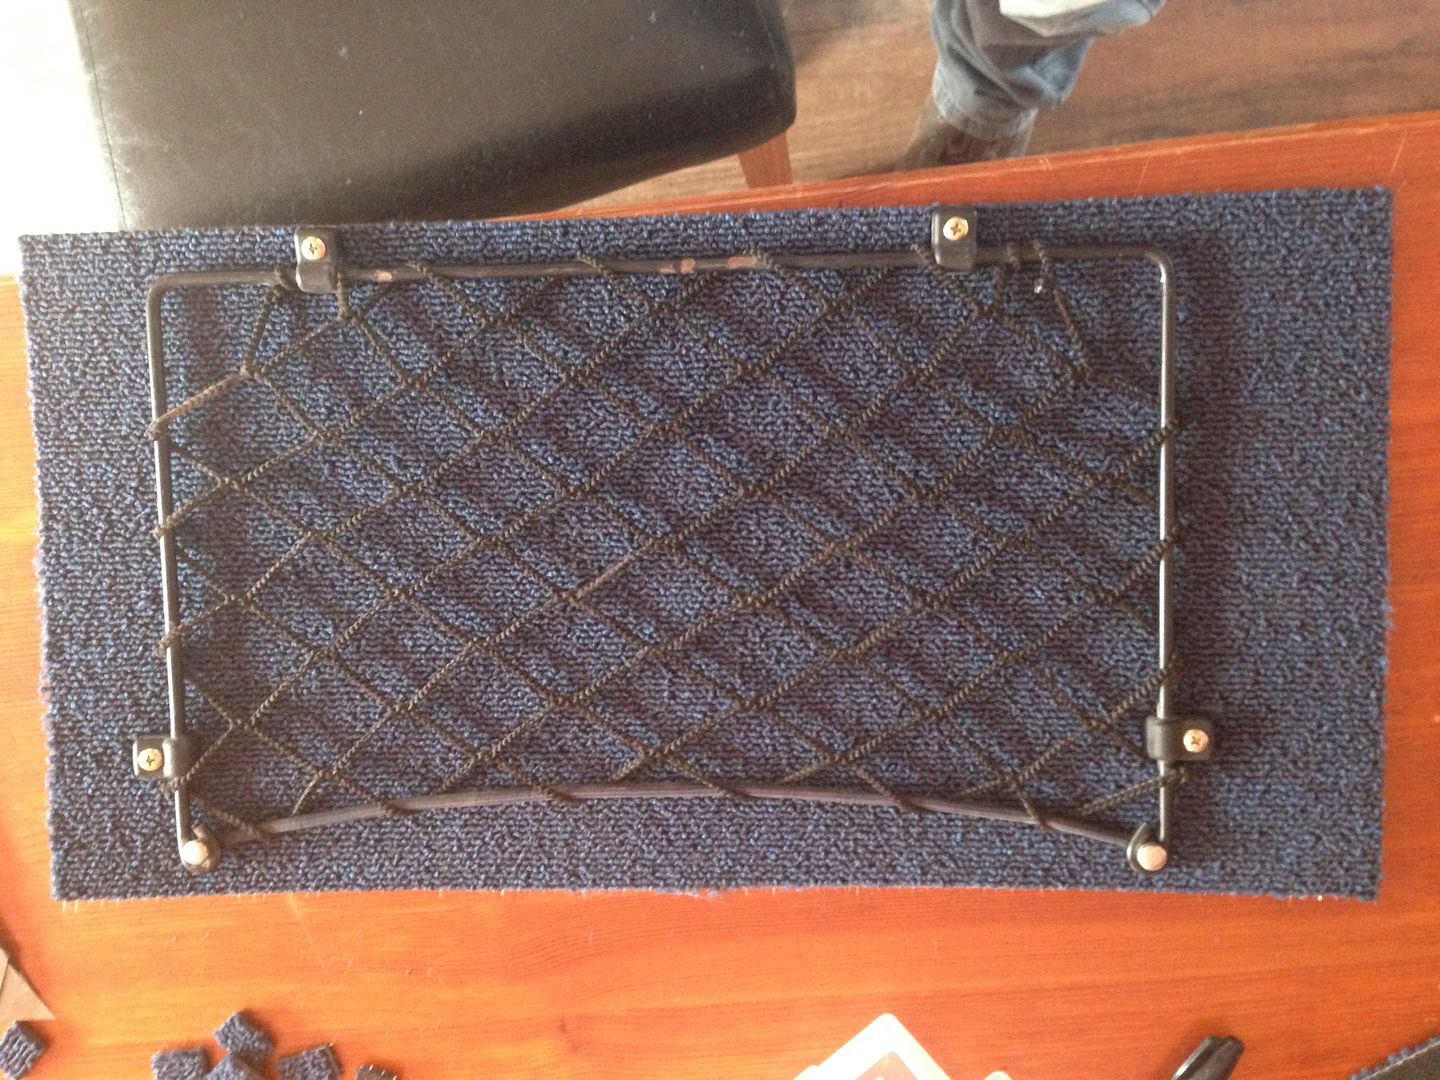
So all this work has been done and now it's ready for its MOT
That's the wheel arches painted up

And my modified wheel arches that won't Rot!
Just waiting for the MOT now 
|
|
| Logged |
|
|
|
Reply: 87 - 114 |
|
|
| Crazyed |
| Posted on: Wednesday, April 15th, 2015, 1:33:21pm |
|
|
|
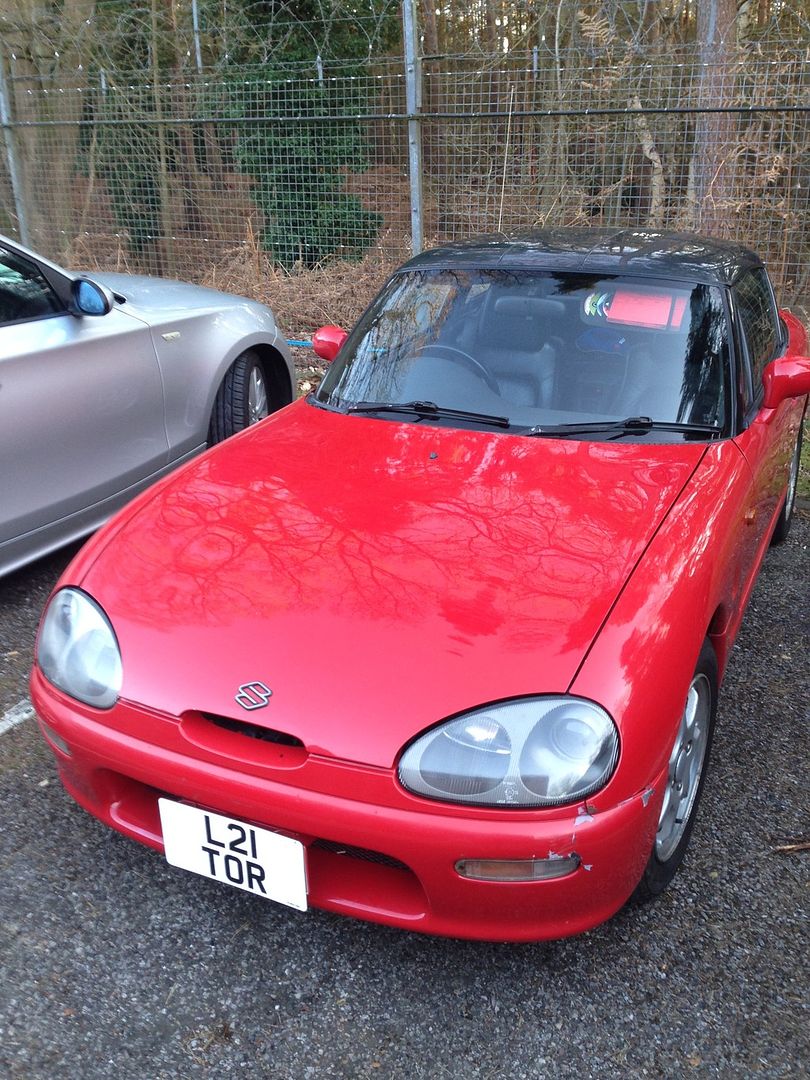
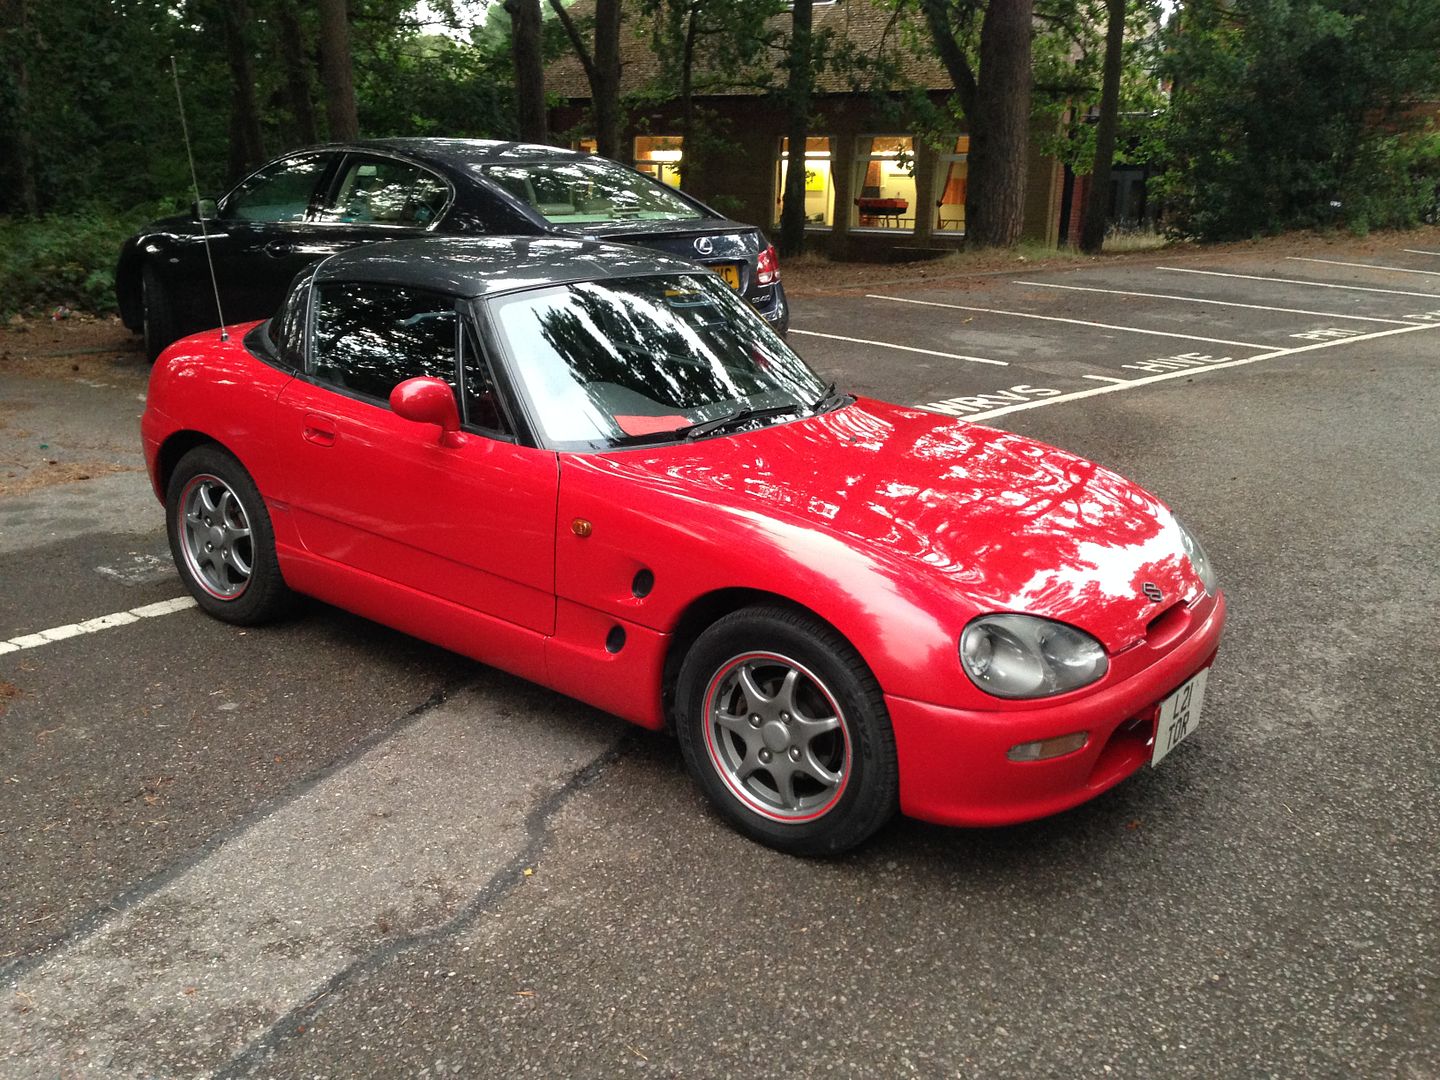
Passed its MoT
This was it before the MOT just doing the wheel alignment.
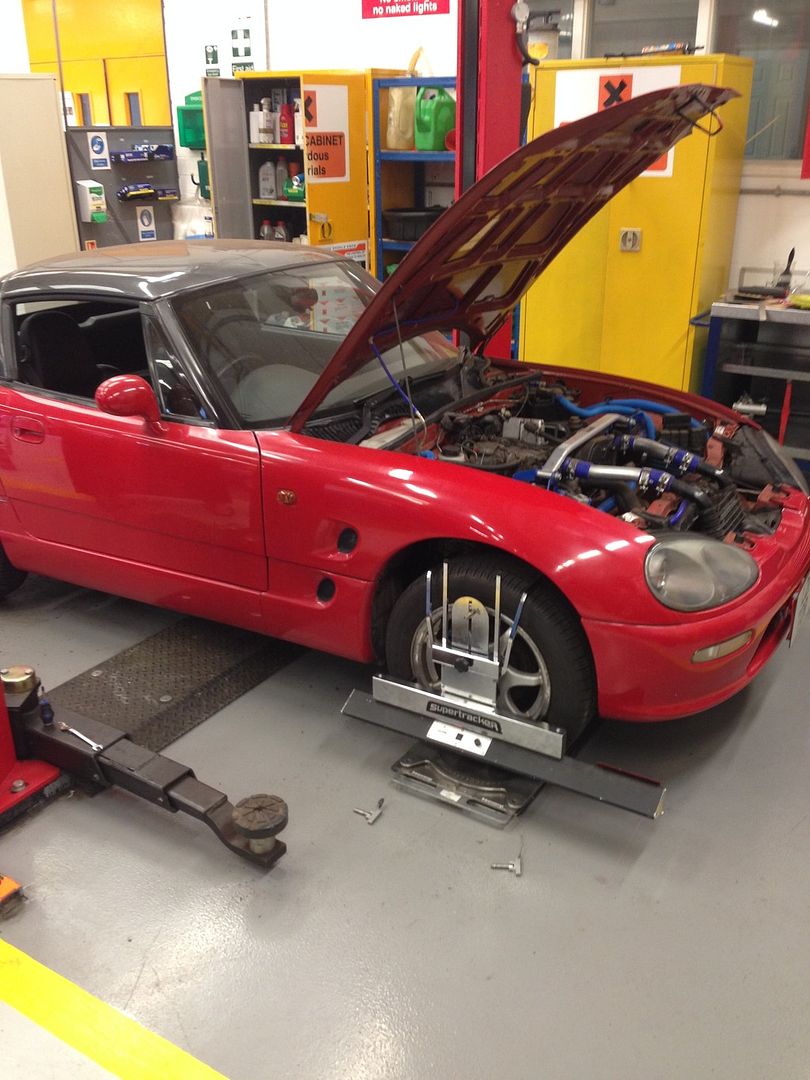
And after a wash because I spent three days driving her with the roof off and didn't even clean her (the shame)
 |
|
| Logged |
|
|
|
Reply: 88 - 114 |
|
|
| Crazyed |
| Posted on: Wednesday, July 8th, 2015, 9:21:45am |
|
|
|
|
| Logged |
|
|
|
Reply: 89 - 114 |
|
|
| Crazyed |
| Posted on: Wednesday, July 8th, 2015, 6:06:49pm |
|
|
|
Another oil and filter change done! Good for a few more thousand miles!
Also had the air con pressure tested today! It dropped about 3psi in 30mins which is apparently acceptable then it was topped up took a full 650 grams.
Not sure of it was 650 or 750 so we went for 650 to be safe!
It now works but it's not exactly ice cold maybe on a longer run it would be better?
Anyone else have working air con? |
|
| Logged |
|
|
|
Reply: 90 - 114 |
|
|
| Crazyed |
| Posted on: Monday, August 10th, 2015, 8:38:28pm |
|
|
|
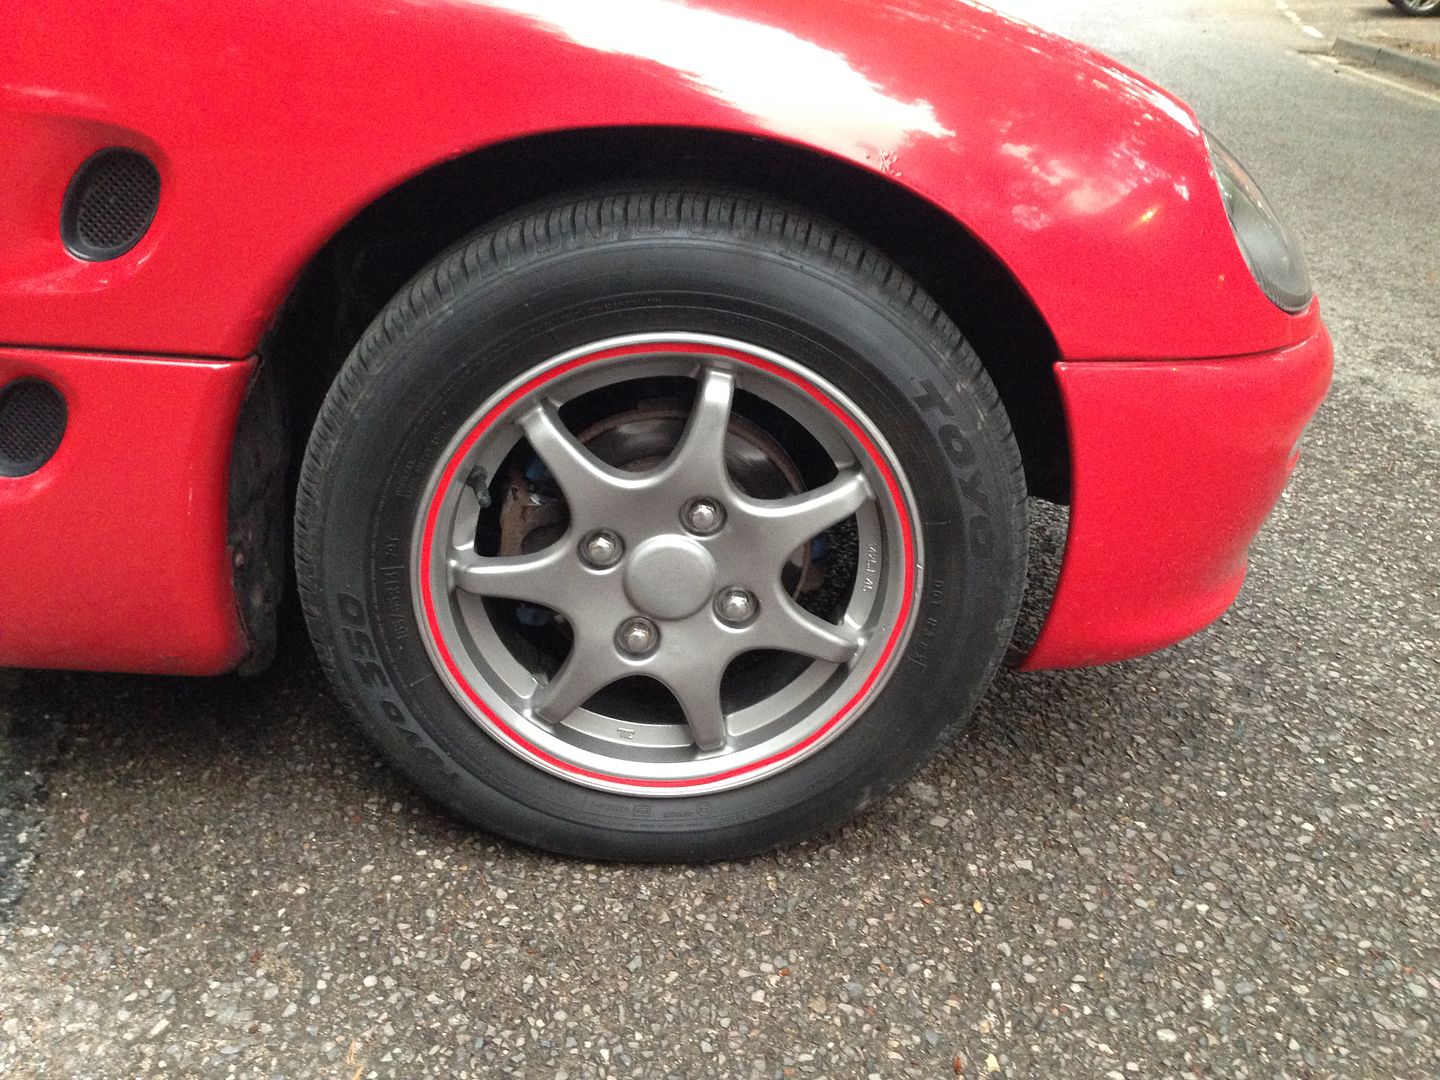
So the last few days I have spent cleaning up my alloys and painting them!
This is the end result!
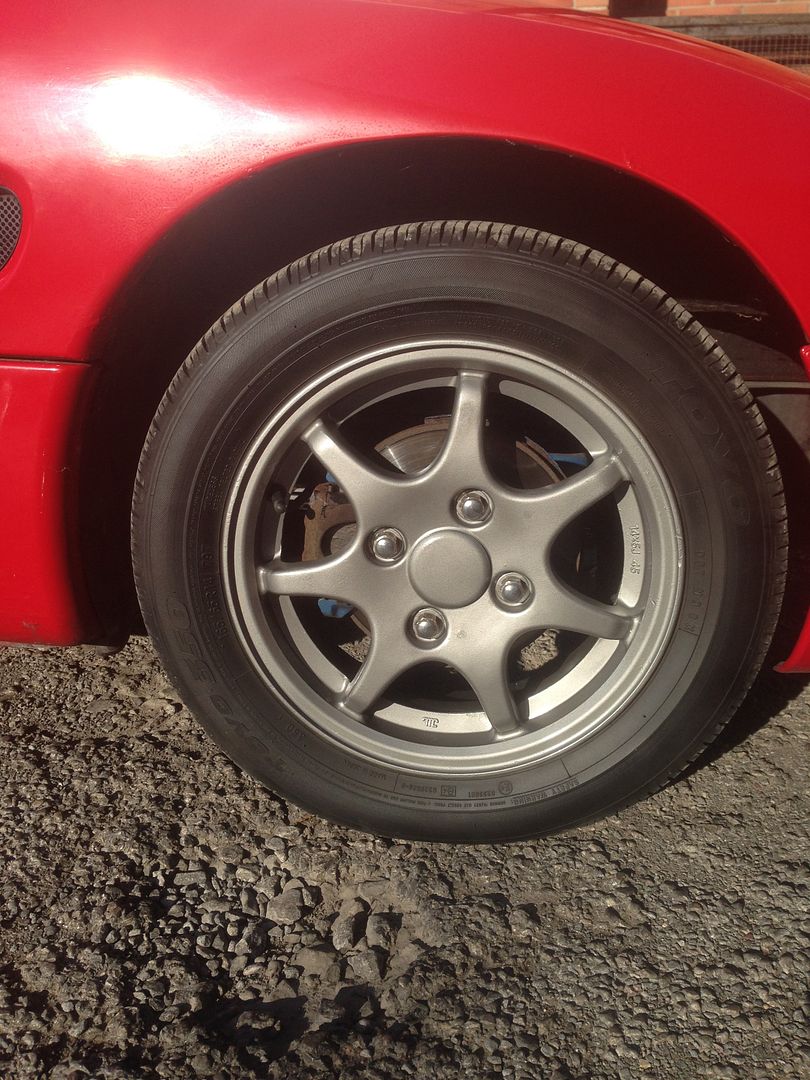
With some rim tape added
 |
|
| Logged |
|
|
|
Reply: 91 - 114 |
|
|
| sheffy |
| Posted on: Monday, August 17th, 2015, 2:12:48pm |
|
|
|
| Looks stunning mate. |
|
| Logged |
|
|
|
Reply: 92 - 114 |
|
|
| Crazyed |
| Posted on: Monday, August 17th, 2015, 5:36:56pm |
|
|
|
| Thanks very much! Will need a good polish and one more alloy to finish! |
|
| Logged |
|
|
|
Reply: 93 - 114 |
|
|
| Crazyed |
| Posted on: Friday, August 21st, 2015, 10:20:27am |
|
|
|
|
| Logged |
|
|
|
Reply: 94 - 114 |
|
|
| Crazyed |
| Posted on: Monday, August 31st, 2015, 5:54:50am |
|
|
|
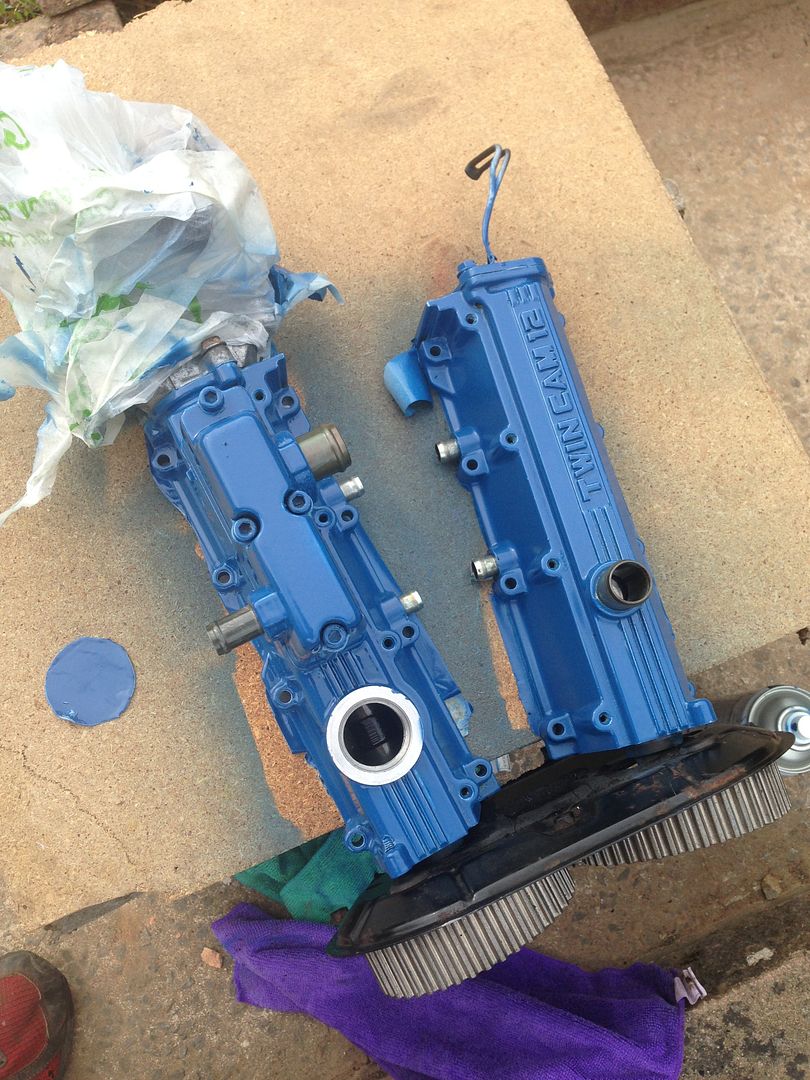
For a while now iv had a small oil leak at the back of my camshaft housing that leaks on to the exhaust manifold. Then I get some smoke and a nasty smell of burning or burnt oil!
Song purchased the gaskets at Suzuki for 18 quid each and under took the mammoth job that is!
First I removed the cambelt. The the camshaft housings.
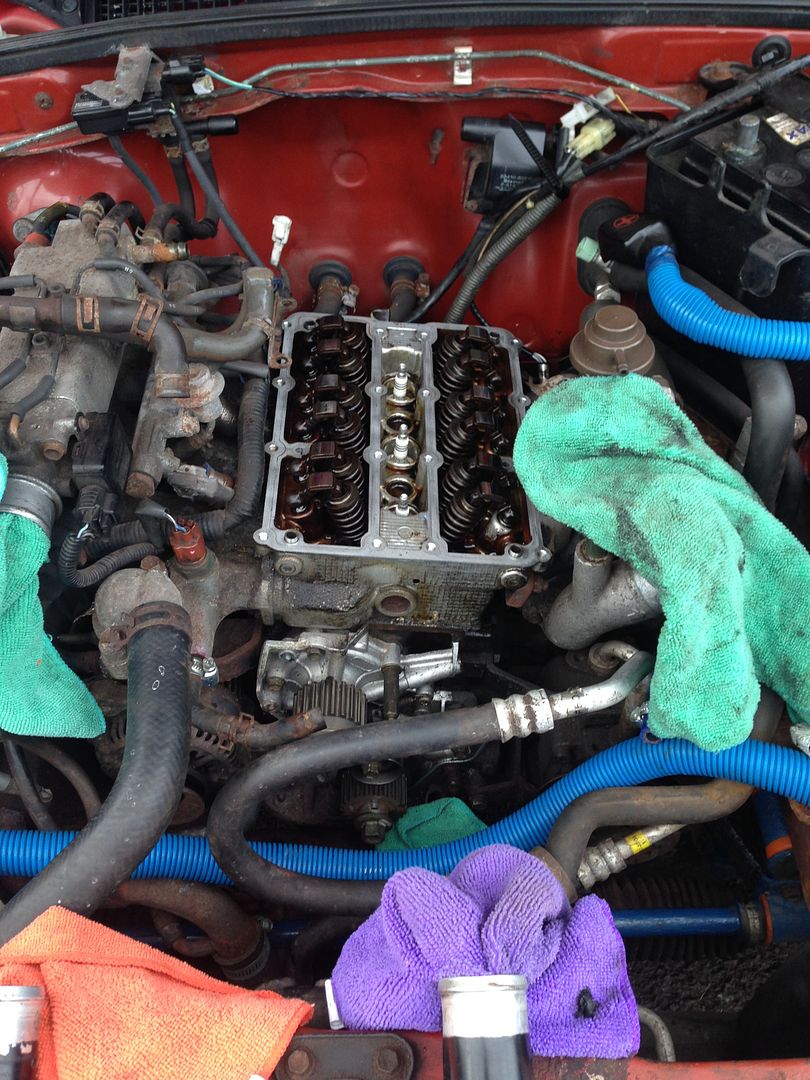
End result of a hard afternoons labour!
Then whilst everything was off I have it all a small lick of paint! To take away the rustic look of rust and ageing engine parts!
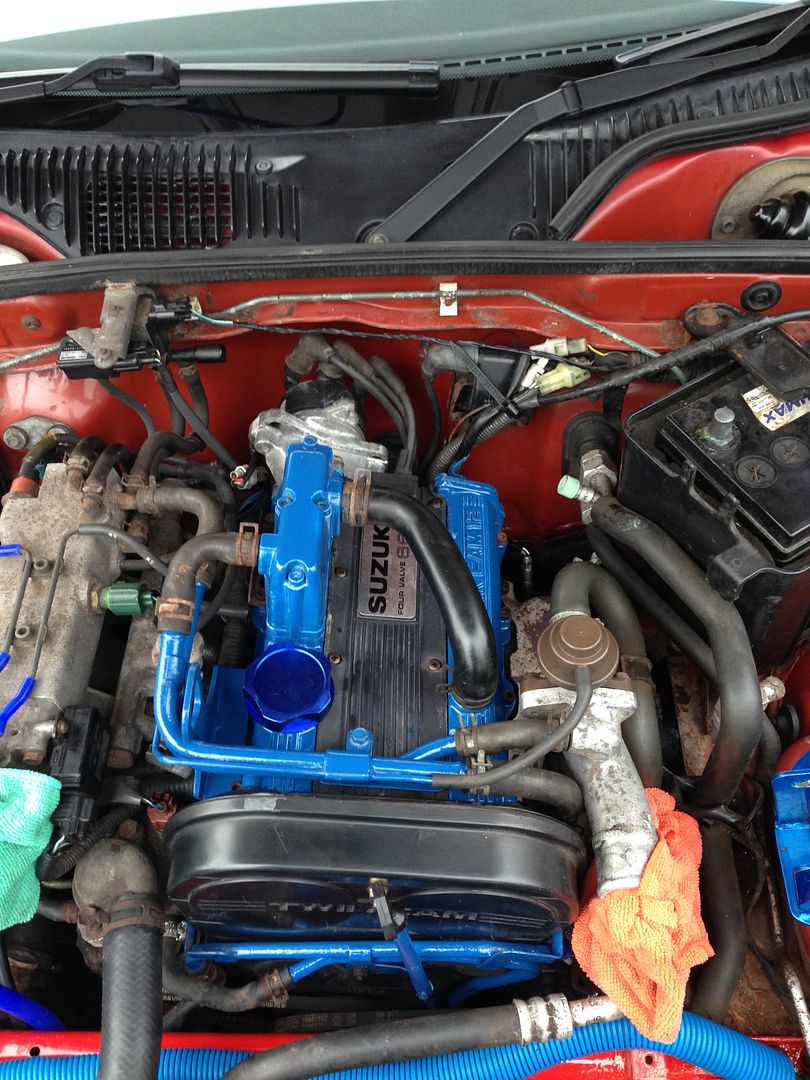
Then after it had all dried. I slowly wrestled it all back on!
Except for one of my coolant pipes which unfortunate was so rusty and flakey that when I started to remove the rust it actually has serval small wholes in it! So currently I'm searching around for one. Then I can finish the job . Top up coolant engine oil and run her up check for leaks and that everything is all ok!
So far this is the slightly new look. Without my shiney bits added!

 |
|
| Logged |
|
|
|
Reply: 95 - 114 |
|
|
| Crazyed |
| Posted on: Friday, September 4th, 2015, 7:50:17am |
|
|
|
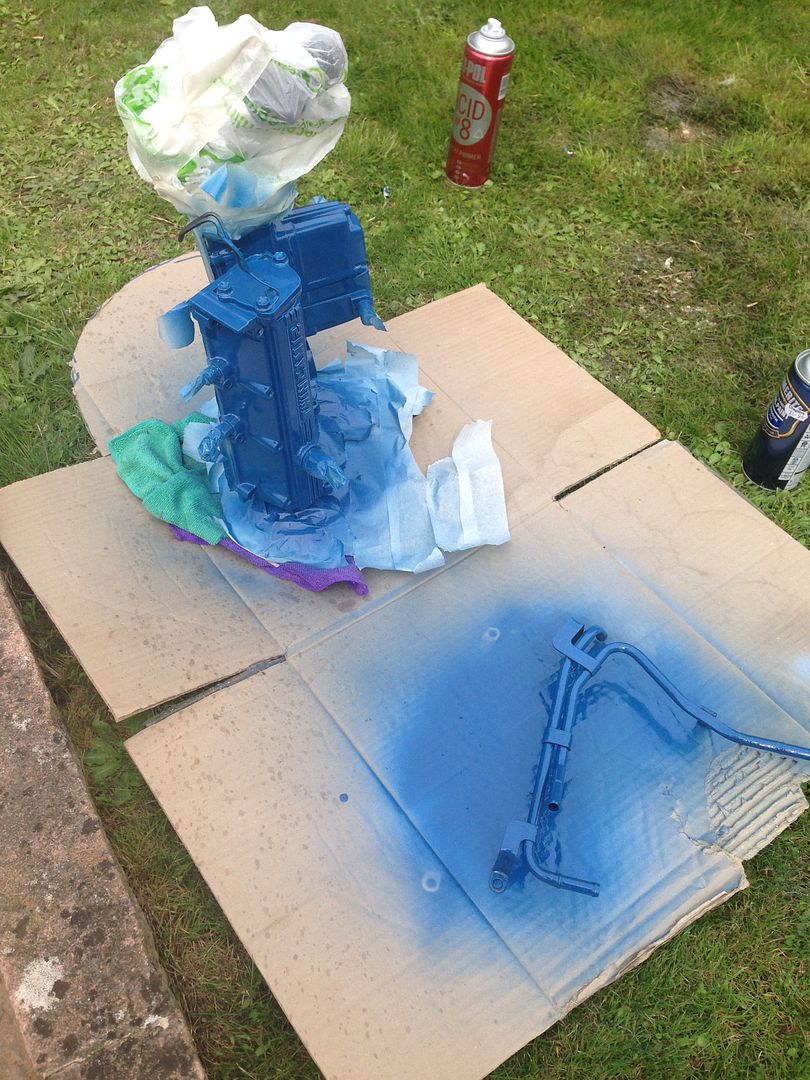
Last pipe painted and shall fit later
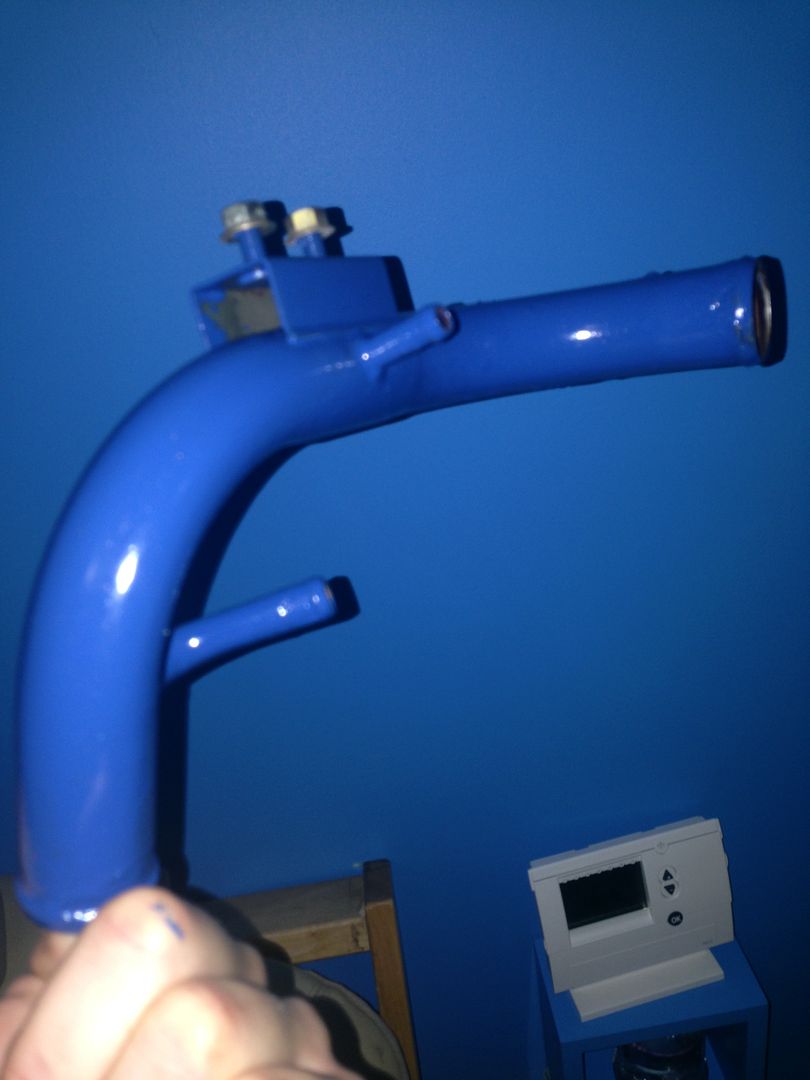
Then rebuild and pray it all runs again |
|
| Logged |
|
|
|
Reply: 96 - 114 |
|
|
| Crazyed |
| Posted on: Saturday, September 5th, 2015, 7:32:18pm |
|
|
|
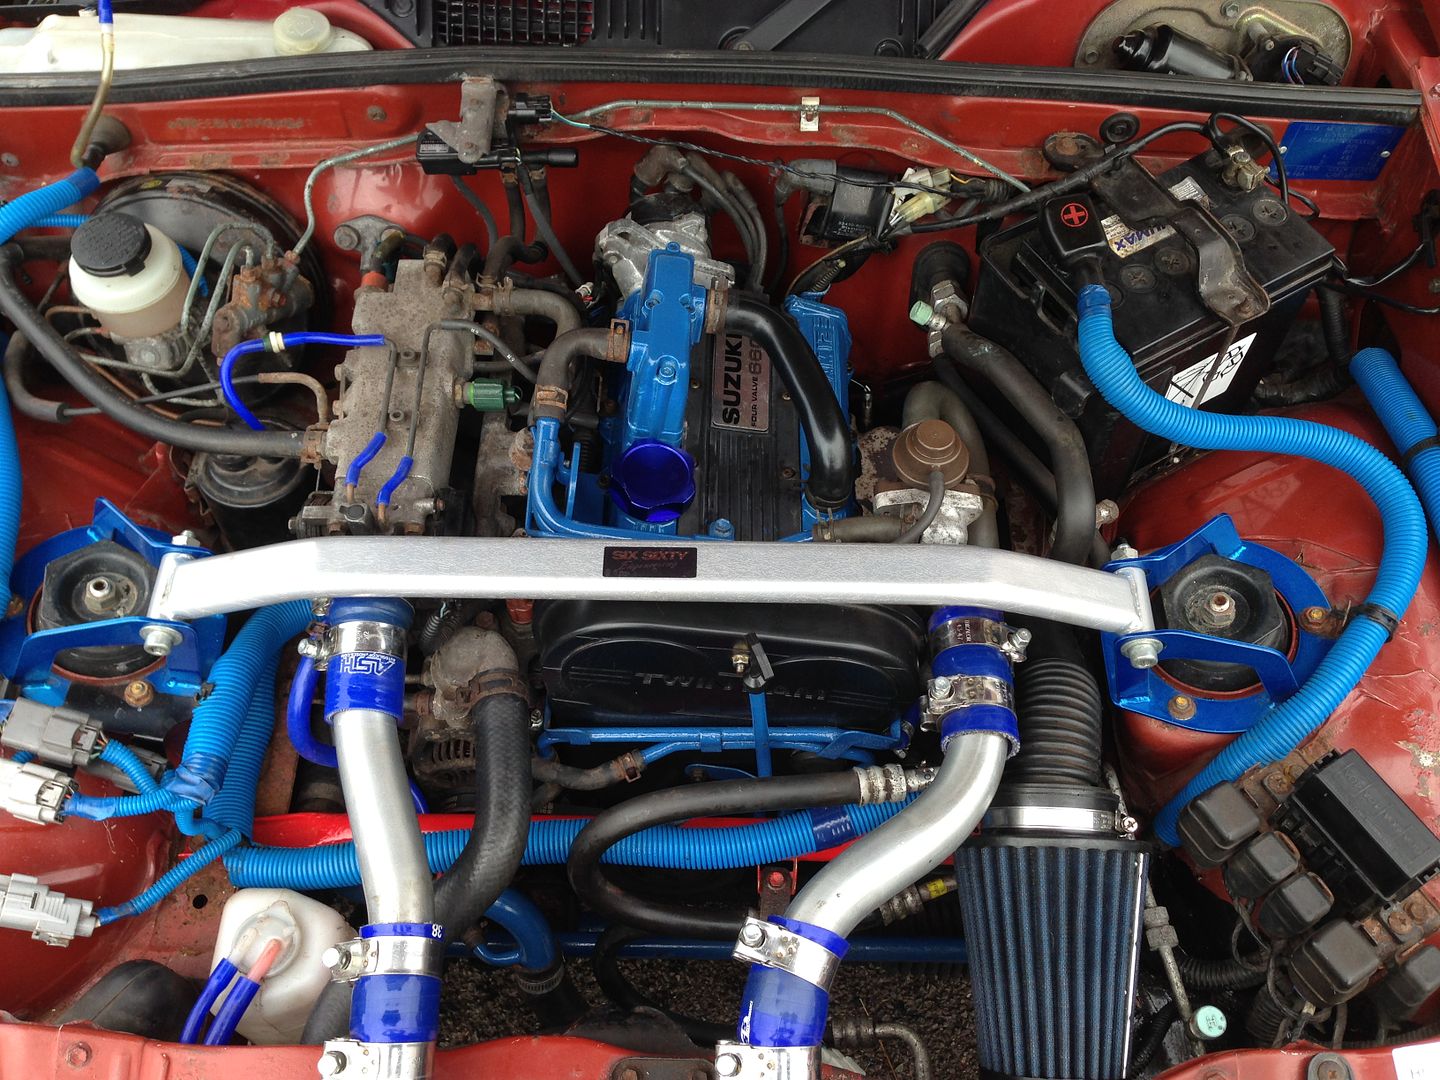
Work complete and engine is running fine now!
No oil leak as of yet!
Just need to reseat the dip stick as that's leaking.
 |
|
| Logged |
|
|
|
Reply: 97 - 114 |
|
|
| Andy |
| Posted on: Saturday, September 5th, 2015, 7:35:29pm |
|
|
Official C.O.C Contributor


Gender:  Male Male
Posts: 23604
Posts Per Day: 3.47 |
|
Looking really good. Great work  |
Drop me a PM if you would like to be added to the ClubCappo Member Map. More details can be found here.
We now have an official Facebook group as well as a page! See here |
|
| Logged |
|
|
| |
Reply: 98 - 114 |
|
|
| Crazyed |
| Posted on: Sunday, September 6th, 2015, 8:13:28pm |
|
|
|
Thanks Andy!
One day it may even be half tidy ! Hahahah |
|
| Logged |
|
|
|
Reply: 99 - 114 |
|
|
| Crazyed |
| Posted on: Saturday, September 12th, 2015, 1:58:49pm |
|
|
|
A very happy child today
 |
|
| Logged |
|
|
|
Reply: 100 - 114 |
|
|
| lord |
| Posted on: Tuesday, September 15th, 2015, 12:20:29pm |
|
|
|
|
| Logged |
|
|
|
Reply: 101 - 114 |
|
|
| Crazyed |
| Posted on: Wednesday, September 30th, 2015, 3:18:25pm |
|
|
|
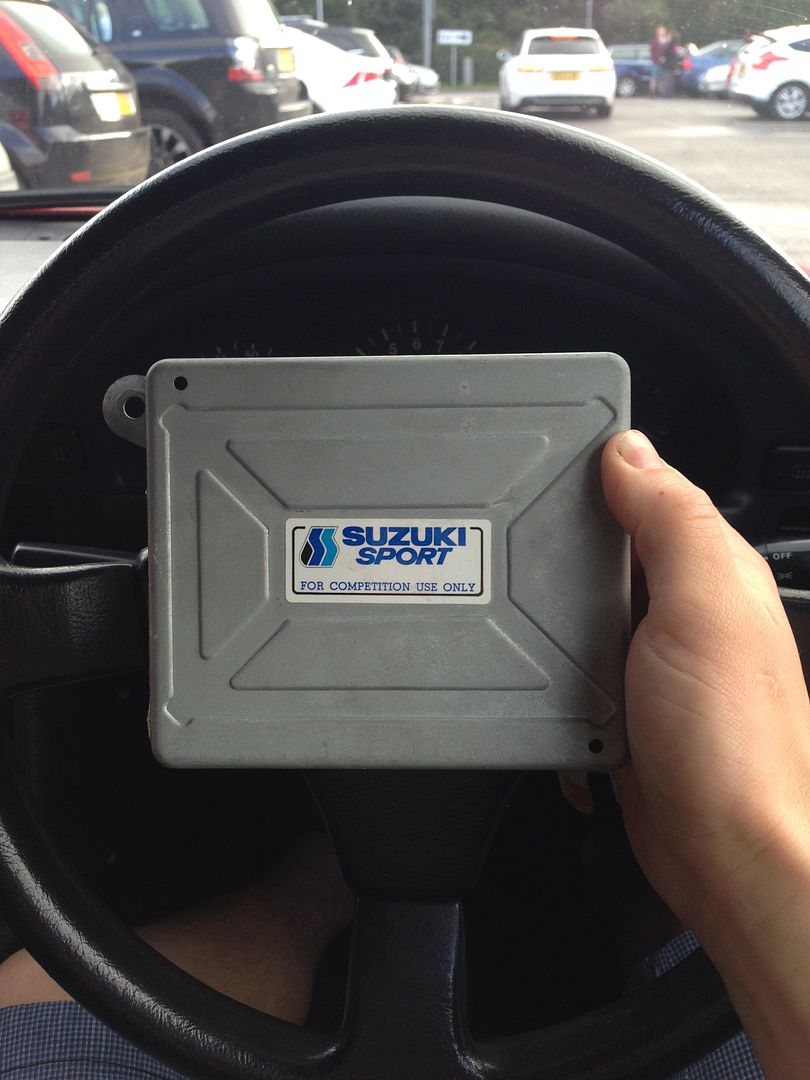
So after KKITP I have finally gone and fitted these! After they have been sat in the shed for months on end lols!

|
|
| Logged |
|
|
|
Reply: 102 - 114 |
|
|
| Crazyed |
| Posted on: Friday, October 2nd, 2015, 1:47:26pm |
|
|
|
Some new toys to fit
 |
|
| Logged |
|
|
|
Reply: 103 - 114 |
|
|
| Crazyed |
| Posted on: Saturday, October 3rd, 2015, 6:22:59pm |
|
|
|

Fitted my bleed valve today. Didn't adjust it at all. Fitted it and this was my boost reading.
Got a small amount of adjustment available.
|
|
| Logged |
|
|
|
Reply: 104 - 114 |
|
|
| Andy |
| Posted on: Saturday, October 3rd, 2015, 7:16:56pm |
|
|
Official C.O.C Contributor
Gender: Male
Posts: 23604
Posts Per Day: 3.47 |
|
Looks like a healthy 0.8 so you should feel a good benefit once it's up to 1.0 bar
|
Drop me a PM if you would like to be added to the ClubCappo Member Map. More details can be found here.
We now have an official Facebook group as well as a page! See here |
|
| Logged |
|
|
| |
Reply: 105 - 114 |
|
|
| Crazyed |
| Posted on: Sunday, October 4th, 2015, 9:10:56am |
|
|
|
I litrelly fitted the bleed valve. And this was my first reading. So on my way to work I shall take an extra hour to get there so I can slowly adjust it up to get a safe 1Bar.
Then I shall try and make a good cold air feed for it, then get it on the rolling road and see what I'm producing....or not hahahhaha! |
|
| Logged |
|
|
|
Reply: 106 - 114 |
|
|
| Avar |
| Posted on: Sunday, October 4th, 2015, 12:01:22pm |
|
|
|
| The ECU coupled with increased boost should be good fun, but look out, the weathers soon to deteriorate and getting used to the increase in power you'll get could be a touch hazardous with slippy roads. |
|
| Logged |
|
|
|
Reply: 107 - 114 |
|
|
| Andy |
| Posted on: Sunday, October 4th, 2015, 12:05:40pm |
|
|
Official C.O.C Contributor
Gender: Male
Posts: 23604
Posts Per Day: 3.47 |
|
| Which is where an electronic boost controller, like the Gizzmo, comes into its own as you can have different presets for different conditions. |
Drop me a PM if you would like to be added to the ClubCappo Member Map. More details can be found here.
We now have an official Facebook group as well as a page! See here |
|
| Logged |
|
|
| |
Reply: 108 - 114 |
|
|
| Crazyed |
| Posted on: Monday, October 5th, 2015, 4:53:08pm |
|
|
|
| Totally agree just drove to town to the shop today in the rain and I'm not fulling running 1Bar yet and it was almost a hand full! |
|
| Logged |
|
|
|
Reply: 109 - 114 |
|
|
| Crazyed |
| Posted on: Tuesday, September 5th, 2017, 3:04:30am |
|
|
|
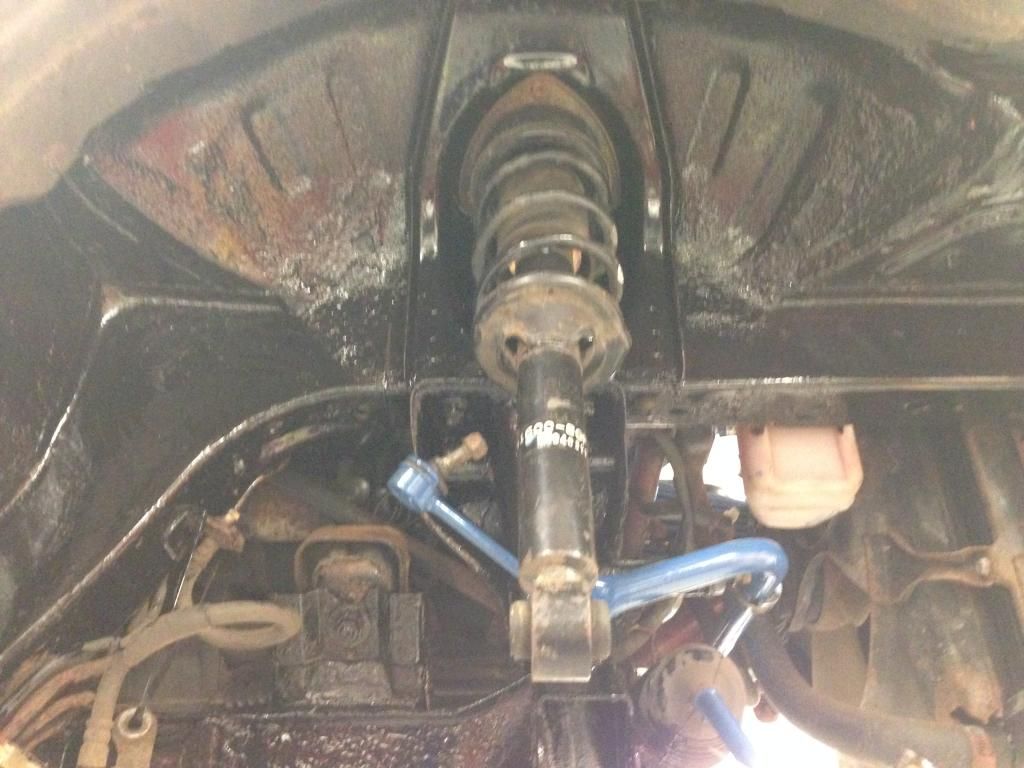
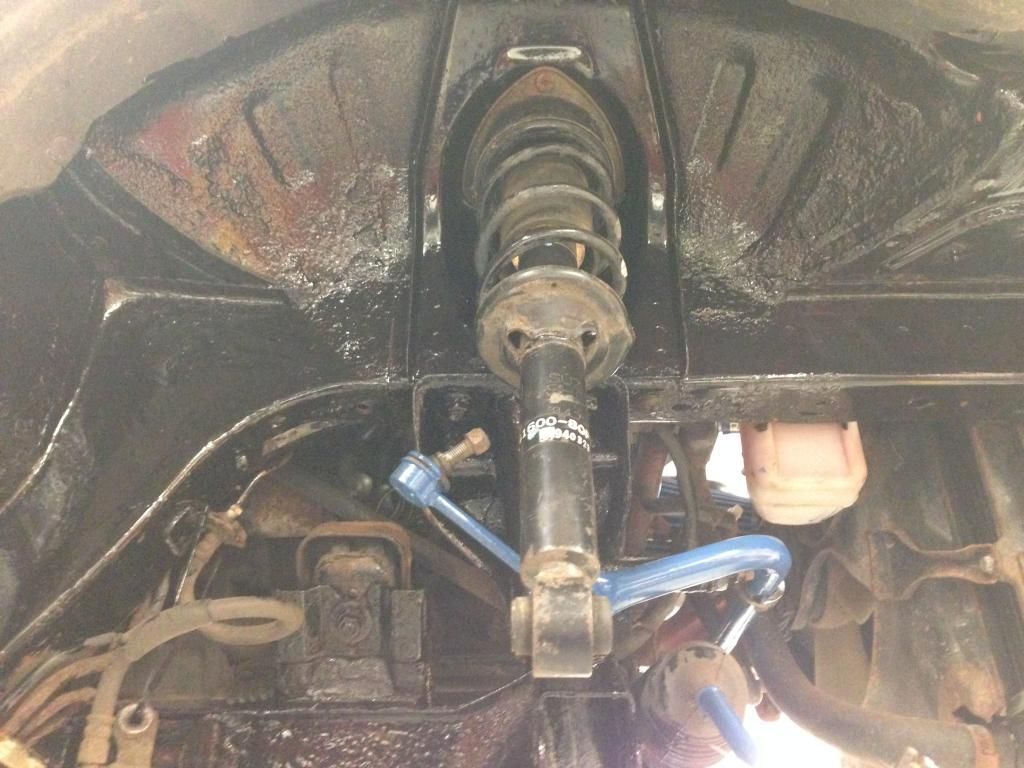
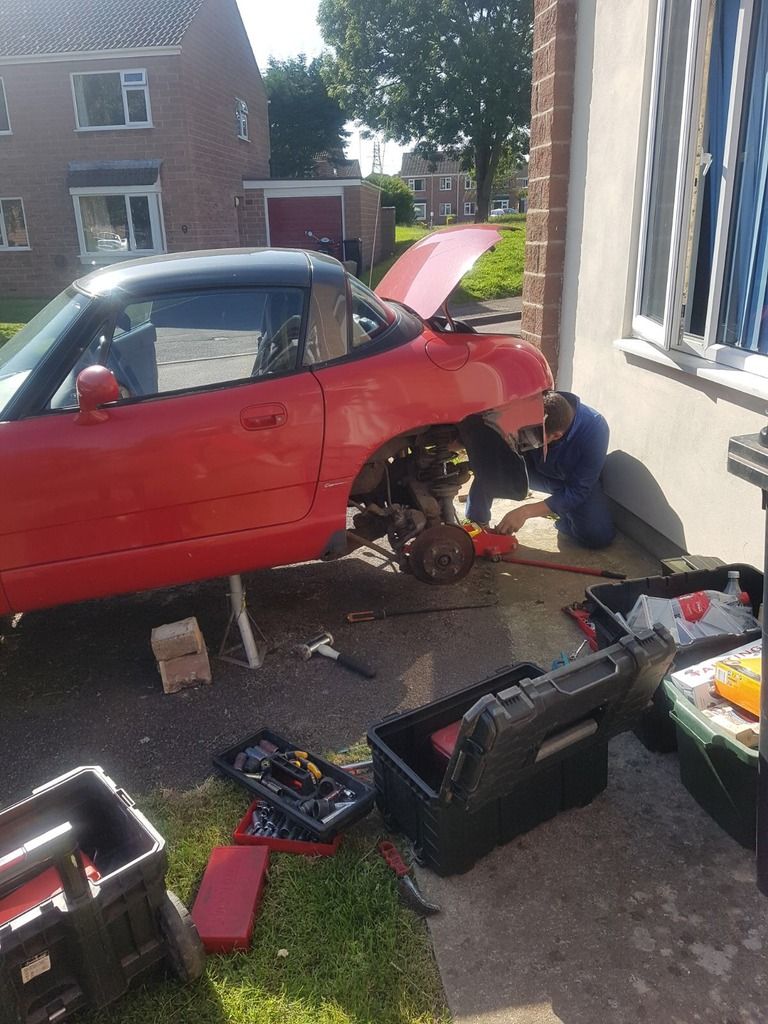
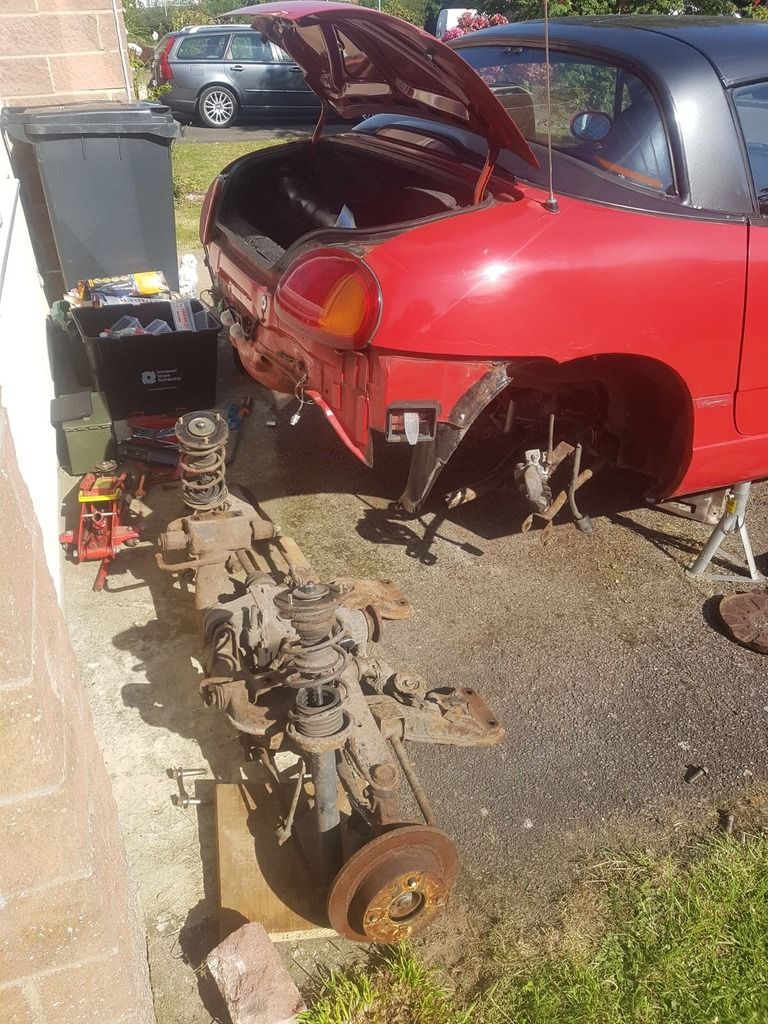
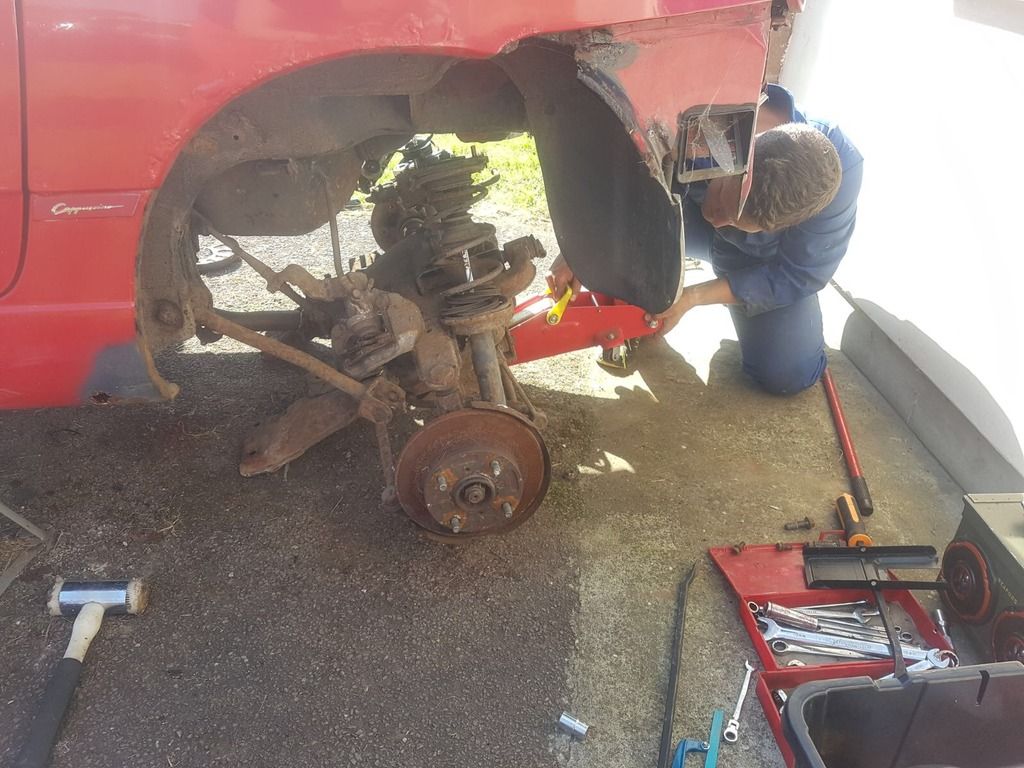
The Rust-aration .... may begin.
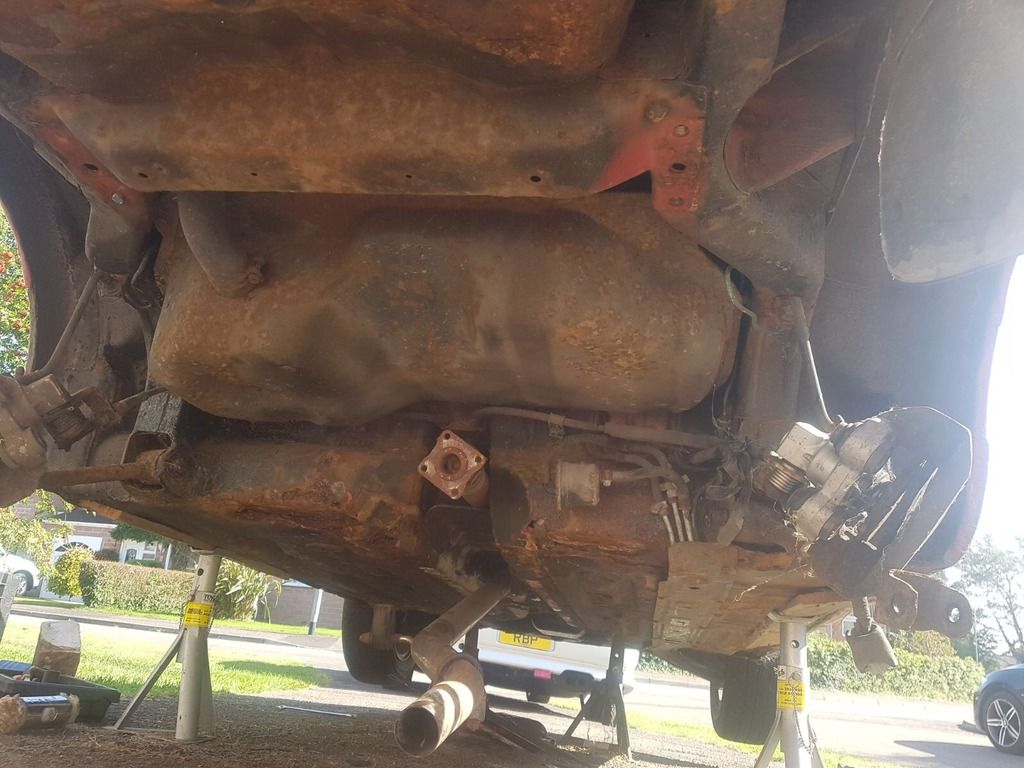
I have finally removed the rear subframe to be greeted with the horrors I'd prayed not to see.
- at this stage I shall be asking members for help and advice.
A large amount of fabrication looks like it's needed.
|
|
| Logged |
|
|
|
Reply: 110 - 114 |
|
|
| Andy |
| Posted on: Wednesday, September 6th, 2017, 9:08:01pm |
|
|
Official C.O.C Contributor
Gender: Male
Posts: 23604
Posts Per Day: 3.47 |
|
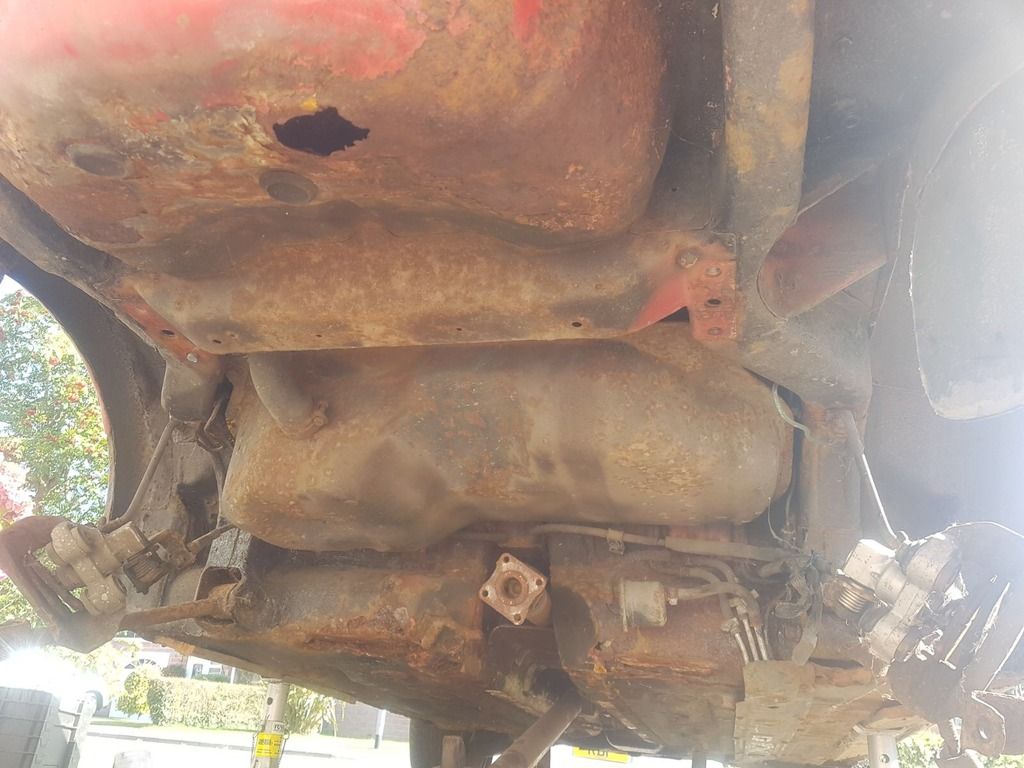
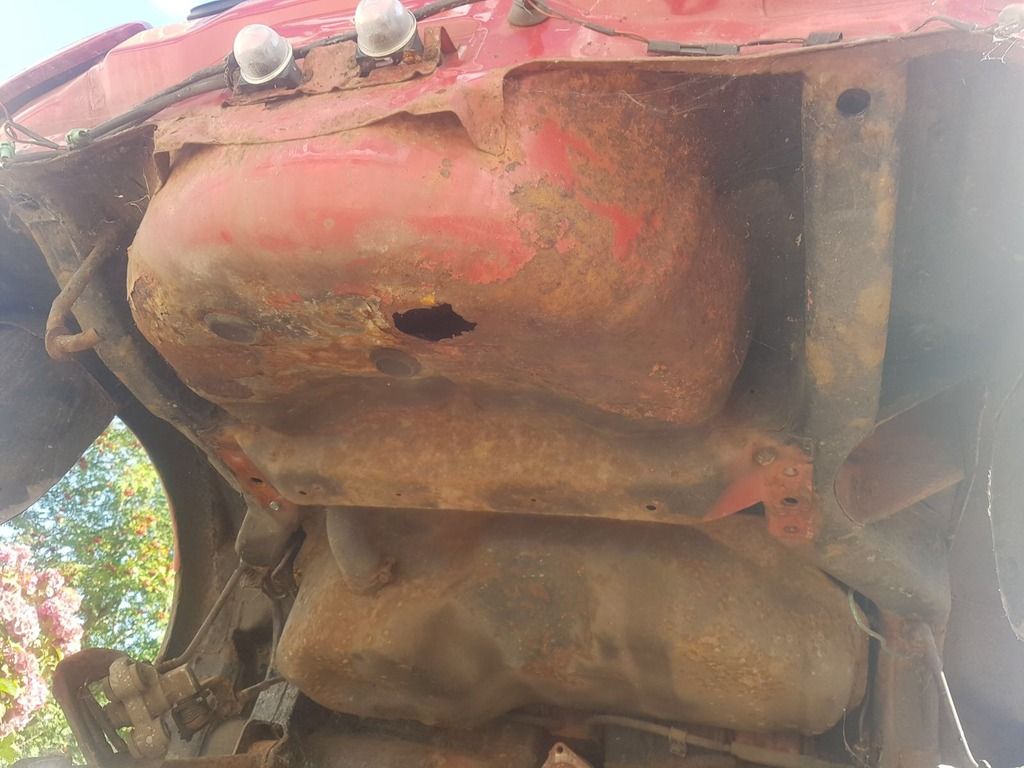
| The boot floor isn't too much of an issue that just needs a simple patch and the surface rust treating. The back of the floor pans though.... |
Drop me a PM if you would like to be added to the ClubCappo Member Map. More details can be found here.
We now have an official Facebook group as well as a page! See here |
|
| Logged |
|
|
| |
Reply: 111 - 114 |
|
|
| Crazyed |
| Posted on: Saturday, September 9th, 2017, 3:28:48am |
|
|
|
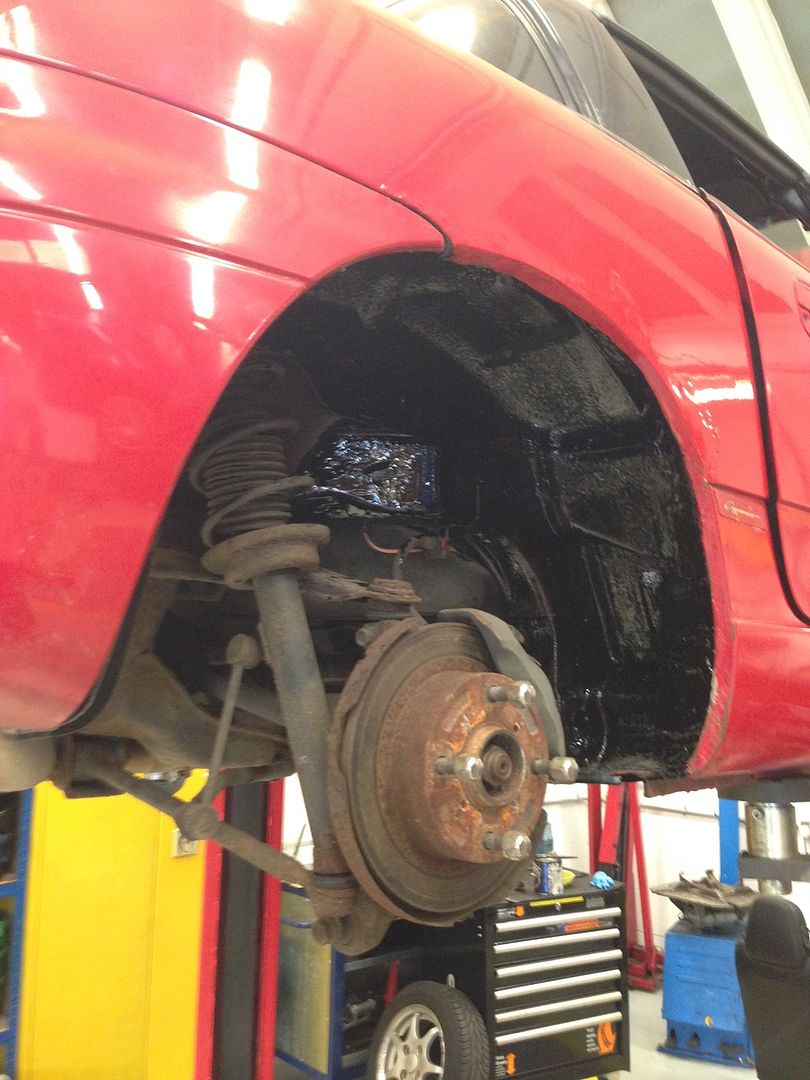
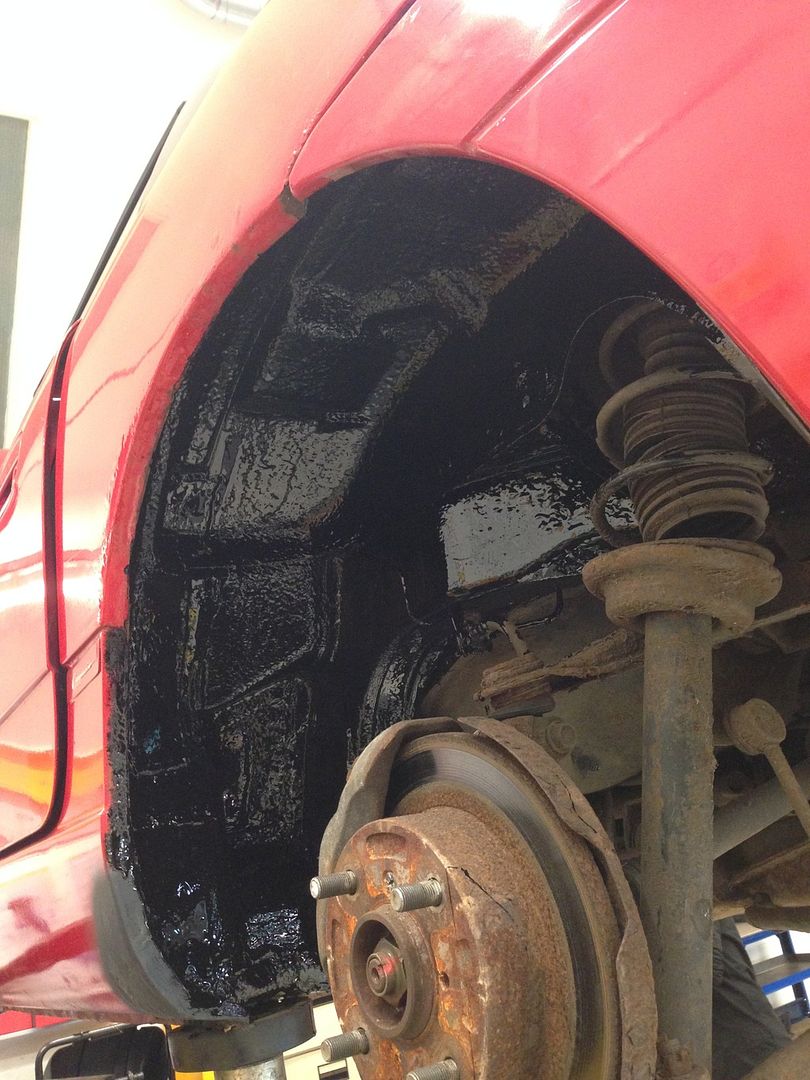
The boot floor is very thin...wafer thin! But that only needs to hold a little wheel in and my pork pies.
The rear floor pan where the subframe bolt... that is very bad!
Can I buy any panels for the floor?
Other than midget ones for the main floor pan? |
|
| Logged |
|
|
|
Reply: 112 - 114 |
|
|
| Andy |
| Posted on: Wednesday, September 13th, 2017, 6:02:59pm |
|
|
Official C.O.C Contributor
Gender: Male
Posts: 23604
Posts Per Day: 3.47 |
|
Sadly not 
|
Drop me a PM if you would like to be added to the ClubCappo Member Map. More details can be found here.
We now have an official Facebook group as well as a page! See here |
|
| Logged |
|
|
| |
Reply: 113 - 114 |
|
|
| pzooo |
| Posted on: Tuesday, May 22nd, 2018, 2:21:09pm |
|
|
|
| In hind sight would you have done things different? |
|
| Logged |
|
|
|
Reply: 114 - 114 |
|
|
|
 Cappuccino Owners Club › General Discussion Boards › Cappuccino In General › Project Pocket Rocket (Moderators: )


 Locked Board