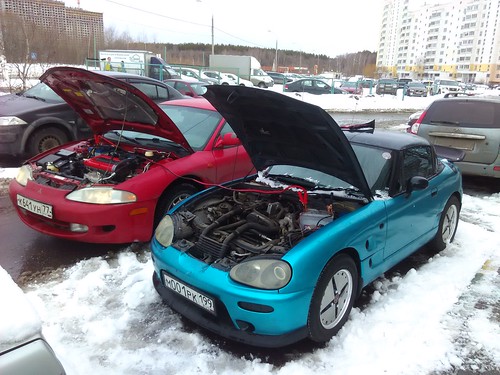
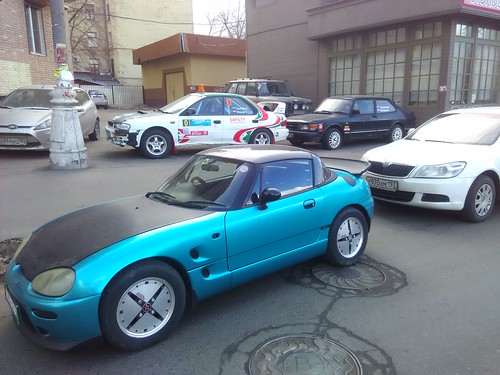
I'll start a thread to share with you and to document my progress. I'm Andrew, from Moscow, Russia. Bought a cappo in March'16. This is one of two cappos in Moscow. Quite a privileged club, with only a nice people in)). Also got a volvo 340 for the winter fun Link: http://www.volvo300mania.com/uk/forum/viewtopic.php?f=51&t=15599 And a second gen Eclipse [Quite a headache with restoration, link in Russian]: http://dsm-club.org/forum/showthread.php?t=67288
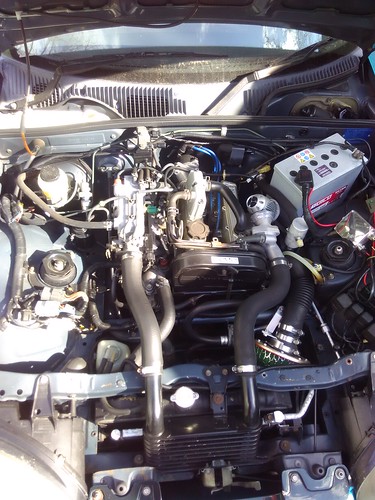
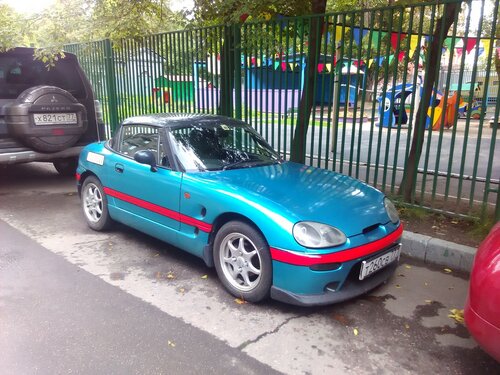
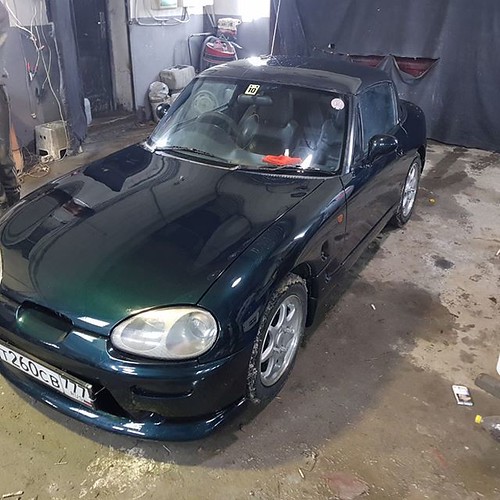
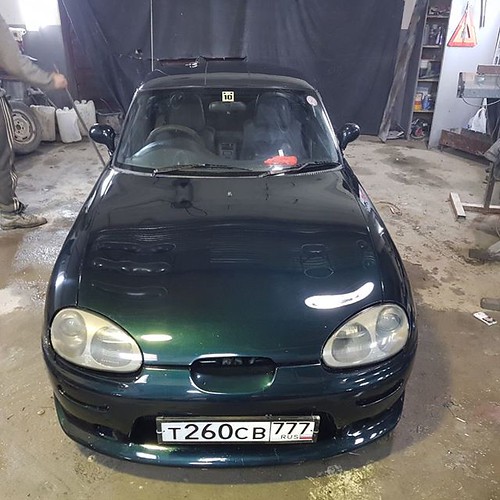
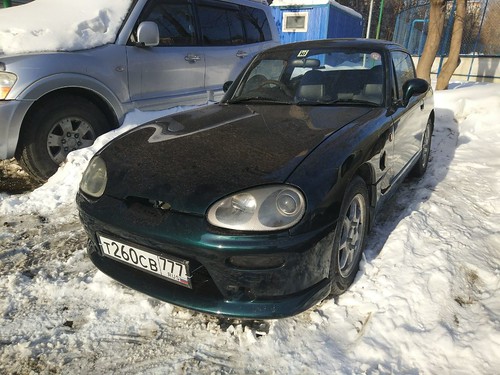
At the moment of the purchase it looked like this: Car is in good condition,60k kms, according to the odometer, pulls good and had no major accidents or rust. Has a massive compressor surge because of HKS blowoff, which i haven't yet managed to swap for a trouble free unit. To start with, i washed the engine bay and flushed coolant several times with cleaning product. It had some dirt at the bottom of expansion tank, so this was sorted first. Also swapped in the new washer reservoir that came with the car.
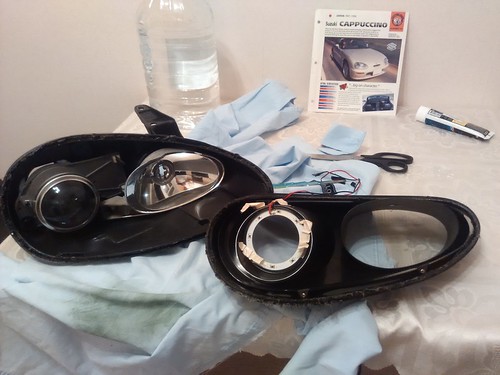
Next i dismantled the headlights. The glass was muddy and i only got one dip beam bulb and a block of xenon in the car. Also there were no sockets on the wires for the parking lights.
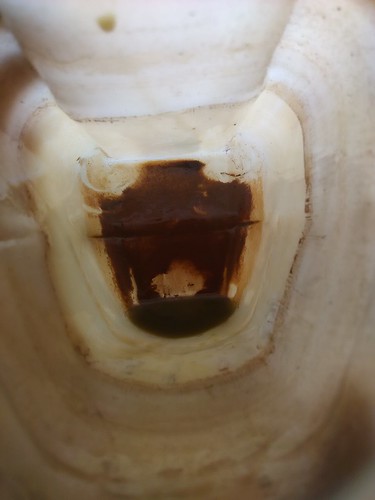
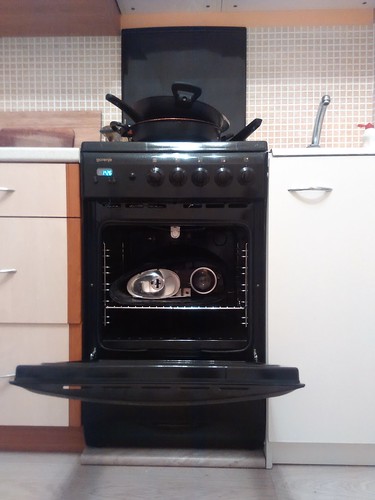
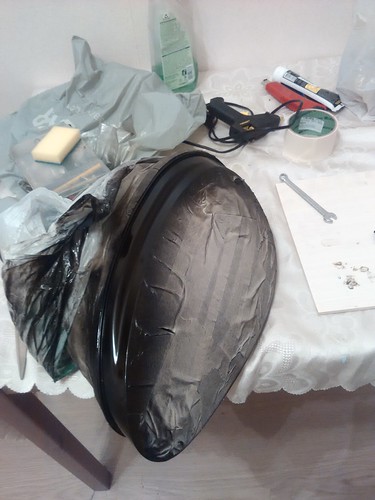
Disassembled the headlights in the oven, cleaned them and polished the glass. I've got modified parking lights but they were held in place with three small pieces of masking tape. After these were sorted and the outline was painted black i reassembled them back with plugs and proper sealing and got good clean headlights.
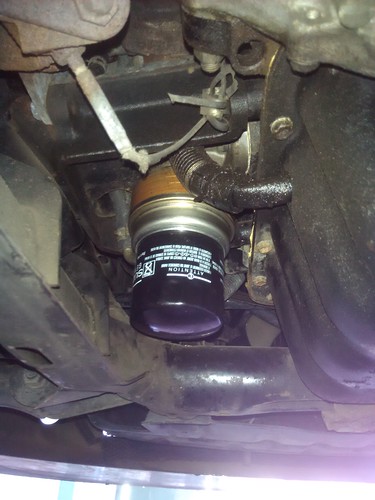
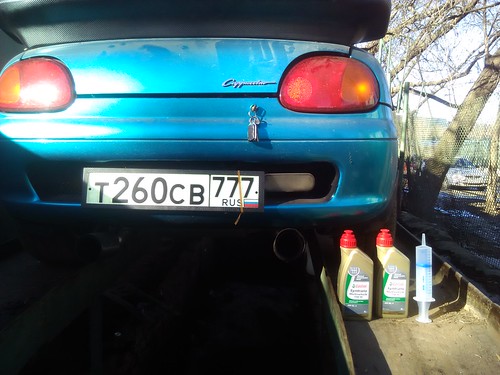
Then it was time for oil change in the engine, gearbox and diff. All went well except the drain plug in the diff - it didn't want to come out, so i managed to flush only half of the diff oil with the help of the big syringe with attached hose.
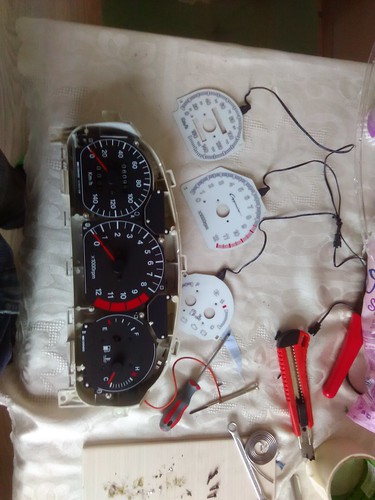
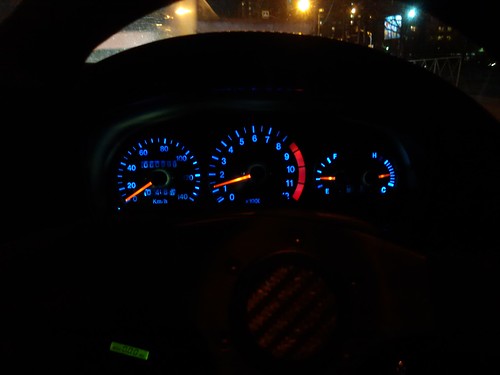
Then it was the time for the combination meter. It had ricer white self illuminating dials which were not connected to the power source, only one bulb worked for the backlight, oil bulb not working, tacho not working and the speedo showed +40 to the actual speed. I soldered my own LED RGB lights for the backlights and for the needles. soldered back the torn paths for the right half of the combination meter, found tacho to be not working because of the missing bolt for the ground signal to the tacho's motor and assembled it all back in right order. Not to bother you with the pictures of the process, the finished article looked like this (i ruined wires for the illumination of the two icons on the right side, will sort it out later)
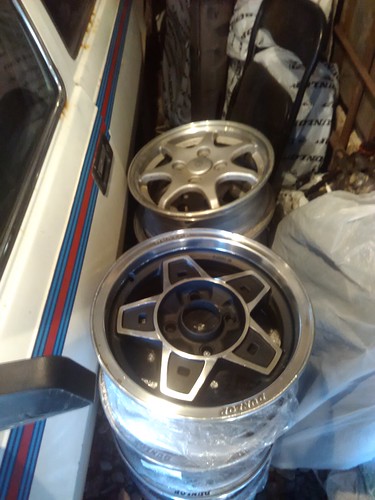
And since i could not stop myself and wanted to try, i bought another two sets of rims and a Yokohama Advan A048 semi slicks to see how the car would feel with them on.
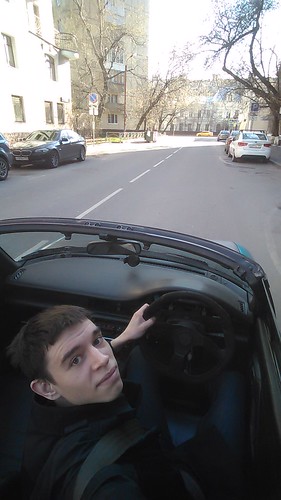
So there i'm now. Lots of fun with open top motoring. Ordered more parts like fuel filter and some for suspension. Waiting to install.
Last modified Friday, June 29th, 2018, 12:45:58am by _andrew
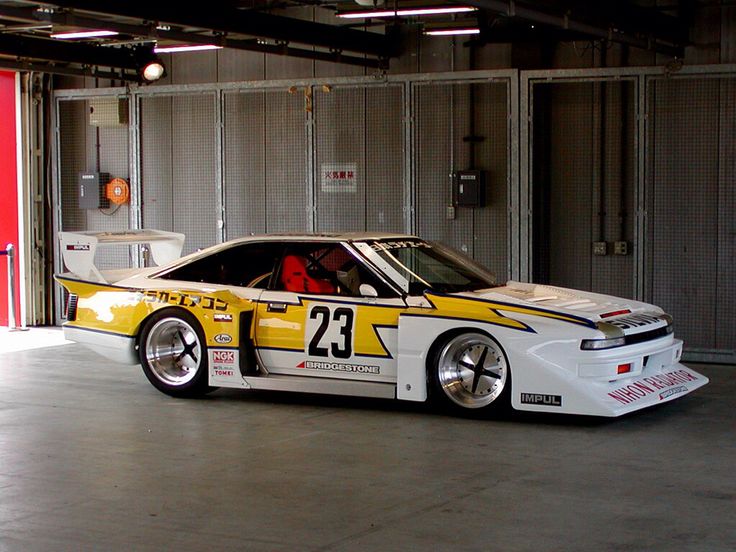
Thank you. Current wheels are Impul Hoshino D1. This design was used on Hoshino's gr.5 Silvia which raced back in 1980 in "silhouette" class. They make cappo look like as a small armored vehicle and rub the wheel arches due to improper choice of the tire height. But it was necessary evil because previous set of OZ'es were stolen from the car.
I was considering buying a pair with design "negative" to those to look like on the pic, but then found these Dunlops, which might suit on of my next intentions=)
The ones i'm currently cleaning and assembling are Dunlops which have 1979 stamped on them=)) Quite an automobilia items on its own))
On the other news - i've checked and i seems to be boosting to 1.15 bar atm. I wonder how it's all supported. Since the car run for quite a few years like this and didn't melt anything i hope i won't find any nasty surprises. Plugs and pistons didn't show signs of oil or tear at the time of purchase.
Last modified Thursday, June 28th, 2018, 1:57:42pm by _andrew
I've got World's Hockey championship going on on my street, a lot of action around. So i washed my dunlop rims from this
to this.
out go Impuls, in go Dunlops. Still a little scrubbing arches, but no more during turning the wheels, only during suspension articulations at hardest turns.
Covered new wheels with the coat of urethane spray. Will see how it protects the rims from dirt.
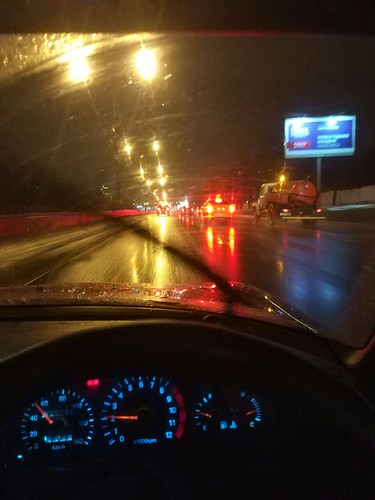
Went to the near town of Tula (200km one way). Picked up new headunit - Pioneer P80rs. Car didn't skip a beat. Comfortable speed is 90kph. Fuel consumption was less than 5l/100km, including 3 hours traffic jam on the way back.
Installed new radio with the help of the workshop. Got good loud sound, no more cutting out half of the speakers sporadically. RGB adjustable back light and playing songs from phone via bluetooth. Feel totally happy.
Peeled off the film from the bonnet - plan to straighten and respray bonnet next week and to fit new sticker. Also polished headlight again to sort imperfections, recharged AC system and finally fit second dip-dim bulb. Sockets on those got outdated, so had to solder connectors from another set.
Finished LED lighting on central console. Job done. Happy with result. Need to fit additional dimmer to be able to adjust brightness. Fixed HVAC plastic screen - it had pieces broken off of it, Glued all back, Fitted lots of missing screws under the dash.
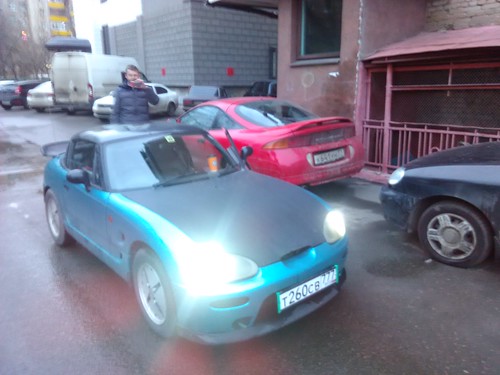
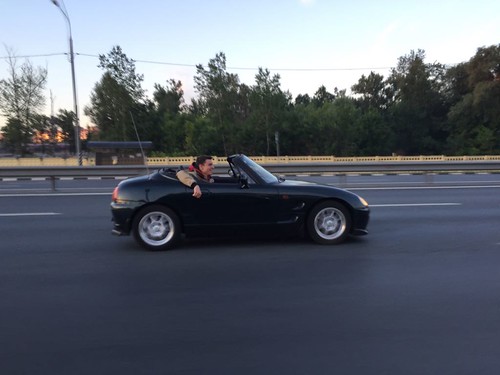
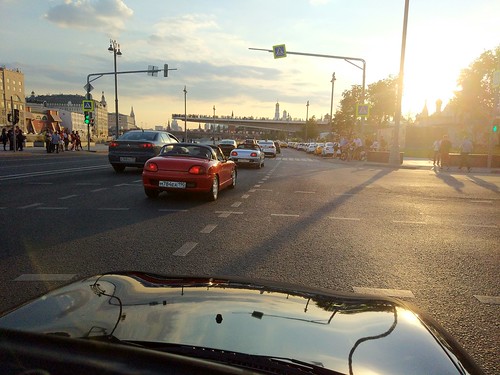
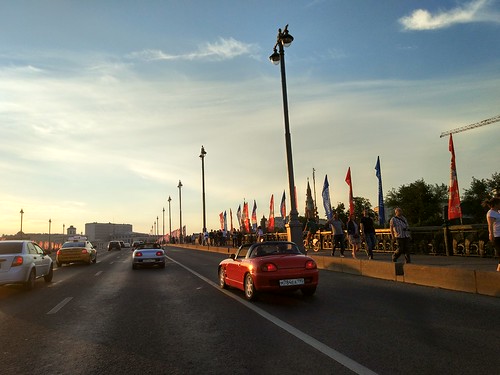
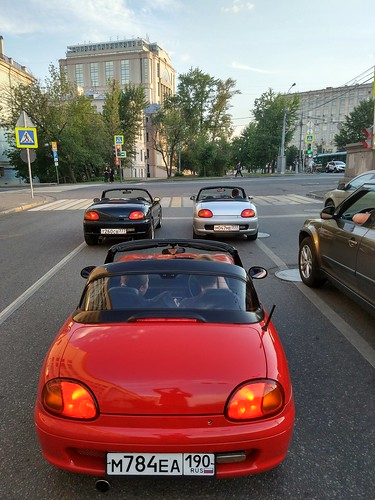
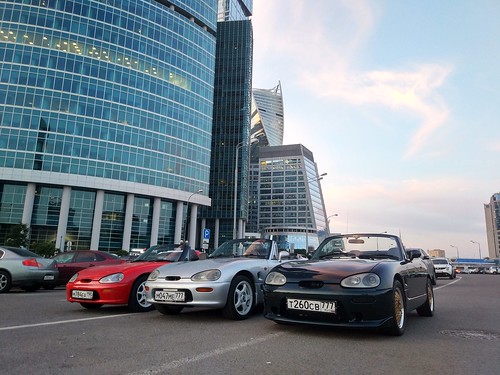
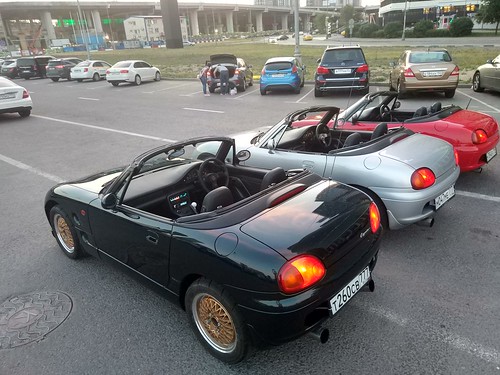
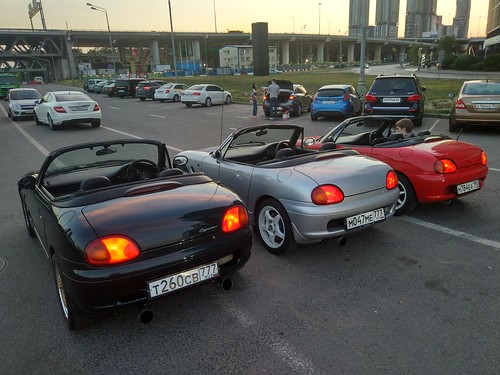
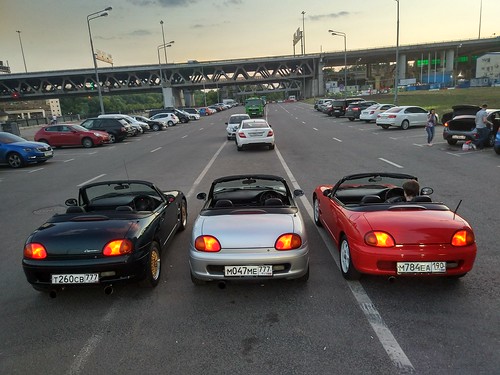
And we run a full cappo-club Russia meeting of 2 cars=)) That was very fun sight to see cappo rolling from 3rd person view.
Thanks, Ricou. It's definitely better. i'm considering several wraps for the near future, then full gulf livery, then back to original color. Can't leave these ideas away from my head until i apply them to the car.
so at the beginning of the summer i changed fuel filter and rear sway bar bushings.
and went to car festival to the near town of Tula (200km from Moscow). Most important participants (kids))) were happy to examine the car=)
Then i ordered a bunch of clips and bolts for the cappo and eclipse and installed them in place of missing pieces.
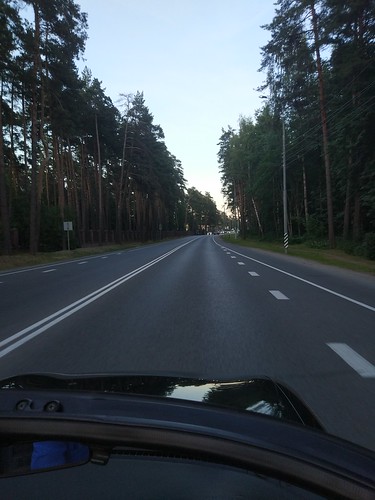
and traveled all around.
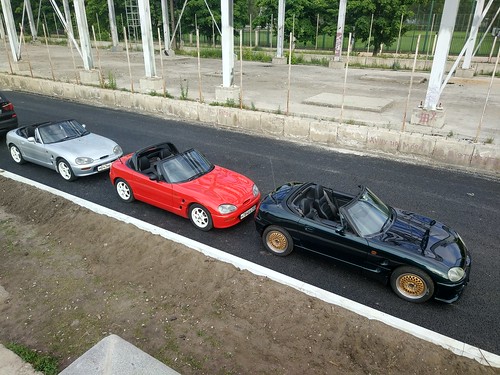
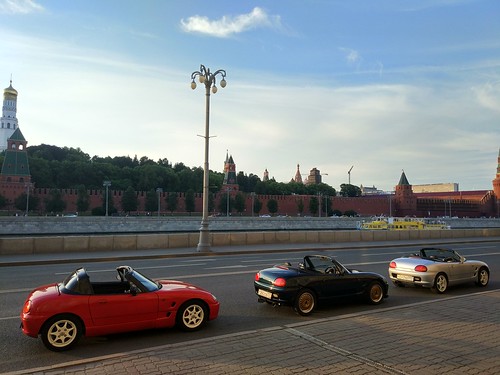
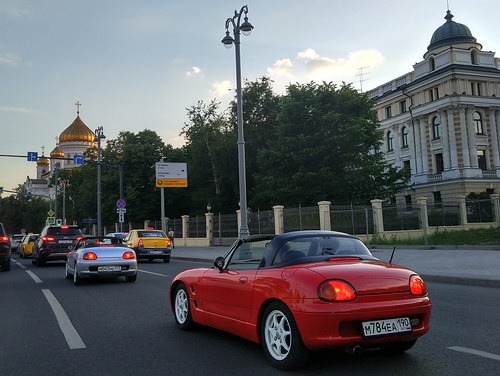
Summer is warm this year so i take every opportunity to put the roof down. A few days ago a third cappo appeared in Moscow. I thought we had only two so went to check that one, maybe to buy for a friend. The car was not worth buying but at least we now discovered a third member for the local club=))
I plan to buy -spark plugs cover, -plastic duct (sheet) that goes on top of the radiator from bumper to the direction of the engine -plastic pieces that go around seat folding mechanism (knob for the lever and a plastic cover for the folding mechanism), driver side. -stock BOV -stock air filter box to pass the MoT If you have those and can post them to Russia i'll be very grateful.
Another question - what do you do with exhausted front lower suspension arm bushings? a bolt-on replacement part would be great, so as the polyurethane replacement if i don't need to buy the whole set for the car. Or maybe you can recommend a good used part? New are an option, but checking other options yet.
Thanks for reading, best regards, Andrey.
Last modified Wednesday, July 6th, 2016, 11:22:03pm by _andrew
With regard to your bov, scroll up to FAQ on the Home Page and click on to "How to...."
Go past all the 'Stickies' and into the normal threads where, at number 10, you'll find 'Cheap and noisy dump valve' (or something like that).
Scroll through the postings until you come to the pictures and five minutes later you too will be the proud owner of an entirely free (and very entertaining) bov
It sounds quite a lot like a very small whale surfacing.
Drop me a PM if you would like to be added to the ClubCappo Member Map. More details can be found here. We now have an official Facebook group as well as a page! See here
Thanks, Guys. I currently have HKS SSQV installed, as came with the car from japan It flutters a lot which i don't like and i plan to make a plate to install Greddy Bov, which i got laying around. It has several springs to choose and a bolt for preload, so i'll be able to adjust and get rid of any flutter.
I'm not a fan of these things and would be fine with any item that works and is not very loud. But the thing is - we recently faced zero tolerance from government on modified items. So next time i open the bonnet i need to show some black piece of plastic, not a shiny fancy part. That's why i asked. Maybe i'll get away with the plastic bov i took off from my eclipse, though=)
maybe to the previous owner, the car came from japan in 2010 with high rise fast and furious style bench and then this spoiler appeared on the car back in 2011=))
So this summer is mostly rainy which hasn't happened often previously. Must be directly related to me buying a convertible=))
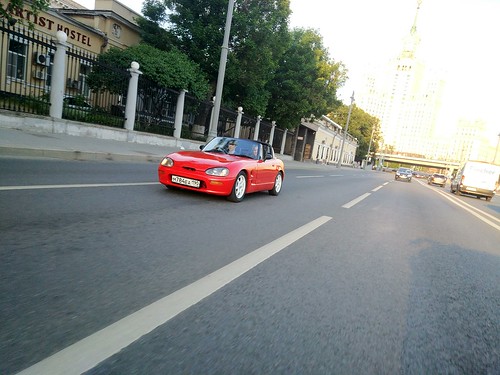
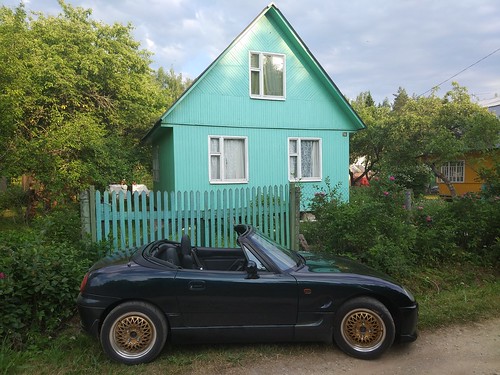
anyway, each sunny weekend i try to put the roof down. Even made to my country house in cappo once. Not without scraping the ground around the village with front bumper thou=))
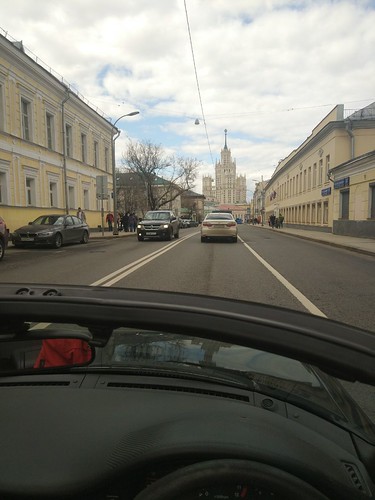
in city it's mostly not the issue.
I've bought another set of wheels - gold mesh's and started prepping them for when i remove the film wrap. Also received a package from Japan with plastic ducts that go on top of the radiator. Will fit them soon.
recent last summer days i made a few nice trips around and made some photos:
After that i changed the decals for Planet express wrap from futurama series.
Well, that's it. Have lot of parts, waiting to start maintenance once the season is over.
So in the early spring i unwrapped the car from the vinyl film. Took a while in a cold garage, but a heater gun and a lot of glue removal cans did the trick. Condition of the paint turned out not great - lots of filler, lacquer went off with the vinyl in places. Paint showed several stains of discoloration on the the newly painted bonnet and the paint came off in two places. On one of the early test drives the auxiliary pulley folded in on itself. The car limped home and thanks to a spare pulley from the fellow cappo owner Kirill in a month's time that was sorted. Was able to assess timing belt condition through the new-found hole in the belt cover, which turned out fine=) Such a pain to spanner in a really crowded area. To jam the flywheel through the inspection hole was also not a joy, given the puddles of rainwater in april=)
Anyway, not to whine too much, this didn't stop me from opening the season.
And immediately i was caught speeding by the speed camera at a whooping 67 km/h.
Then i received a package from Germany with the spare seat, front lower arms, stock airfilter box and other bits.
And some other goodies from Japan
I decided to start preparing the mesh wheels - they had some major scratches and oxidation. Wheels straightened and ready for dremel.
After a while deep scratches were gone
And more driving in the mean time
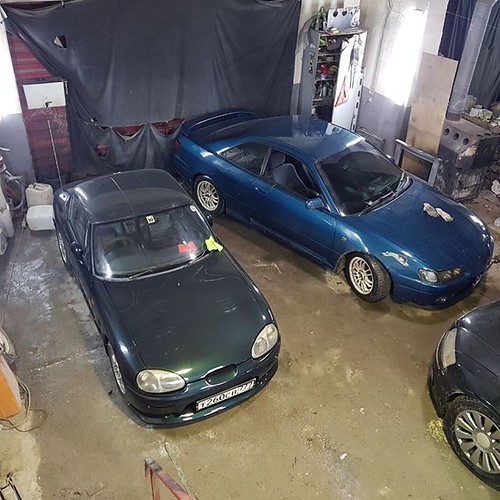
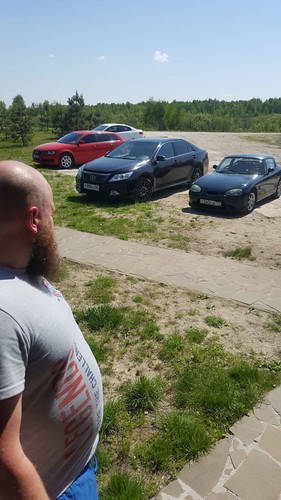
Here are my three cars together - a winter rally volvo 340 and a daily driven eclipse.
And yet more cappo time. Changed the engine oil and filter around that time. Something is leaking oil above the filter but that's not the oil filter housing as i thought before. And i can't reach anything above it without removing the engine anyway. Also recieved a package from previous owner with all 4 tunner shocks and missing plastic bits.
By that time the outer part of the rims were ready and i removed the paint.
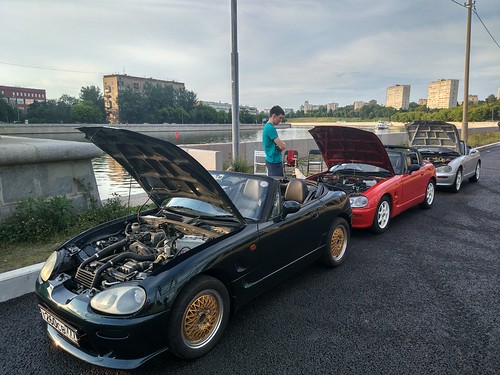
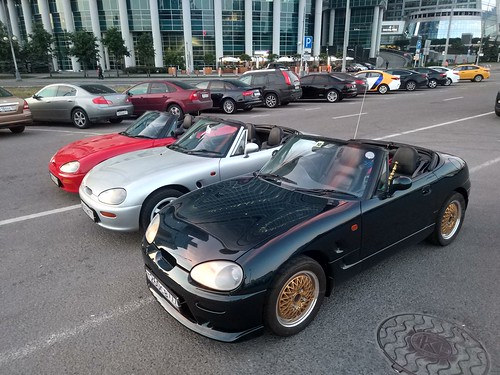
And our club received a new addition - third cappo, so we organized a meeting
And this time didn't skip the beat
Preparing the wheels didn't stop despite of the rains for the whole June and July
And at that point i was required to visit the police station for minor registering task. They turned me down for the non stock exhaust and steering wheel. Next day thanks to the new local cappo owner i was able to show up again with all stock parts bolted on and successfully completed all the inspections.
Which meant 300kms trip to the city of Tver to the paint shop for the possible repaint
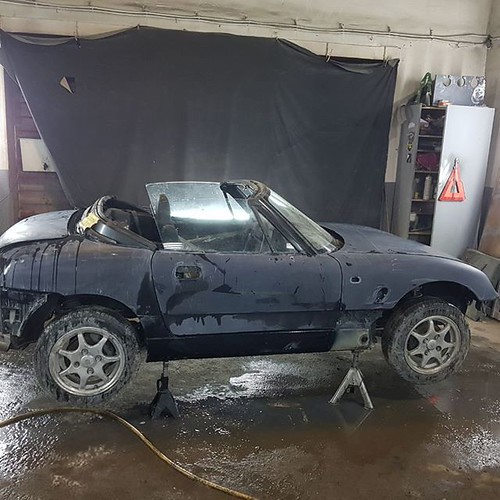
I left the car there for my vacation. We didn't come up to agreement on the body repaint, instead the underside was cleaned from the minor rust stains and compleetly sealed. The pictures from the painshop came out like this
Once that was done i grabbed my car and headed back home. With some strange vehicles seen on my trip. (that's two GAZ 3110 welded together on the frame of GAZ 66 truck, in case you wonder)
And a trip to my friend Vasily to help him with his GAZ 24
Next surface of the mesh wheels was cleaned with caustic soda to wash away the oxidation from under where the paint have been. Works alright, you recieve bare clean aluminium, just don't try that in non ventilated area.
And a visit from Kirill for him to try stock wheels. Some say, N1 upgrade in silver cappos doesn't show with heavy R15 wheels, but we all know=)))
Did i tire you with the wheels? Well, i sure tired myself, but got them painted and even 3D printed caps SSR/BBS style and another set for spinners.
Lastly, i found a paint shop, they did my eclipse and to prepare for a cappo respray i changed steering links and rods, diff and gearbox oils and inspected all bushings which turned out all fine.
So that's it for the past half year - waiting for the paintshop to repaint the car now. I have one slightly leaking rear shock absorber, so i if you have a pair for sale in good condition and willing to ship to russia let me know.
Posted on: Wednesday, November 29th, 2017, 4:04:02pm
Official C.O.C Contributor
Gender: Male Posts: 23604 Posts Per Day: 3.48
Wow, what an update!
Drop me a PM if you would like to be added to the ClubCappo Member Map. More details can be found here. We now have an official Facebook group as well as a page! See here
Logged
Reply: 19 - 24
verygood
Posted on: Thursday, February 1st, 2018, 2:25:58am
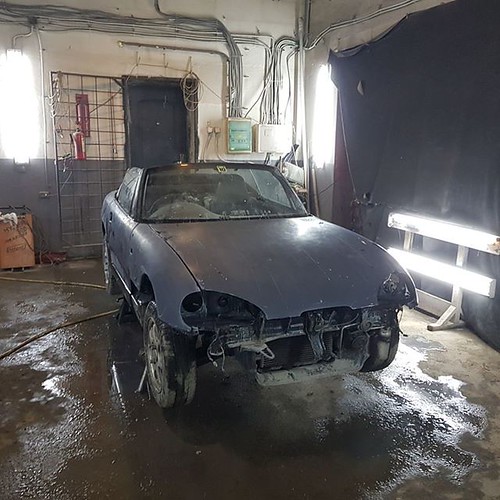
new photos So in the middle of december 2017 i took my cappo to have a new paint. it was not snowing so summer tires did the job of taking me to the paint booth
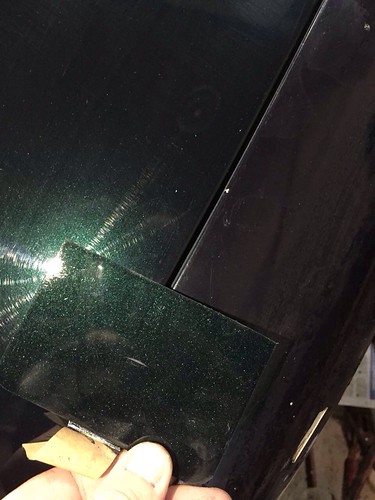
by the new year i received first picture of the paint sample
and a picture from the shop=)
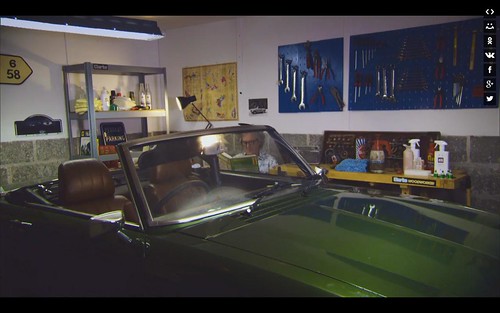
In march new photos arrived and i rushed to take the car
by the end of march it was still a lot of snow around and the car mooved to sit next to my house
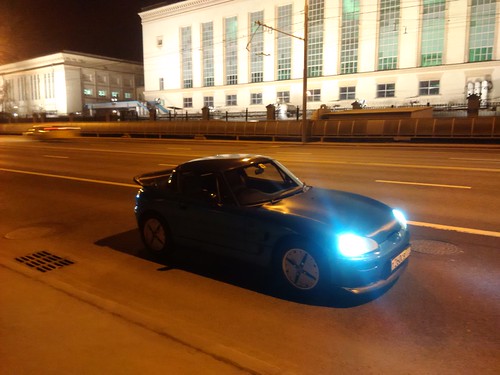
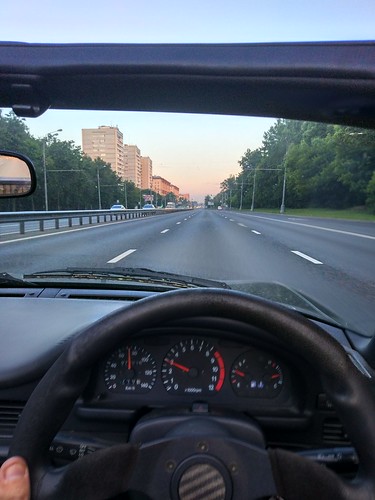
so without a delay we proceed to cruisie around
i did an alignment and proceeded to cruise
The month of May approached quickly and i gave my car to a friend to make a 400km round trip to the near towns
and also didn't forget to put my own miles on by myself
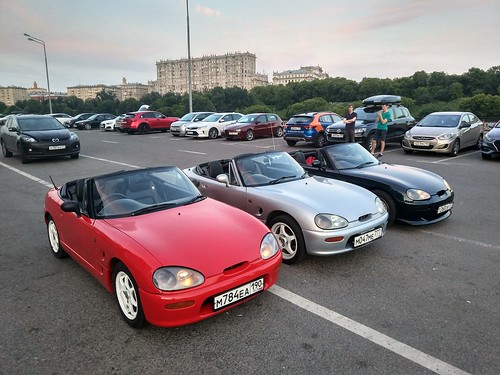
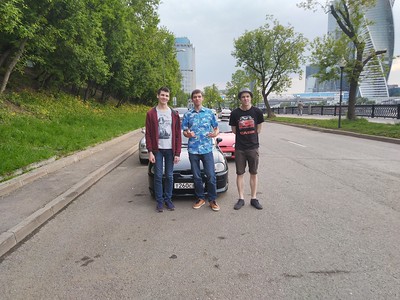
then three of us realized that all three Moscow cappos were driveable and celebrated this fortunate situation with a club meeting
and a trip to my country house
now, two questions i'd like to find out - i couldn't find a starter relay on the electrical scheme. Is it that the wire goes straight from ignition switch to the starter motor? the starter often doesn't spin from the first time you turn the key. Not even clicks. I wonder should i disassemble ignition switch or starter first.
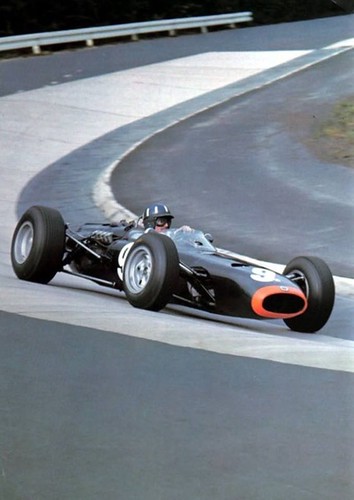
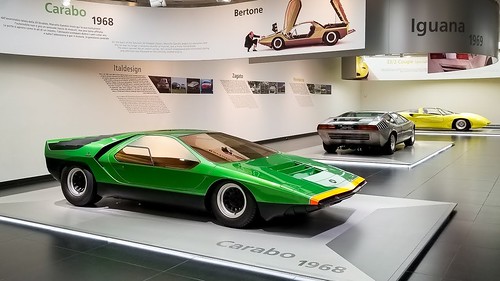
another one - would it be a good idea to put an orange stripe to the nose of the car to pay tribute to the BRM or a AF cabaro?
Last modified Saturday, June 30th, 2018, 12:58:05am by _andrew
another year, another update so i started season by going to a barbecue party on 31 March
then i've changed oils ans sparkplugs. strangely, diff oil is now named Castrol Syntrax 75w90 UNIVERSAL PLUS instead of LONG LIFE (which made my diff whine, here's why it's not a long life anymore i guess, but more on that later)
and the gearbox oil is also a Castrol Syntrax TRANSAXLE instead of MULTIVEHICLE
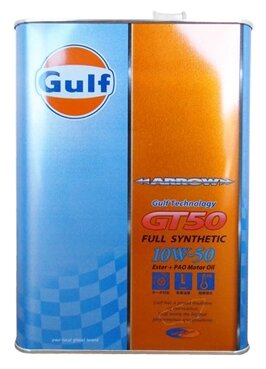
engine oil is for now a GULF Arrow 10W-50 which showed itself very good for next 10'00 kms
anyway, the summer was progressing alright
and we had an annual meeting for local cappo club
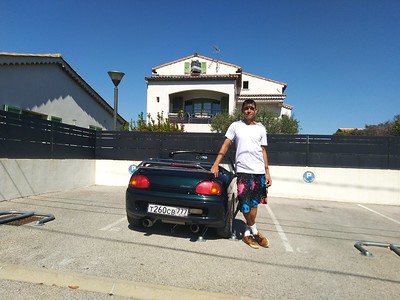
and so it was till the end of august, when i made a trip to Europe. Overall it was a journey for a month and 10'000 kms in a cappo. I drove from Moscow though Belarus, Lithuania, Poland, Czech, Austria, Switzerland, France, Italy. In Italy i went to Stelvio pass, Milan, F1 grand prix in Monza (where i had my car tried to broken into and lost passenger door and boot locks), Cannes, Genoa, Pisa, Rome, then Cortina d Ampezzo and back through Munich's Oktoberfest. Wonderfull days
Upon return i've changed cambelt and took out the diff, that has started to make whining noises, and a gearbox.
i have a few questions if you don't mind me asking: 1) i was going to take half shafts out to grease them, but they stuck in knuckles. Should i better press them out or leave them as is? I wanted to grease CV joints and maybe a wheel bearings but if this likely to kill the wheel bearings i'm better to leave all in place. Alternatively, i might try to slide the boots and grease CVs without removing them, if that is the proper way. 2) should i grease propshaft bearing\universal joints if i don't have any problems with them? How? 3) I found a lot of oil at the rear end of gearbox, where the propshaft is connected. Do i only change the most rear seal on the gear box, or it means excessive oil gets to gear selector box or smth and i should split the gearbox case and change some inner seals? 4) my diff started to whine. New used diff or try to change bearing\shims first? what has proved to be the optimal way? (im looking for new diff if that's what i have to do)
Last modified Tuesday, December 3rd, 2019, 3:50:20pm by _andrew
hi andrew what a great read. you and your friends seem to have had a great roadtrip that im sure a lot of us could only wish for. sorry to hear about the attempted theft and damaged caused.
regarding the gearbox oil leak it sounds like just the rear main oil seal the rear wheel bearings are pre greased and sealed so i would leave them alone or replace if needed the driveshafts cv joints you can grease by removing the clips but the propshaft u/j can not be greased unless it has a grease nipple probably a lot easier to replace the rear diff with a used one than repair
first off i've noticed that i haven't documented a small job that took place a year or two ago - the car was reluctant to start. I've changed battery, sorted grounding points, changed a solenoid on the starter, but after all it turned out to be the ignition switch. That was sorted with new ignition barrel. had to buy new lock altogether and used a switch from it to retain original key. That went well.
Now that's sorted, to continue with the current winter maintenance first job was to remove the bumber and fix a small crack on the lip with epoxy and glassfibre
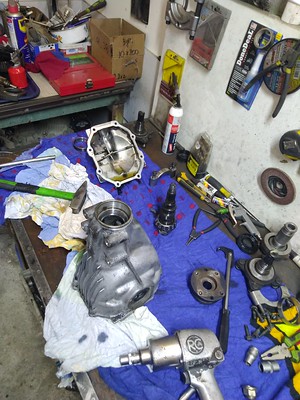
next one was the diff. I disassembled it but found no traces of wear and nothing abnormal. not on the bearings, neither on the gears. so it went back on.
teh diff support bracket was also fine so i gave it just a coat of paint
the rear bushing on the diff was torn so i decided to make a little project and replicated it with polyurethane and both DIY metal parts (outer cage - steel with aluminium coating, inner rod- bronze, because why not, it has good friction properties). And so the casting\pouring has begun.
I've used Shore 60A rating polyurethane, same as stock rubber. With Silicon-organic primer and riffled surfaces. Upon installation this all turned very good, no additional vibrations and i expect new part to last longer than the stock due to extra material used.
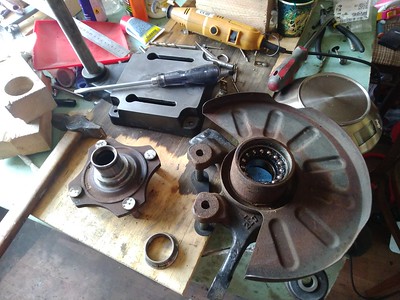
Gearbox was polished a little from below and some seals, clutch fork bushings, springs and release bearing changed.
at the same time i've received seals for camshafts\distributor and changed them
i was impressed by how clean the engine looks on the inside. Thanks to the 5000kms maintenance intervals i guess. the rear wheel bearings with the seals arrived, so i changed them as well, just for the peace of mind.
Eventually everything was assembled back. New clutch disk, pilot bearing, crank seal, painted exhaust, polished exhaust box etc. I've tried to change grease in halfshafts, but when i disassembled one it was alright so i left 3 other CV joints intact. I didn't like joints on the propshaft as they were not so smooth in their operation. Will see if i can find replecement joints. And also i put barium-soap grease to the suspension balljoints to test. (same as lithium but some suggest its more preferable, will see).
Upon test drive everything was alright, which is a surprise to me given the amount of parts that i messed with. And these 3 leftover bolts. JK.
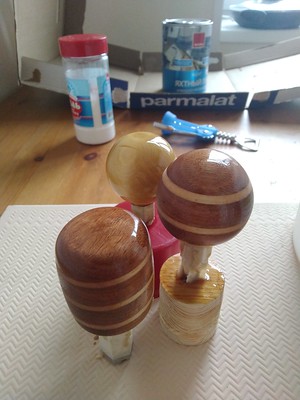
So with the car running the next part was to woodturn some gear knobs. Mahogany plus balsa, layered as in the Porsche style. And maybe an update to the gauge cluster with addressable LEDs for a gradient effect. Always wanted to print my own integrated circuit.
Thats about it. I hope you stay safe and we all will have great time outdoor to drive with the roof down.
Last modified Friday, May 8th, 2020, 5:49:58pm by _andrew
 Cappuccino Owners Club › Gallery › Cappo Related Album › Andrew's EA11R (Moderators: )
 Author
 Andrew's EA11R (currently 919 views)


 Logged


 Male
Male


 Locked Board