|
|
 Author Author |
 Lords Cappo Diary (currently 9658 views) Lords Cappo Diary (currently 9658 views) |
| irishgtxx |
| Posted on: Wednesday, May 5th, 2010, 4:00:00am |
  |
|
|
nice and cozy in there eh!
will you be doing all the work your self? |
|
 Logged Logged |
|
|
 |
Reply: 40 - 325 |
|
|
| lord |
| Posted on: Wednesday, May 5th, 2010, 11:11:48am |
|
|
|
I cant weld, I'm not a mechanic but i'm trying. ha ha I'm trying to keep the costs to a minimum. If I left the car at a garage it would cost me an arm and a leg! Taking apart the car myself and it's not been too difficult. Just buying tools as I go along. I'm in my grans garage at the moment. now he football season is finished for me I can get cracking!
The idea is to rebuild sub frames while i buy all the panels I need. So need to get a move on.
Trying to find a good welder though!
A good painter! Cheap enough though.
A good sand/shot blaster/powder coater lol
that gave me hope after seeing the £14, 000 cappuccino. I wont be up to the same standard but when finished will be nice! |
|
| Logged |
|
|
|
Reply: 41 - 325 |
|
|
| Cappo |
| Posted on: Wednesday, May 5th, 2010, 12:36:38pm |
|
|
|
Hi Lord, looks like you need to think about getting a move on before it costs too much in Hob Nobs!
Redditch Shotblast (nice and local for you) did my wheels and I also got a quote to do all the subframes / suspension arms / anti roll bars / brackets at £250 (Shot blast and powdercoat in satin black). I might take them up on this as they did an excellent job of my wheels. (group buy for 2-3 sets)? I think they're Cappo fans too! |
|
| Logged |
|
|
|
Reply: 42 - 325 |
|
|
| lord |
| Posted on: Wednesday, May 5th, 2010, 12:54:14pm |
|
|
|
yeah but you know its summer.. ur gonna be driving urs ha ha
urs is a winter job lol |
|
| Logged |
|
|
|
Reply: 43 - 325 |
|
|
| lord |
| Posted on: Friday, May 7th, 2010, 10:52:49am |
|
|
|
Had a mess with the the cappo for about two hours yesterday. Well. Had a look at the rear sub frame again and decided to have another go, (scratched head previously) Found it difficult to detatch the drive shaft. Bolts were stiff as fook!!
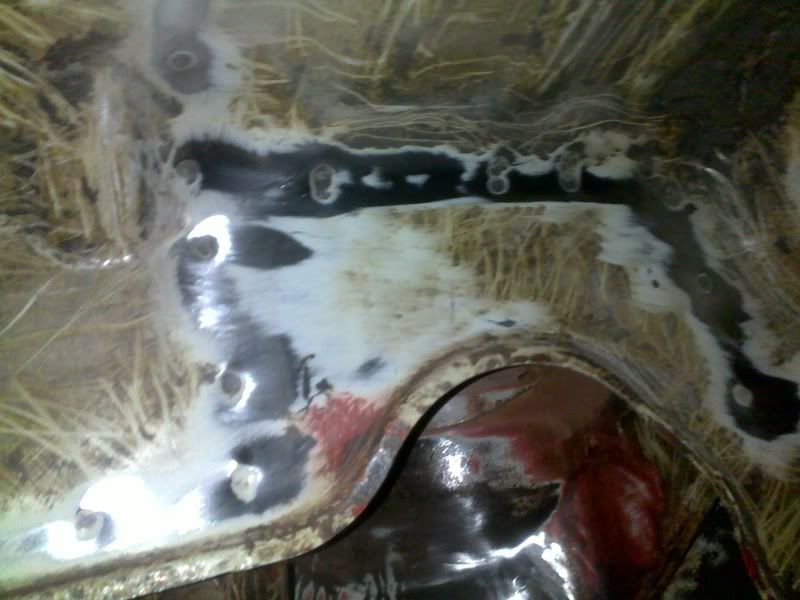
Thought i'd have a mess with some of the surface rust under the rear floor. Where the spare wheels sits. I had a play with the drill and two types of pads. One is a red scouring circular pad and the other is about 20 small sand paper squares that rotate. Not. Use the sand paper one fisrt then the scourer. As the scourer is a softer pad and finishes off the paint nice.
before
after ish
before
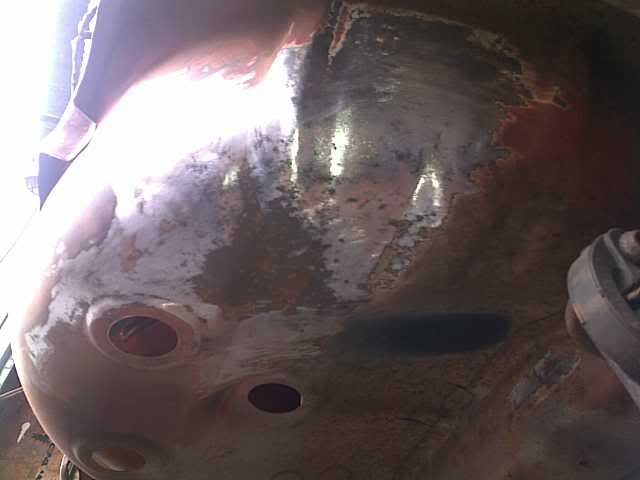
after
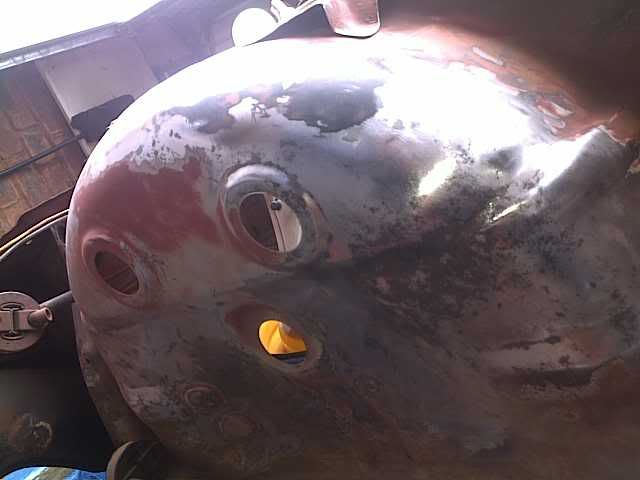
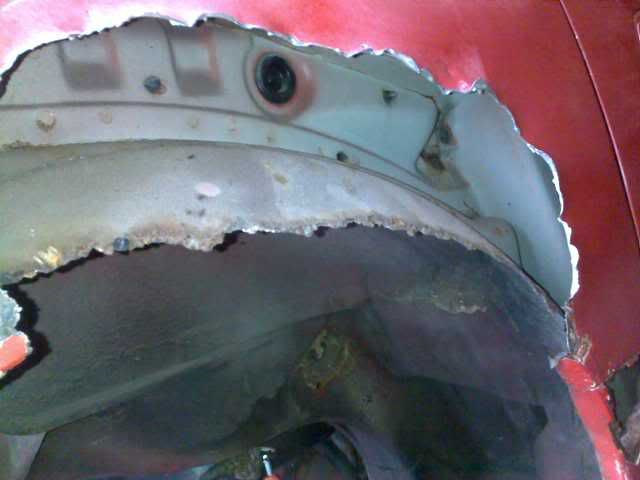
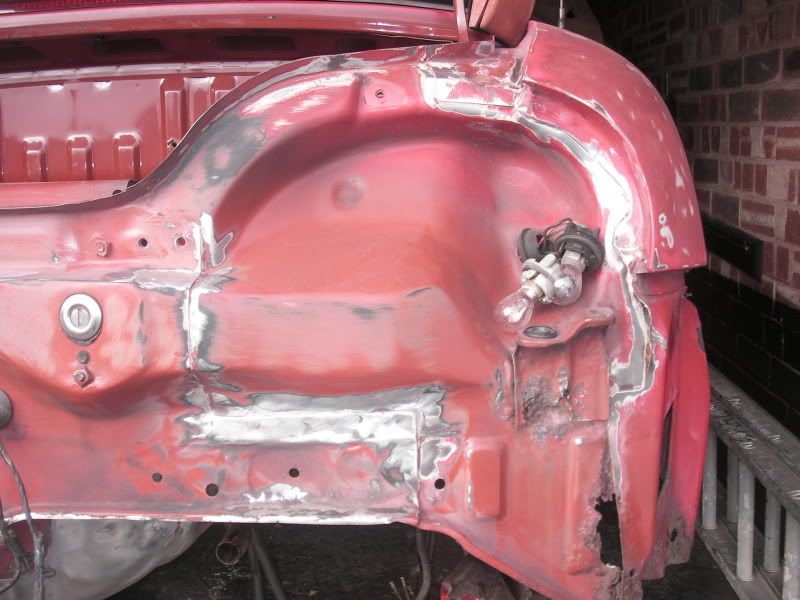
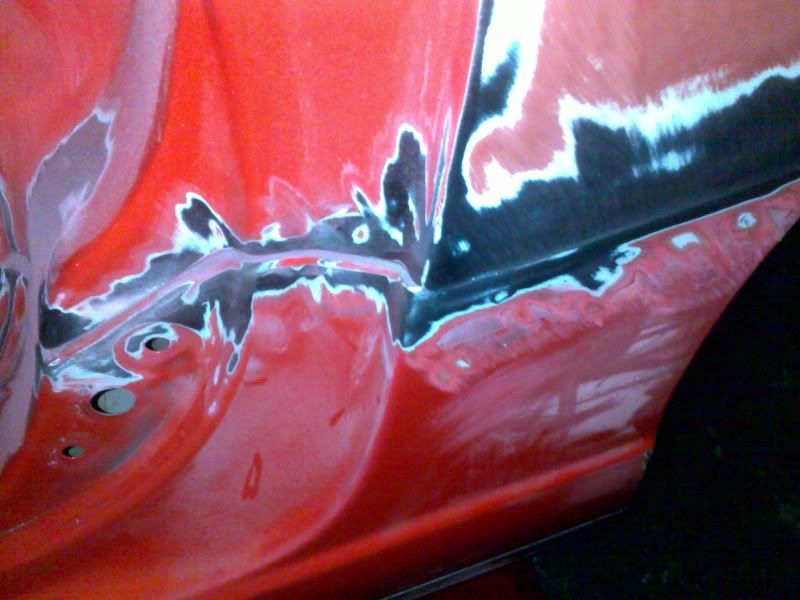
ripped a hole in the quarter panel to see where the part i ordered attaches and to see if there's further rust.
|
Last modified Friday, May 7th, 2010, 11:25:51am by lord |
|
| Logged |
|
|
|
Reply: 44 - 325 |
|
|
| Andy |
| Posted on: Friday, May 7th, 2010, 12:36:27pm |
|
|
Official C.O.C Contributor


Gender:  Male Male
Posts: 23604
Posts Per Day: 3.48 |
|
“ |
Quoted from lord, posted Friday, May 7th, 2010, 10:52:49am at here |
” |
Found it difficult to detatch the drive shaft. Bolts were stiff as fook!!
|
|
Any tips on this as I tried this on my silver one and got nowhere. |
Drop me a PM if you would like to be added to the ClubCappo Member Map. More details can be found here.
We now have an official Facebook group as well as a page! See here |
|
| Logged |
|
|
 |
Reply: 45 - 325 |
|
|
| lord |
| Posted on: Friday, May 7th, 2010, 1:24:39pm |
|
|
|
i'm useless at technical requests!!
basically. 4 bolts that hold the shaft on at the base of the diff mounted to the rear subframe. Put a screwdriver in the shaft to stop it turning. 14ml spanner i think to undo the 4 bolts. But u have to undo the diff and jiggle about because the shaft sits inside the diff about 1/2 an inch.
any good? |
|
| Logged |
|
|
|
Reply: 46 - 325 |
|
|
| lord |
| Posted on: Friday, May 7th, 2010, 8:11:22pm |
|
|
|
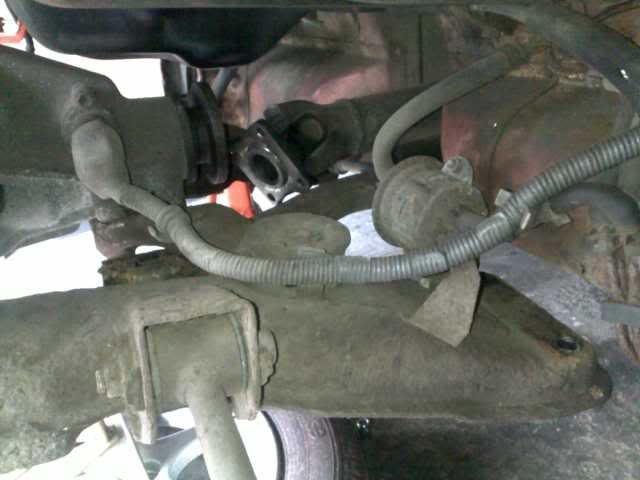
Finally got the rear subframe out today!! Thats a big believe me. Undone the Fuel filter once the frame had been moved out the way a little. Disconnected a hose that goes to the rear diff..
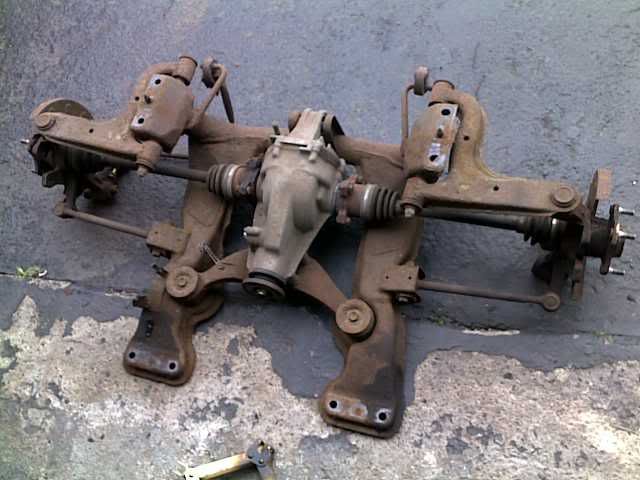
Is this a diff??? How can you tell? |
|
| Logged |
|
|
|
Reply: 47 - 325 |
|
|
| irishgtxx |
| Posted on: Friday, May 7th, 2010, 9:26:23pm |
|
|
|
yea it can be tricky to remove the main drive shaft from the rear diff
i had to remove it a while ago to install some Suzuki sport diff bushes and a Suzuki sport lsd, which i installed with out removing the rear sub frame,
and was easy enough,
i just used the biggest screw driver that fit, to lock up the shaft at the joint and
removed the 4 bolts,with a ring spanner,careful not to damage that joint with the screw driver!
remember to mark the shaft how it attaches to the diff housing,you want it to go on as you took it off,as the shaft is balanced
and installing it random like, could cause it to unbalance, which will do in your bushes in no time,or worse,
as for the diff,
you can see your diff housing in that pic, you wont be able to tell what
you have until you open the housing and look inside,
the diff housing is full of oil so drain it before you open it, there should be a square drive bung in the diff, you can use a 3/8" ratchet with no socket to open it, careful not to damage it!
then remove the rear cover on the diff housing
then if you have an lsd it should look like this,
[img]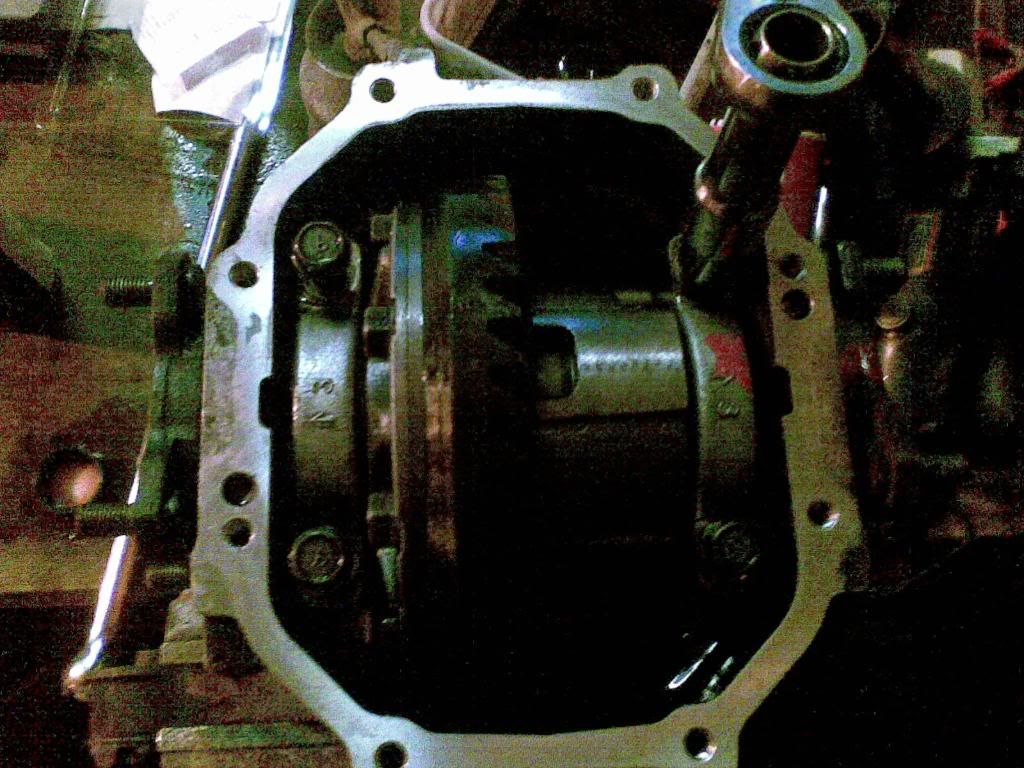 [/img] [/img]
that's a Suzuki sport diff, but the cusco looks similar,
do not take the diff apart unless you have a replacement,
but opening it to check and replace the diff oil wouldn't hurt,
|
Last modified Friday, May 7th, 2010, 9:37:45pm by irishgtxx |
|
| Logged |
|
|
|
Reply: 48 - 325 |
|
|
| lord |
| Posted on: Friday, May 21st, 2010, 11:10:12am |
|
|
|
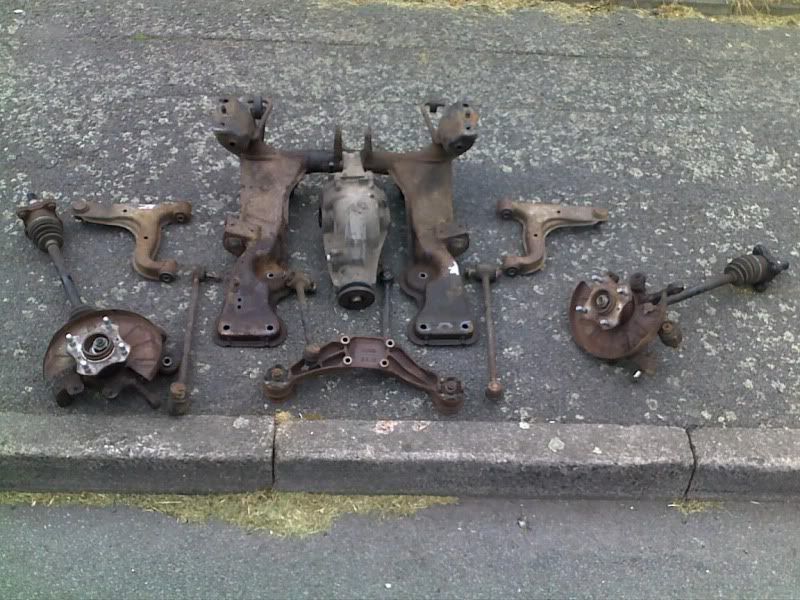
Undone most of the parts on the rear sub frame but some of the bolts are right buggers! ha
Just looking at local shot blasters/powder coaters etc.
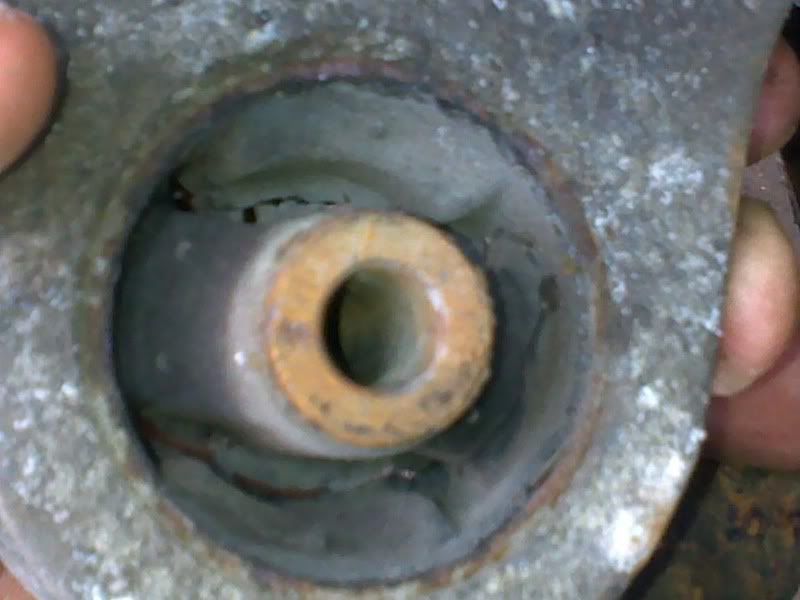
Well here's a quick video and image of the rear subframe. After looking at the cost of the rear diff mount rubbers i was in shock!!!
http://www.cappuccinosport.com/section/store/action/product_view/id/2638/
I was like.....there goes my holiday this year!!! I can not believe how much they are!!!
Image of main.
    |
Last modified Friday, May 21st, 2010, 11:12:41am by lord |
|
| Logged |
|
|
|
Reply: 49 - 325 |
|
|
| lord |
| Posted on: Thursday, May 27th, 2010, 1:08:40am |
|
|
|
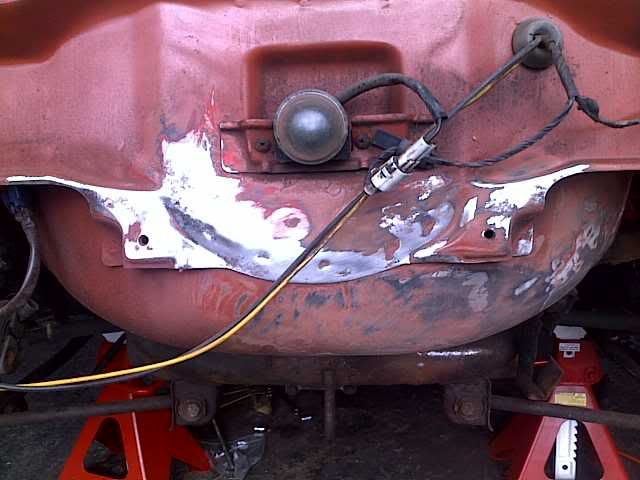
More progress, step by step. Today was a little frustrating when getting parts out. Especially the petrolo tank lol
managed to get it out. Only just. The rear bolts that hold the brake lines are awkward and sit in front of the petrol tank bolts. For those that have done it before.
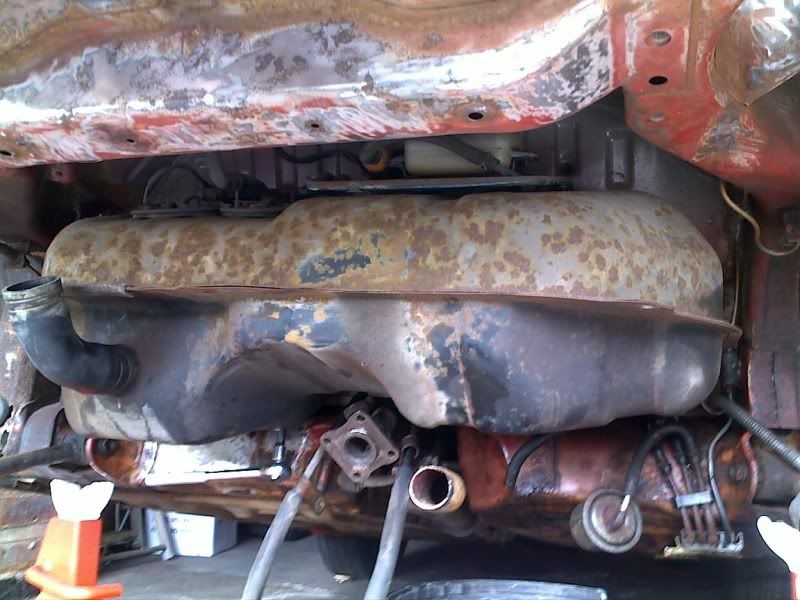
make sure u get as much petrol as you can out the tank. Believe me it can catch you out lol

Then fuel filter out and drained.
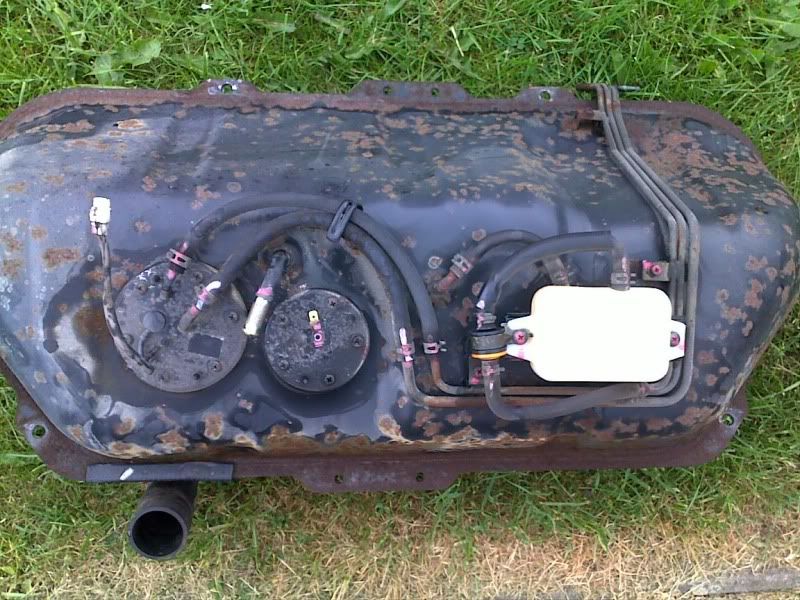
Fuel Tank!
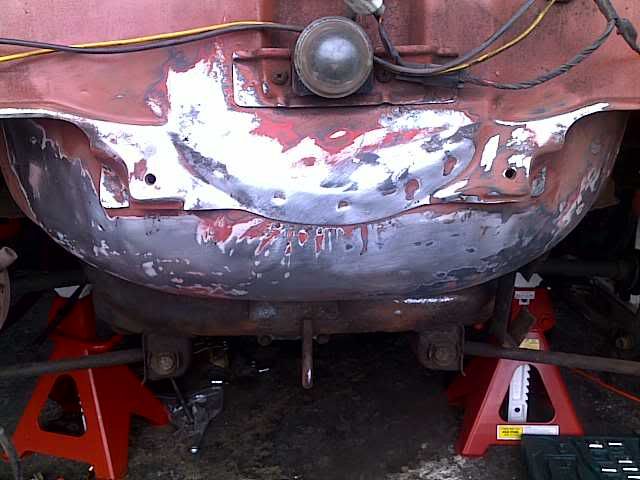
rear where tank was, one slight rust issue after the tank was removed, lol
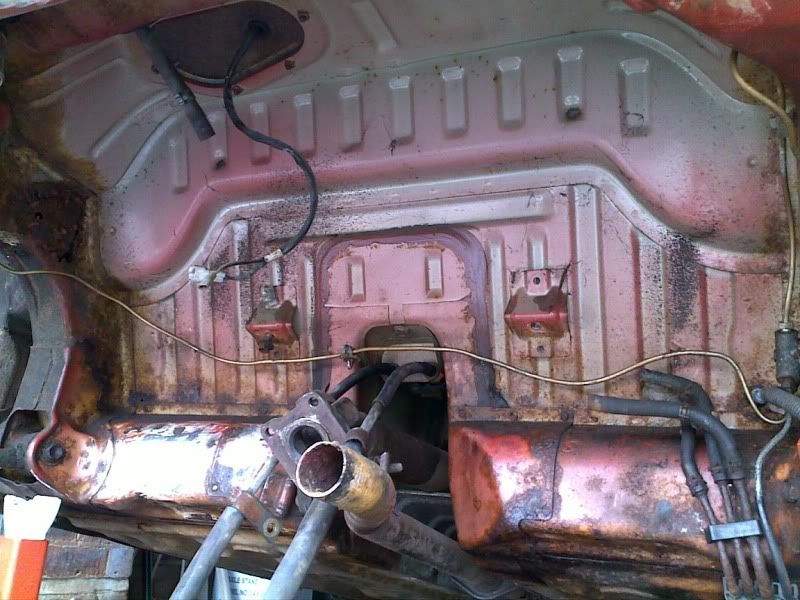

and last subframe out ready to be shot blasted!
 |
Last modified Thursday, May 27th, 2010, 7:15:34pm by lord |
|
| Logged |
|
|
|
Reply: 50 - 325 |
|
|
| half-9 |
| Posted on: Monday, May 31st, 2010, 6:53:22am |
|
|
Big Member

Posts: 453
Posts Per Day: 0.32 |
|
Excellent work going on here....Are you planning on doing the body work repair your self or bringing in a body shop?
My "look faster" parts just arrived from Japan, I am considering the options for a restore, I can do the stripping and (hopefully) the re-building my self, but welding, painting etc no chance...
Have you had to buy any specialist tools so far??
Cheers
H |
|
| Logged |
|
|
| |
Reply: 51 - 325 |
|
|
| lord |
| Posted on: Monday, May 31st, 2010, 8:24:25am |
|
|
|
With regards to the body. Well, if i had the money i would have it dipped! But thats like two grand over here! Thats silly money! But that would make the car last a lot longer lets face it.
So, I intend to do most the work myself at the moment. It's in a relative's garage so I work on the car when I can. Like today, after work from 3pm till 7pm. All I intend to do is scrape away as much surface rust as i can and prep most of the body panels. (Mainly front end and roof panels) New Quarter panels and sills anyway. I've had no special tools at all. What I would have bought is a mechanics power drill, with rachet end as it can take rusted bolts off with ease! (Dont know the name lol)
When i've done what I need too I'll get it to a garage and workshop! Re spray and and panels put on. Additional sand blasting underneath and sealing. |
|
| Logged |
|
|
|
Reply: 52 - 325 |
|
|
| lord |
| Posted on: Monday, May 31st, 2010, 11:10:02pm |
|
|
|
A quick video of the process so far and how far i've got lol
 |
|
| Logged |
|
|
|
Reply: 53 - 325 |
|
|
| lord |
| Posted on: Thursday, June 24th, 2010, 1:05:18am |
|
|
|
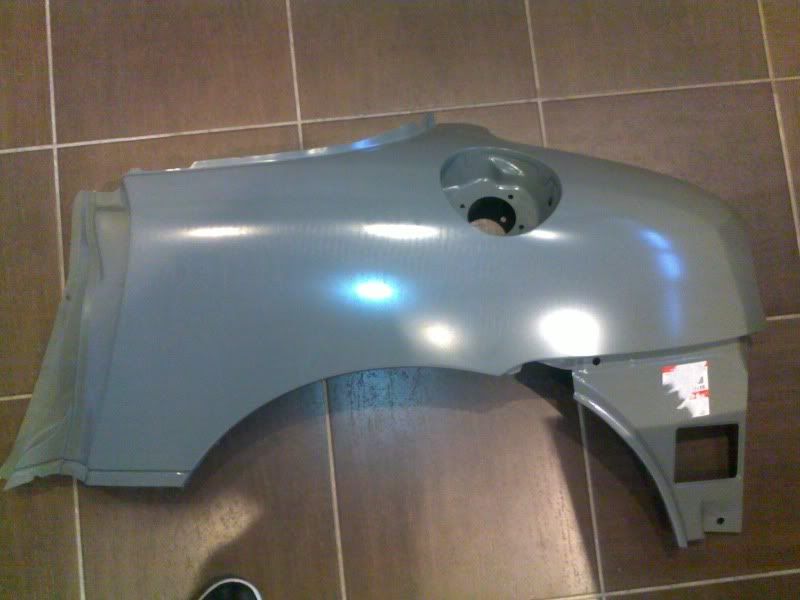
Met Paulo for the first time today and bought his panel off him.
and hey presto... 125 quid later its ready for the loft lol
 |
|
| Logged |
|
|
|
Reply: 54 - 325 |
|
|
| lord |
| Posted on: Thursday, August 5th, 2010, 1:05:44am |
|
|
|
Not really updated for a while. AsSimply Red said"Money's too tight to mention" lol So things have been going slowly. Last few weeks Ive spent my time on Holiday in morocco and sorting my main car out when i got back.
I have found my powder coaters and sand blasters in Wolverhampton.
Been strippping the car for bits to powder coat like sub frames etc. Front subframe coming out end of next week and dash week after this.
I'm having the car sand blasted in the engine bay and underneath prior to welding.
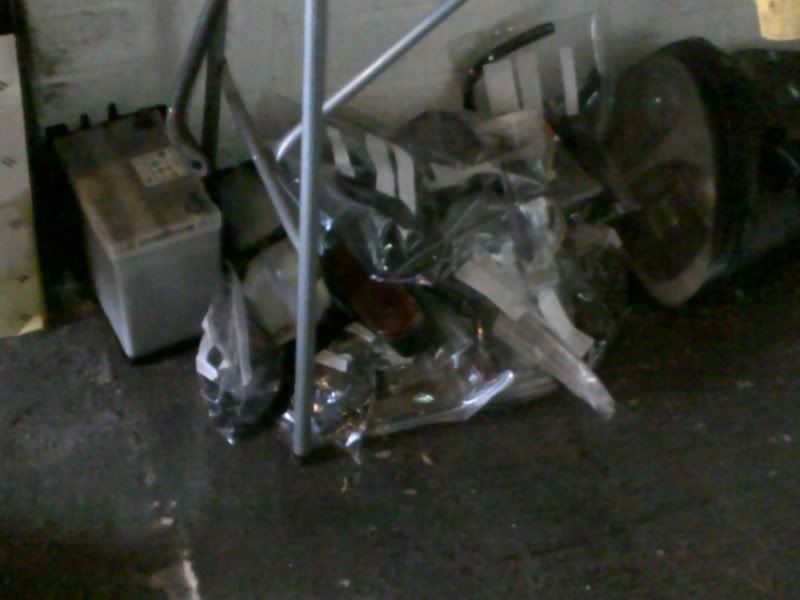
for people doing the same. One Hint. freezer bags. lol Half the cappo is in freezer bags lol
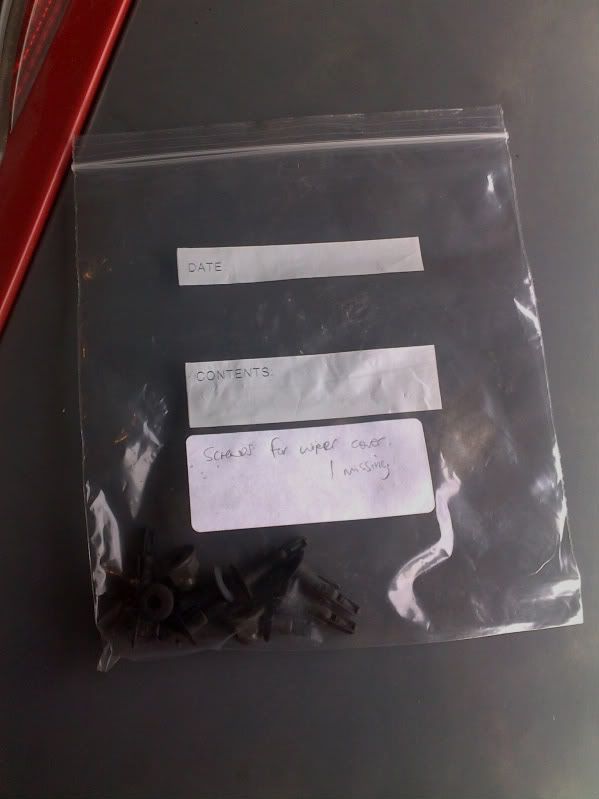
One bag-few more lol
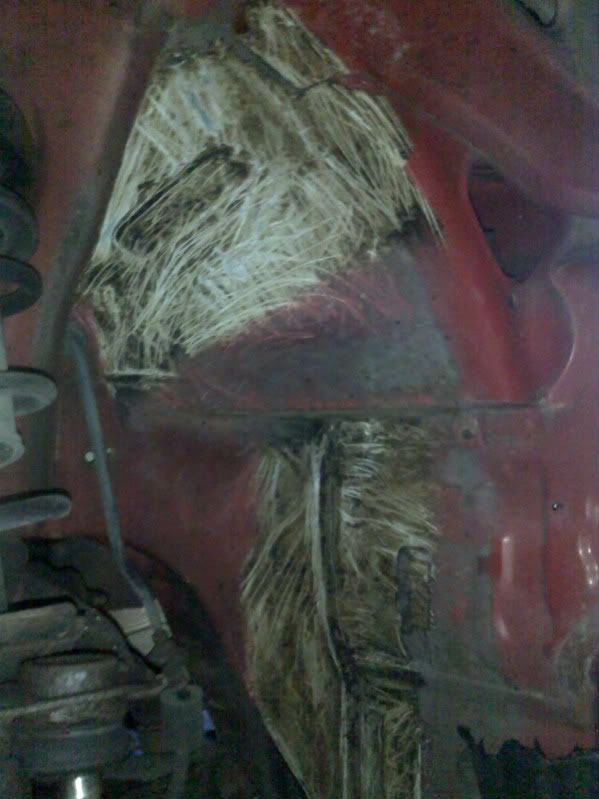
Told to remove any protective underseal prior to blasting...Before
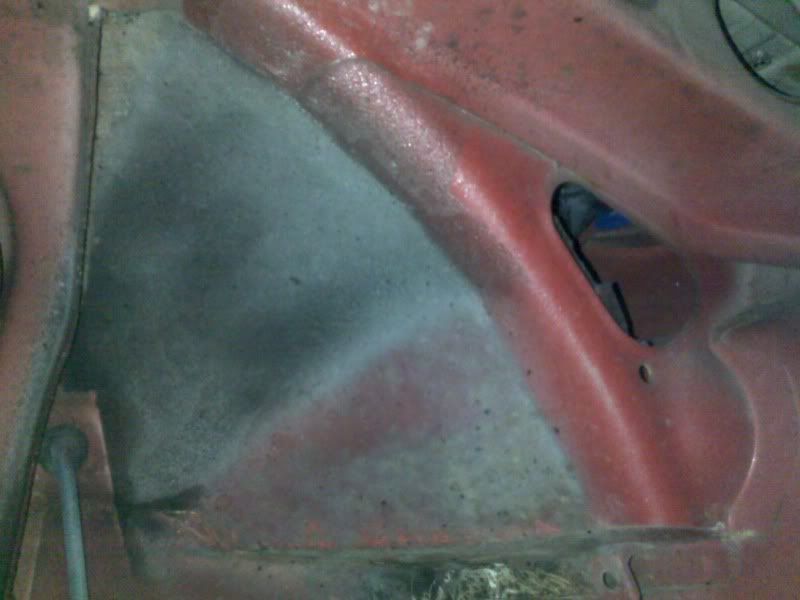
After
Completed both sides of removal. My mechanic is helping me remove the engine. Dont have craine lol |
Last modified Thursday, August 5th, 2010, 1:13:10am by lord |
|
| Logged |
|
|
|
Reply: 55 - 325 |
|
|
| lord |
| Posted on: Thursday, August 5th, 2010, 1:53:02am |
|
|
|
This made me laugh. guess what car this was meant to be for? Made me laugh when I pulled it off lol
 |
|
| Logged |
|
|
|
Reply: 56 - 325 |
|
|
| capgun |
| Posted on: Thursday, August 5th, 2010, 5:44:22pm |
|
|
|
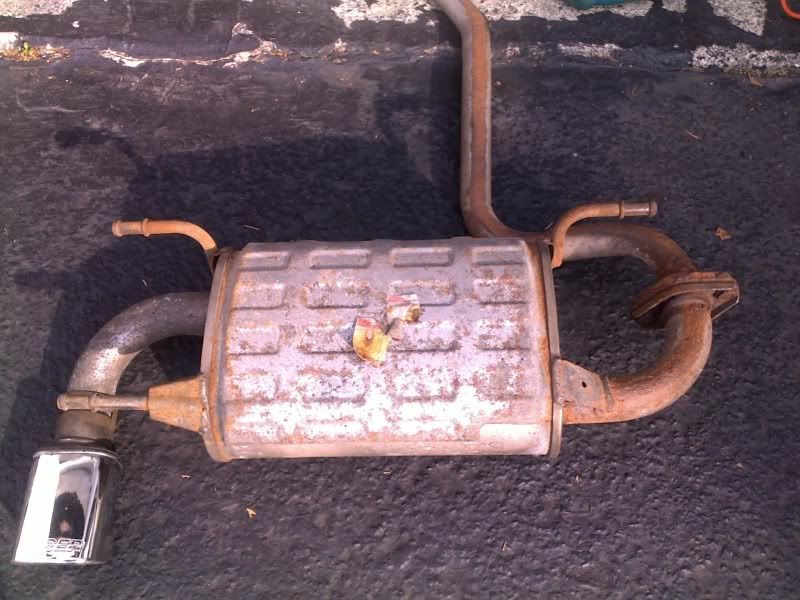
Is the sticker to cover up a hole in the muffler?  |
|
| Logged |
|
|
|
Reply: 57 - 325 |
|
|
| lord |
| Posted on: Friday, August 6th, 2010, 12:18:12am |
|
|
|
Capgun ur funny lol NO!
its off a Peugeot 206 though. |
|
| Logged |
|
|
|
Reply: 58 - 325 |
|
|
| lord |
| Posted on: Monday, August 9th, 2010, 9:10:52pm |
|
|
|
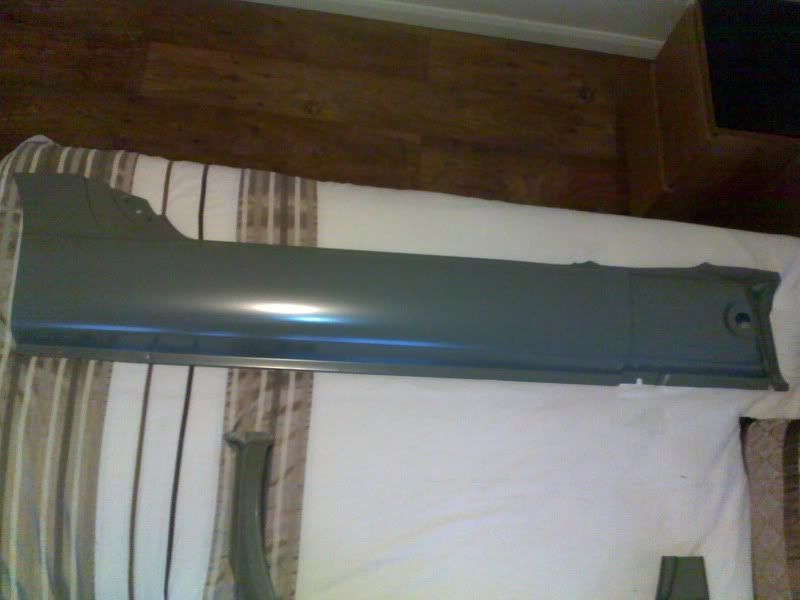
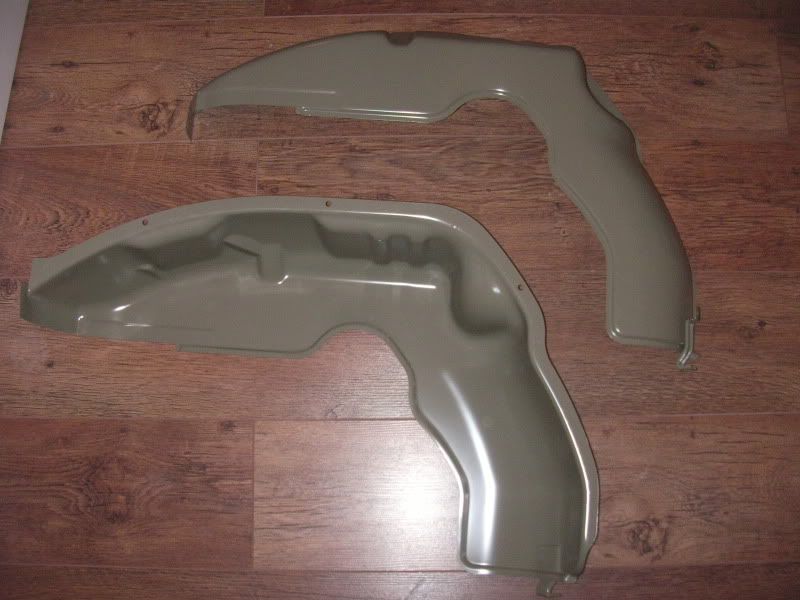
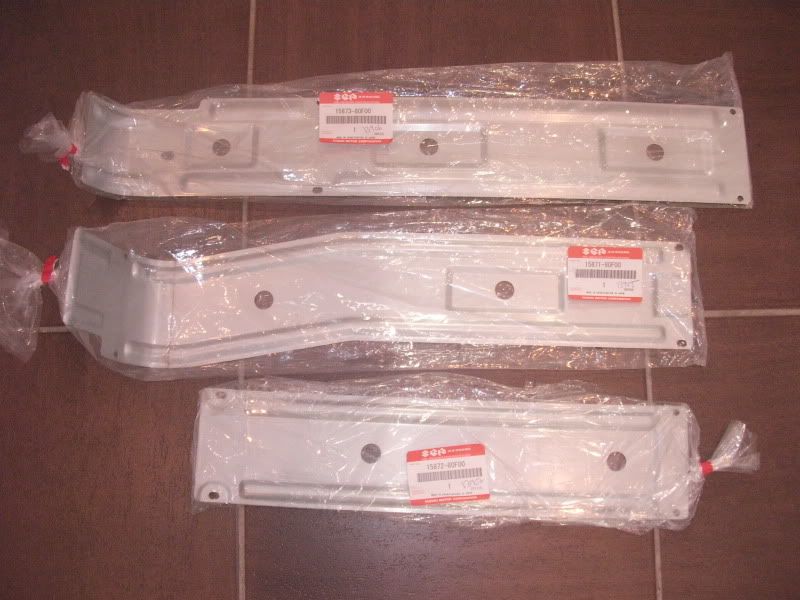
So the build continues to progress with new parts from Cappuccino Sport. They arrived saturday after a long wait. I'm so happy they're finally here. Here you go.
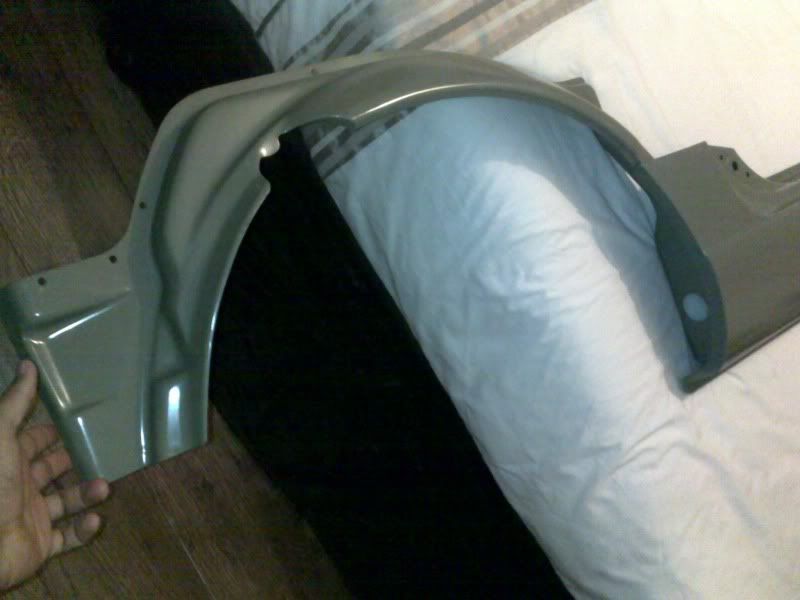
this is them joined together. The next pieces to the puzzle is to order the inner arches which also connect to this section. Once the final two pieces are ordered that the rear end sorted. Then me cappo will have a nice back end lol
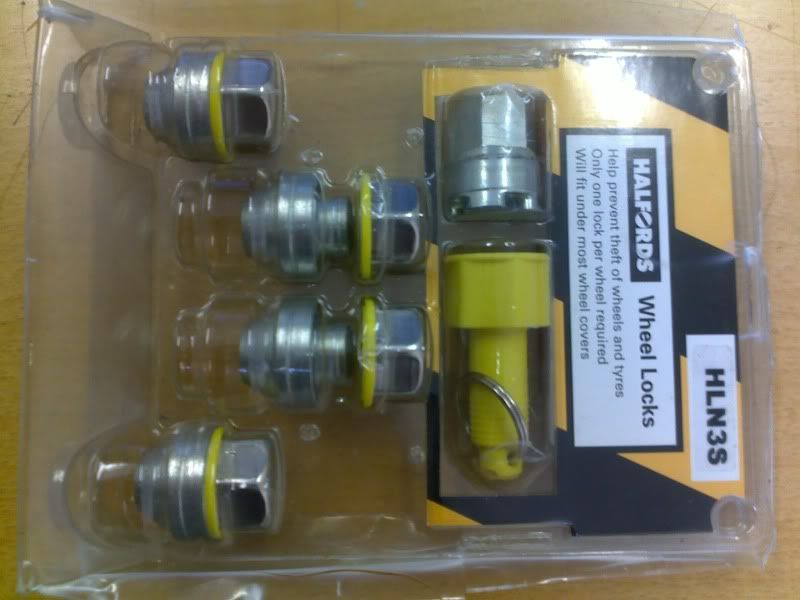
also got these guys. Anybody come across these lil bad boys!! lol Got em off ebay but havent manged to try them yet lol. They should fit.
 |
Last modified Monday, August 9th, 2010, 11:18:37pm by lord |
|
| Logged |
|
|
|
Reply: 59 - 325 |
|
|
| soongster |
| Posted on: Friday, August 20th, 2010, 8:16:40am |
|
|
|
as requested.. i dont really know what colors u have in mind but i guess dark red = maroon? and this is as close as i can get to bronze.. hope this helps
|
|
| Logged |
|
|
|
Reply: 60 - 325 |
|
|
| lord |
| Posted on: Sunday, August 22nd, 2010, 1:05:52pm |
|
|
|
Yes Soongster. Thanks for the post above. Gives me a lil idea of what I'm aiming for mate. Thanks.

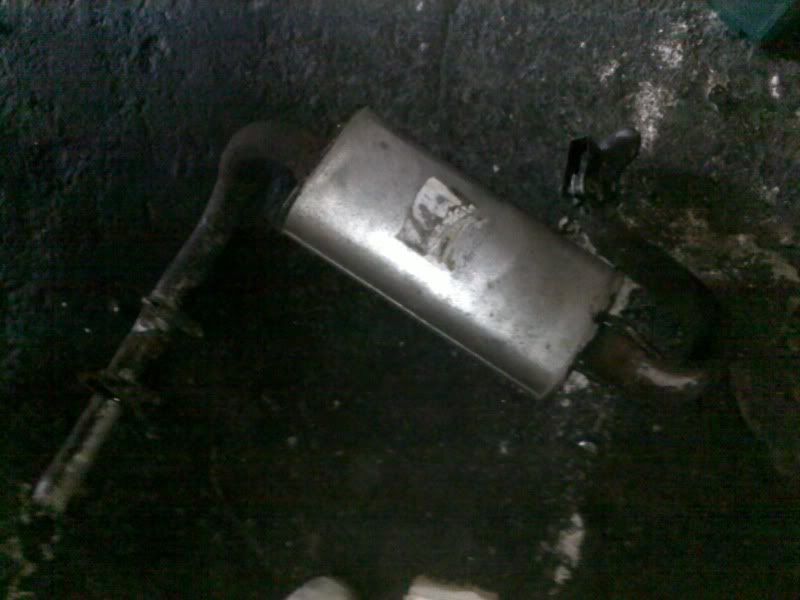
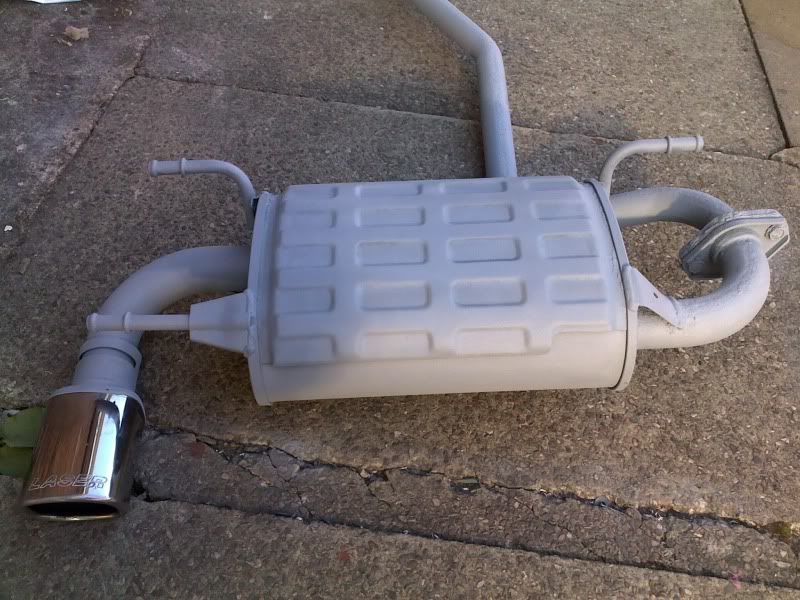
I bought this from michael from the FOR SALE section. Got it for 30 quid on the way my visit to manchester. It's a laser exhaust too. Cleaned it up a little and removed only minor rust. Only bad part about the exhaust is the middle (at the joint) section to the back box. The rest of the exhaust should be good for over 12 months at least! Not a bad lil buy.
anybody ever tidied up an exhaust? using paints etc???? |
|
| Logged |
|
|
|
Reply: 61 - 325 |
|
|
| lord |
| Posted on: Monday, October 11th, 2010, 10:56:49pm |
|
|
|
Just updating my thread as Ive got noithing better to do. The cappo is my only car now after my other baby was written off. My insurance dont wanna pay out. thats a whole other story!
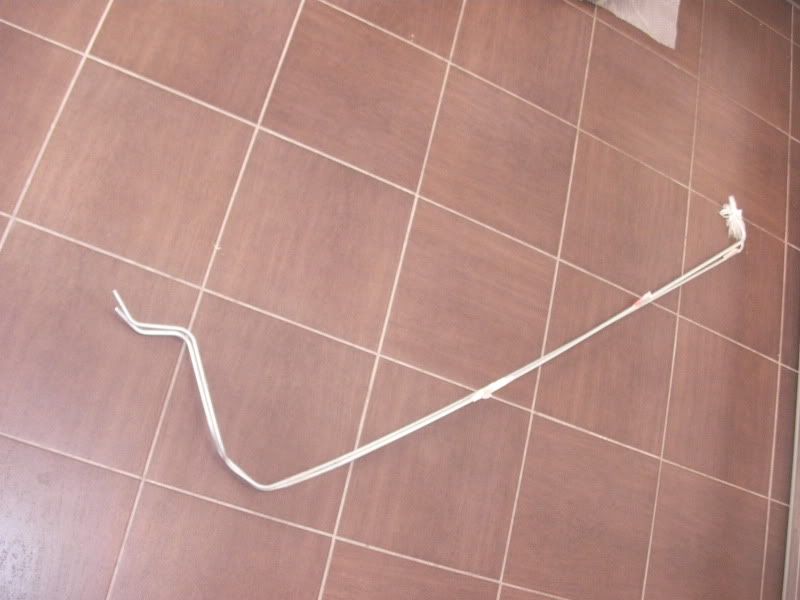
Here's the rear under arches
and the genuine filter.. bloody expensive if u ask me lol
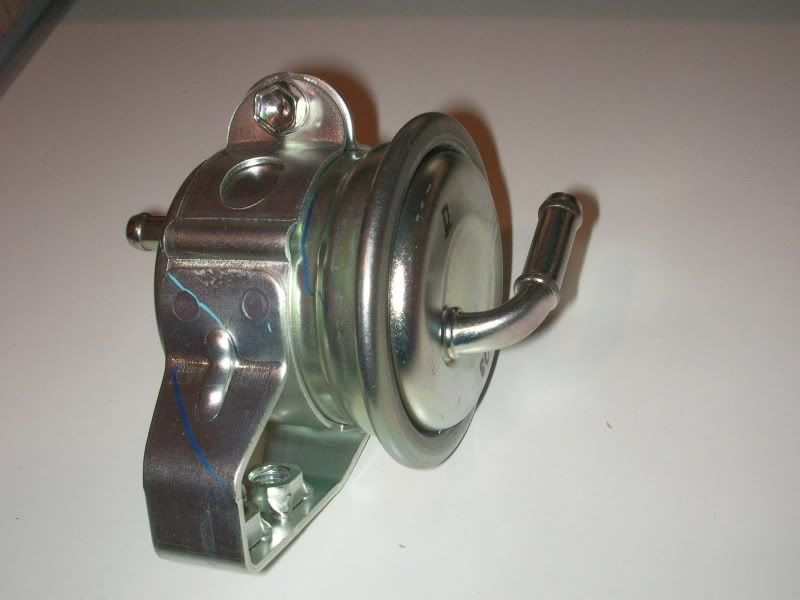
got some pics of the exhaust painted lol.. i'll put that up at some point. But thats most of the panels sorted and thats a sigh of relief! |
|
| Logged |
|
|
|
Reply: 62 - 325 |
|
|
| Badger |
| Posted on: Tuesday, October 12th, 2010, 12:22:31am |
|
|
|
| Good to see you are finally getting it together..........How long before you get those panels on the car ...??? |
|
| Logged |
|
|
|
Reply: 63 - 325 |
|
|
| lord |
| Posted on: Tuesday, October 12th, 2010, 2:33:52am |
|
|
|
personally mate I'm not sure. Glad to get the panels. I'm having a personal nightmare ha ha
Ismashed my main car up three weeks ago and now my insurance is playing silly buggers! I am officially broke lol Money is tighter than ever.. but there's always room for the cappo restoration..
Prob at this rate july next year mate! |
|
| Logged |
|
|
|
Reply: 64 - 325 |
|
|
| Badger |
| Posted on: Tuesday, October 12th, 2010, 5:41:08am |
|
|
|
| Sorry to hear that mate, insurance are quick to take your Hard Earned, but a Bastad to give any back, at least they're ALL consistant on Both sides of the Pond...lol Think Cappi thoughts....... |
|
| Logged |
|
|
|
Reply: 65 - 325 |
|
|
| lord |
| Posted on: Wednesday, December 1st, 2010, 10:18:55am |
|
|
|
Well i thought i'd give an update.
No pics though. As yet. Well I've not completed a lot on the car at the moment. Just havent had the time or the money really to do much. After writing off my car Ive not been mobile at all! ha ha So getting to the cappo is a lil harder.
The parts list is building up though. Thanks to Dany at Cappuccino sport for getting my bits.
Pipe fuel £28.54 GBP
1 Fuel Return Pipe £23.09 GBP
2 Clamp, fuel pipe £4.54 GBP
1 Fuel Pipe Clamp £1.46 GBP
4 Clamp, fuel pipe £9.76 GBP
1 Fuel Pipe Clamp £1.46 GBP
1 Fuel Pipe Cover £15.81 GBP
1 Fuel Pipe Cover £11.24 GBP
1 Fuel Pipe Cover £15.81 GBP
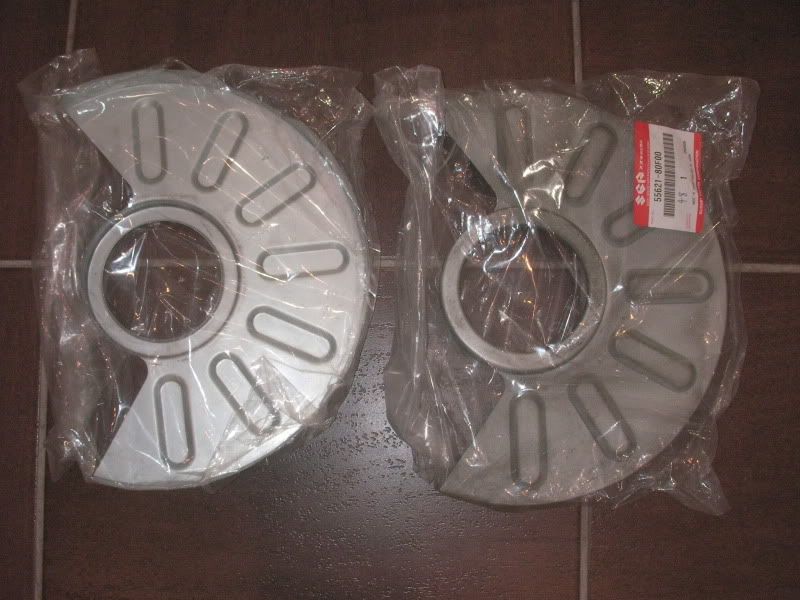
2 Rear Brake Dust Cover £34.14 GBP
1 Rear lamp panel RH £48.94 GBP
1 Stay, front bumper lower
There's no more body panels to buy now. just metal sheet for welding ha ha
It's more things off the list ha ha
Need to shot blast and powder all suspension
Buy suspension bush kis
New wheels
Welding
Re spray
|
|
| Logged |
|
|
|
Reply: 66 - 325 |
|
|
| mattjohns |
| Posted on: Wednesday, December 1st, 2010, 11:12:24am |
|
|
Maximum Member
Posts: 1652
Posts Per Day: 0.95 |
|
| While you've got the panels off. . . what are the chances you could weigh them??? please?? (yes, I am slightly obsessed with the weight of a Cappuccino) |
|
| Logged |
|
|
| |
Reply: 67 - 325 |
|
|
| lord |
| Posted on: Wednesday, December 1st, 2010, 11:57:02pm |
|
|
|
all the new panels you mean??
sils, arches and quarters??? |
|
| Logged |
|
|
|
Reply: 68 - 325 |
|
|
| mattjohns |
| Posted on: Thursday, December 2nd, 2010, 10:28:07am |
|
|
Maximum Member
Posts: 1652
Posts Per Day: 0.95 |
|
| If you could? It would be much appreciated. |
|
| Logged |
|
|
| |
Reply: 69 - 325 |
|
|
| lord |
| Posted on: Thursday, December 2nd, 2010, 12:40:50pm |
|
|
|
|
| Logged |
|
|
|
Reply: 70 - 325 |
|
|
| lord |
| Posted on: Saturday, December 25th, 2010, 4:42:08am |
|
|
|
Well santa came to see me Christmas eve lol
he bought me these bad boys from Santa's little helper, Sneaza! ha ha
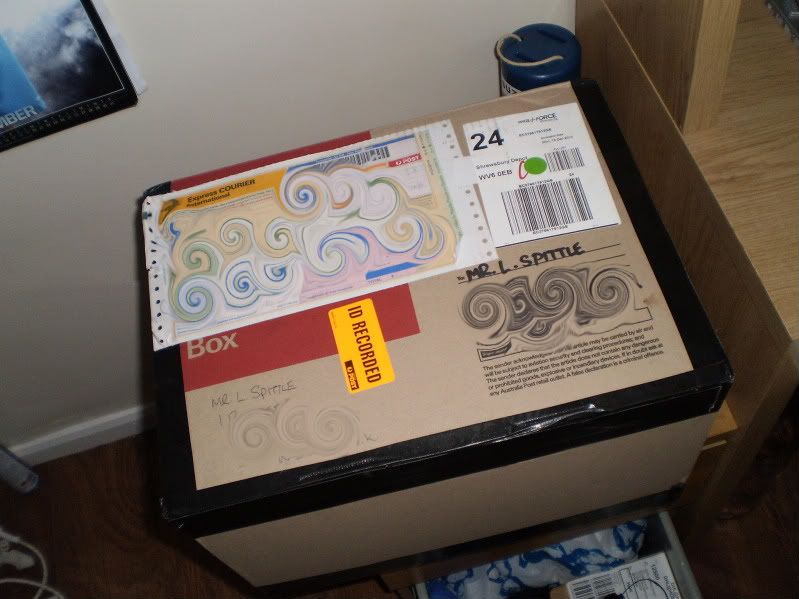
Couldnt wait to open the box!!!
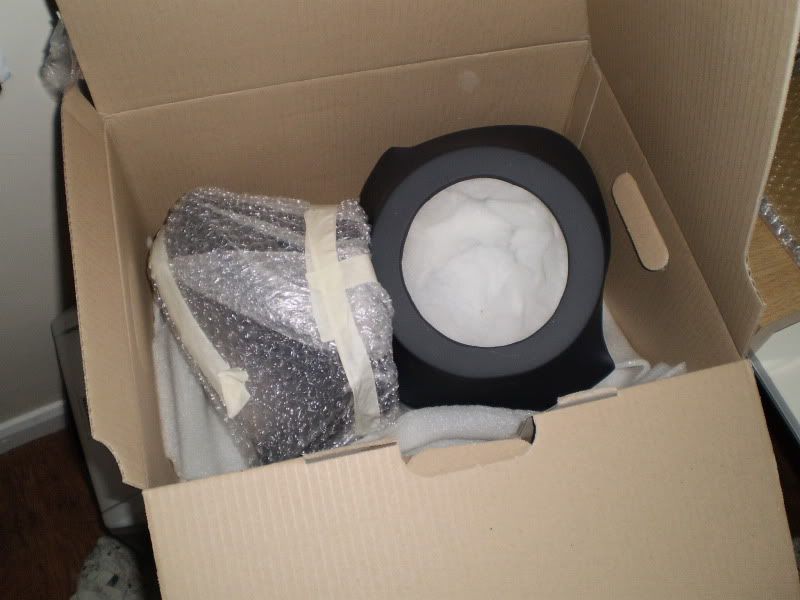
and there they were! Ready and good to go!!! Thanks Sneaza. The guy should be on the Top Gear wall. Under Uber cool.
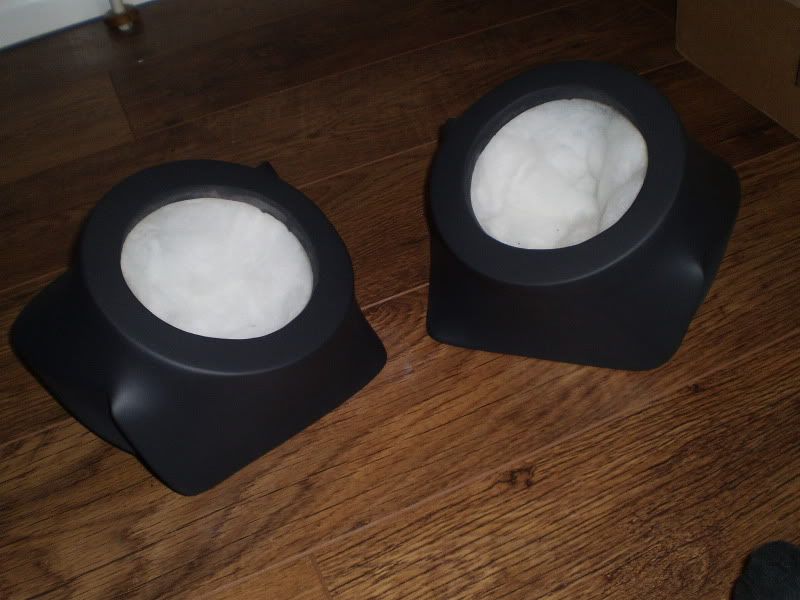
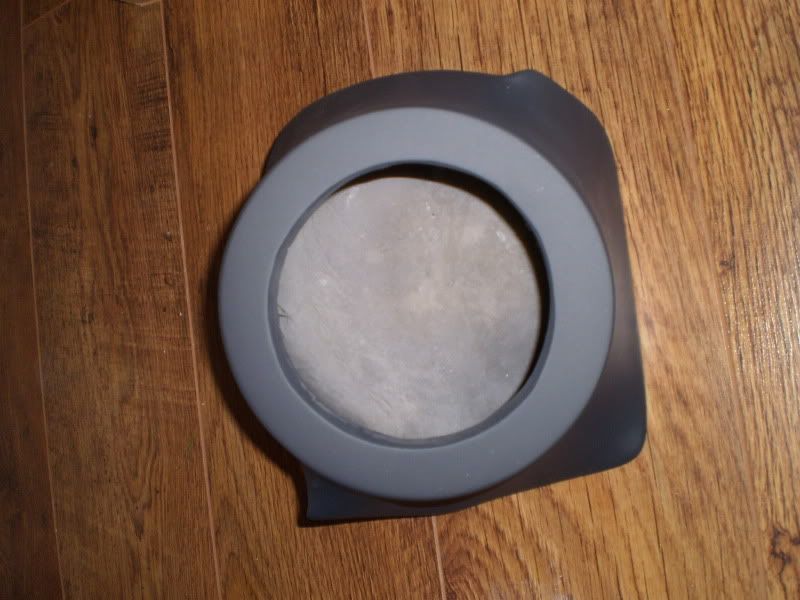
single close up.
|
|
| Logged |
|
|
|
Reply: 71 - 325 |
|
|
| lord |
| Posted on: Tuesday, December 28th, 2010, 11:08:57am |
|
|
|
Just some more bits I thought i'd add. As I can now upload some more pictures. Lost my memory card reader lol
Break dust covers- New front and back now
Got my fuel lines sorted.
Got me a new Panel from Cappo sport Looks like a good fit lol. I have taken the paint away from the seams so its easier to see and when it comes to taking the panel off its easier. Inside and out.
 |
|
| Logged |
|
|
|
Reply: 72 - 325 |
|
|
| kingpow |
| Posted on: Sunday, January 2nd, 2011, 11:22:30pm |
|
|
|
| Looking good, nice progress there. |
|
| Logged |
|
|
|
Reply: 73 - 325 |
|
|
| lord |
| Posted on: Monday, January 3rd, 2011, 9:20:31pm |
|
|
|
wouldn't really call it progress to date lol...i suppose it is in away
just saving for the bits!! lol |
|
| Logged |
|
|
|
Reply: 74 - 325 |
|
|
| Andy |
| Posted on: Sunday, January 9th, 2011, 10:20:16am |
|
|
Official C.O.C Contributor
Gender: Male
Posts: 23604
Posts Per Day: 3.48 |
|

You should be able to match the gaskets up pretty easily to the bare engine. Looks a pretty comprehensive set to me though although perhaps one or two missing.
Perhaps James at Fairfax can give you all the details of what's been done if you let him have the engine number. |
Drop me a PM if you would like to be added to the ClubCappo Member Map. More details can be found here.
We now have an official Facebook group as well as a page! See here |
|
| Logged |
|
|
| |
Reply: 75 - 325 |
|
|
| Cappo |
| Posted on: Sunday, January 9th, 2011, 7:19:59pm |
|
|
|
I think this is an engine Cappuccino sport sold on ebay a while ago (3 - 4 years? The same time they we selling the Hayabusa shell)
If it is, it's what Cappuccino Sport call 'stage three', which the ebay ad at the time claimed 160bhp. (without specifying you'd need turbo, injectors, ECU, intercooler, exhaust manifold, decat pipe and a new exhaust system).
But before you get carried away cantact Cappuccion Sport / Fairfax! |
|
| Logged |
|
|
|
Reply: 76 - 325 |
|
|
| Andy |
| Posted on: Monday, January 10th, 2011, 12:35:00am |
|
|
Official C.O.C Contributor
Gender: Male
Posts: 23604
Posts Per Day: 3.48 |
|
| It will be a used engine that has been worked on so that it is as new. It certainly hasn't been run since being done by the look of it. So it's both new and used I suppose... |
Drop me a PM if you would like to be added to the ClubCappo Member Map. More details can be found here.
We now have an official Facebook group as well as a page! See here |
Last modified Monday, January 10th, 2011, 12:36:03am by Andy |
|
| Logged |
|
|
| |
Reply: 77 - 325 |
|
|
| Ezra |
| Posted on: Monday, January 10th, 2011, 11:47:07am |
|
|
|
|
| Logged |
|
|
|
Reply: 78 - 325 |
|
|
| lord |
| Posted on: Sunday, January 30th, 2011, 9:09:45pm |
|
|
|
Just a quick update as I couldnt find the pictures before. Three's a picture of my exhaust in the middle of the page before I cleaned it up.
All I did was use the brush on the end of my drill bit to clean the exhaust up. Worked well I think but not sure about the colour. Maybe should've gone with the black. Anybody ever done this to theirs???
Laser exhaust before
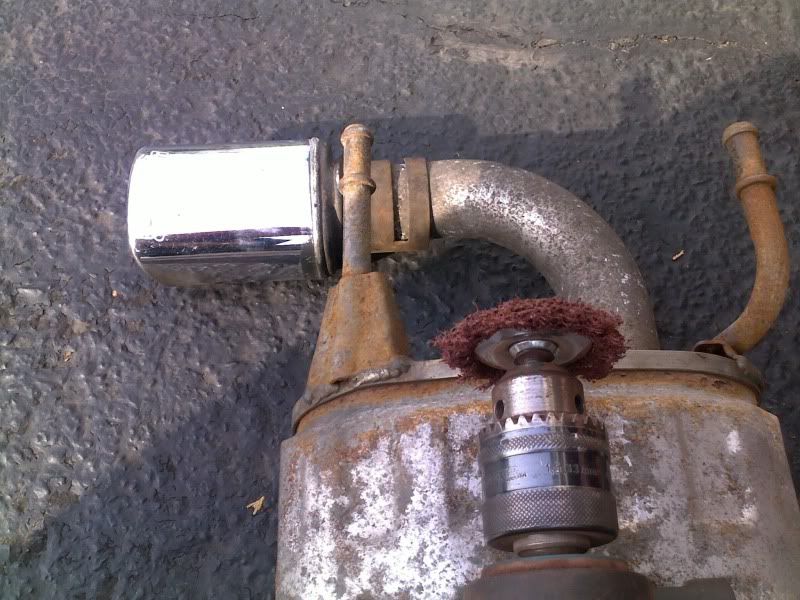
After prep and spray.

I've also been starting to prep the car for removal of the panels/ Never done this before so it's all trial and error at this point. It cant do any hard as im replacing the panels anyway. I suppose it will save me money when it comes to the prep!
Under arches
Very slow but as soon as the weather heats up i'm on it!! |
|
| Logged |
|
|
|
Reply: 79 - 325 |
|
|
|
 Cappuccino Owners Club › Gallery › Cappo Related Album › Lords Cappo Diary (Moderators: )


 Locked Board